
 Pin it
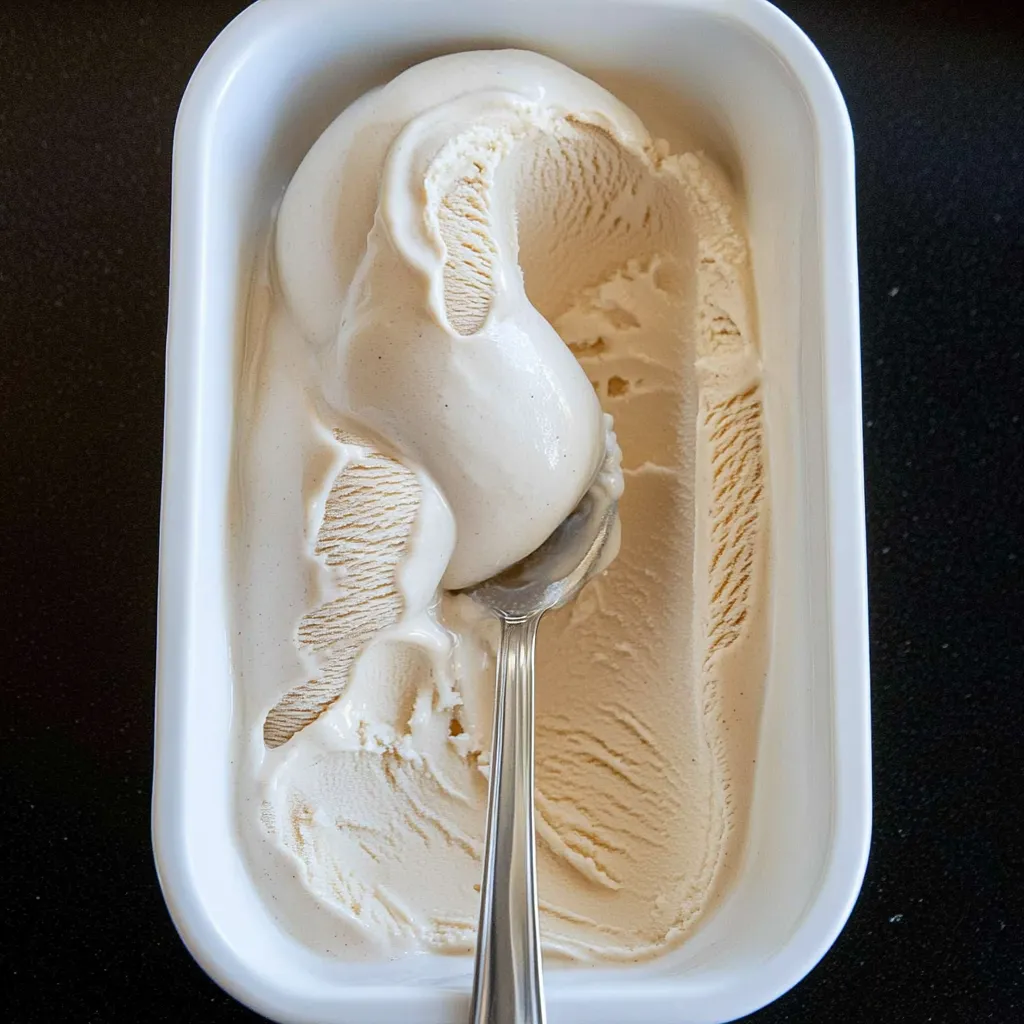
This almond milk ice cream transforms just three simple ingredients into a luxuriously creamy frozen treat that rivals anything from the store. With no dairy, refined sugar, or complicated equipment required, you can create a delicious dessert that's both healthier and more economical than commercial alternatives. The secret lies in using raw cashews to provide that silky texture that's often missing in plant-based ice creams, resulting in a scoopable, satisfying dessert you'll make again and again.
I developed this recipe after growing frustrated with the outrageous prices of store-bought dairy-free ice creams, not to mention their lengthy ingredient lists filled with stabilizers and preservatives. After much experimentation (and plenty of taste-testing!), I discovered that the combination of soaked cashews and almond milk creates that perfect ice cream mouthfeel without any dairy at all. Now this has become my go-to dessert—I haven't bought commercial plant-based ice cream in over a year. Even my dairy-loving friends request this when they visit, often shocked when I reveal it contains no cream or eggs!
Ingredients
- 1 cup raw cashews: Creates the rich, creamy base that gives this ice cream its luxurious texture without dairy
- 2 cups unsweetened vanilla almond milk: Provides the liquid base and subtle vanilla flavor – use plain if you prefer
- ½ cup pure maple syrup: Sweetens naturally while adding complexity of flavor and helping prevent ice crystals
Step-by-Step Preparation Instructions
- Step 1:
- Prepare the cashews: Place the raw cashews in a medium bowl and cover completely with cool water. Allow them to soak overnight or for at least 8 hours until they become very soft and plump. This soaking step is crucial for achieving the smoothest possible texture in your ice cream. If you're short on time, you can use a quick-soak method by covering the cashews with boiling water and letting them sit for about an hour, though the overnight method yields slightly creamier results.
- Step 2:
- Drain and blend the cashews: Once the cashews have finished soaking, drain them thoroughly and rinse under cold water. Transfer the softened cashews to a high-speed blender along with 1 cup of the almond milk (half the total amount). Blend on high speed until completely smooth, stopping to scrape down the sides as needed. This initial blending with just half the liquid helps ensure the cashews break down completely, preventing any grittiness in the final product. The mixture should be velvety smooth with no visible pieces of cashew remaining.
- Step 3:
- Complete the base mixture: Add the remaining cup of almond milk and the maple syrup to the blender. Blend again until the mixture is thoroughly combined and slightly frothy, about 1-2 minutes. The consistency should be similar to a thick smoothie – pourable but not watery. Give it a taste at this point and adjust the sweetness if needed by adding a touch more maple syrup, remembering that cold temperatures will slightly dull the sweetness in the frozen version.
- Step 4:
- Churn the ice cream (with an ice cream maker): Pour the mixture into your ice cream maker and churn according to the manufacturer's instructions, usually about 20-25 minutes. The ice cream is ready when it reaches a soft-serve consistency – thick enough to hold its shape but still slightly soft. Don't over-churn, as this can actually break down the structure and result in a grainy texture.
- Step 5:
- Freeze until firm: Transfer the churned ice cream to a freezer-safe container, smoothing the top with a spatula. Press a piece of parchment paper directly onto the surface of the ice cream to prevent ice crystals from forming. Cover with a lid and freeze for at least 2 hours, or until firm enough to scoop. For the best texture, avoid freezing for more than 24 hours before the first serving.
- Step 6:
- Prepare for serving: When ready to enjoy, remove the ice cream from the freezer and let it sit at room temperature for about 10 minutes to soften slightly. This brief rest makes it much easier to scoop and improves the texture and flavor, allowing the subtle nuances to shine through. Scoop into bowls and enjoy plain or with your favorite toppings.
 Pin it
Alternative Method (Without an Ice Cream Maker)
If you don't have an ice cream maker, you can still create delicious almond milk ice cream with a slightly different approach:
- Follow steps 1-3 above to create your ice cream base. Pour the mixture into a shallow, freezer-safe container such as a metal loaf pan or glass dish. The wider and shallower the container, the faster and more evenly your ice cream will freeze.
- Place the container in the freezer and set a timer for 30 minutes. When the timer goes off, remove the pan and thoroughly stir the mixture with a fork or whisk, paying special attention to the edges where it freezes first. This breaks up any ice crystals that are forming and helps incorporate air for a creamier texture.
- Return the pan to the freezer and repeat this process every 30 minutes for the first 2-3 hours, or until the mixture is too thick to stir easily. This frequent stirring mimics the action of an ice cream maker, preventing large ice crystals from forming.
- Once the ice cream has reached a thick, semi-frozen consistency, smooth the top, cover as directed above, and freeze until firm, about 2 more hours. Let it soften for 10-15 minutes before serving, as no-churn versions tend to freeze a bit harder.
The Science of Creamy Plant-Based Ice Cream
Creating dairy-free ice cream that's truly creamy rather than icy presented a fascinating challenge. After numerous experiments, I discovered that the key lies in understanding what makes traditional ice cream so luscious: fat content, minimal water, and tiny ice crystals.
Traditional ice cream gets its creaminess from milk fat and the emulsifying properties of egg yolks. In our plant-based version, cashews provide both the fat and emulsification. When blended thoroughly, cashews release their natural oils and starches, creating a stable emulsion that prevents the almond milk (which is mostly water) from forming large ice crystals.
The maple syrup isn't just for sweetness—it plays a crucial role in texture. Like any sugar, maple syrup lowers the freezing point of the mixture, resulting in smaller ice crystals and a softer freeze. Additionally, its thick, viscous nature helps create body in the final product that plain sugar simply can't match.
Last summer, I hosted an ice cream social and served this alongside traditional dairy ice cream without telling anyone which was which. The almond milk version disappeared first, and three people asked for the recipe before I revealed it was plant-based! One friend who's notoriously picky about desserts declared it "the best ice cream he'd ever had, dairy or otherwise." That's when I knew this recipe was truly special.
Creative Flavor Variations
While the base recipe is delicious on its own, the real fun comes with customization. Here are some variations that have become favorites in my household:
For chocolate lovers, add 3 tablespoons of unsweetened cocoa powder and an extra tablespoon of maple syrup to the base mixture before blending. The result is a rich, dark chocolate ice cream that satisfies even the most intense chocolate cravings. For an extra indulgent version, fold in ¼ cup of dairy-free chocolate chips during the last few minutes of churning.
Coffee almond is another standout—simply add 1 tablespoon of instant espresso powder to the base mixture before blending. The coffee flavor perfectly complements the nutty undertones from the cashews and almond milk. For texture contrast, fold in ¼ cup of chopped toasted almonds during the final minutes of churning.
For a nostalgic treat, create strawberry ice cream by blending ½ cup of fresh or frozen strawberries with the other ingredients. The natural sweetness and subtle tartness of the berries creates a refreshing summer dessert. I love serving this version with fresh berries and a sprinkle of crushed graham crackers on top.
I've been refining this recipe for nearly two years now, tweaking proportions and techniques with each batch. What started as a money-saving alternative to expensive store brands has become something I genuinely prefer to any commercial option. There's something deeply satisfying about creating a dessert so simple yet so delicious—proof that plant-based eating doesn't have to mean compromising on life's pleasures!
Frequently Asked Questions
- → Can I make this without an ice cream maker?
- Yes! While an ice cream maker gives the best texture, you can freeze the mixture in a container and stir every 30 minutes until set.
- → How long does this ice cream last in the freezer?
- This homemade ice cream stays good in the freezer for up to 1 month, but is best enjoyed fresh.
- → What can I use instead of maple syrup?
- Honey or agave nectar work well as alternatives to maple syrup in this recipe.
- → Do I have to soak the cashews overnight?
- For best results, yes. If you're in a hurry, you can soak them in hot water for 1-2 hours instead.
- → Can I add mix-ins to this ice cream?
- Absolutely! Try adding chocolate chips, fruit, or nuts after churning for extra flavor and texture.