
 Pin it
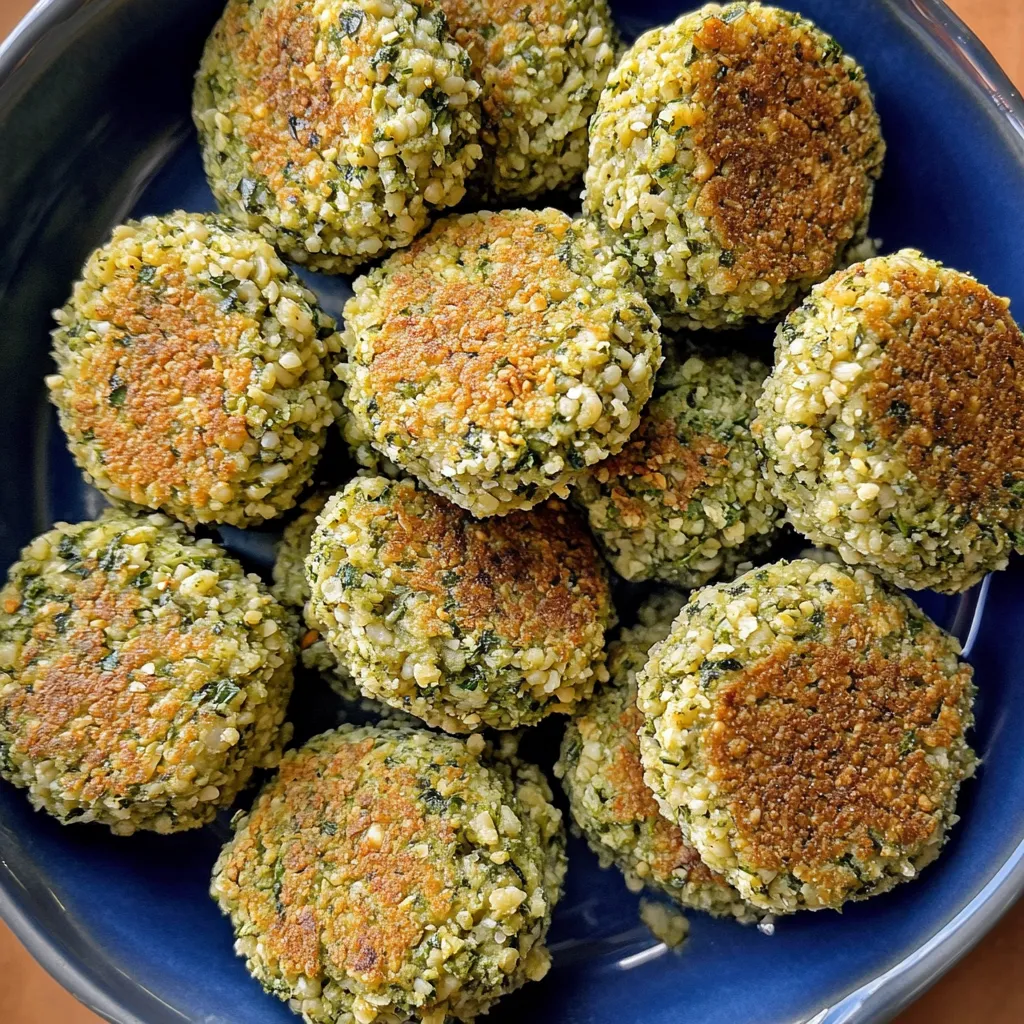
Baking falafel instead of frying creates lighter, easier chickpea patties that stay crispy outside and tender inside without standing over hot oil. Soaking dried chickpeas overnight with baking soda softens them perfectly for blending with fresh herbs, garlic, and spices into a mixture that forms into balls and bakes until golden. The key difference from fried versions is slightly softer exteriors, but the flavor stays authentic and the texture remains satisfying. These work beautifully stuffed into pita with tahini sauce or served over salad bowls for complete meals.
Falafel became less intimidating after learning the secret is just soaking dried chickpeas overnight, not cooking them first. My early attempts used canned chickpeas because that seemed easier, but they fell apart and tasted bland. Once I committed to soaking dried chickpeas, everything changed. The texture became light and fluffy inside with properly crispy exteriors. Baking them instead of frying started when I didn't want to deal with hot oil on a summer day, and discovering they still tasted great without frying was revelatory. Now I make these regularly and stuff them into pita with tahini sauce for lunches that taste like they came from a Middle Eastern restaurant.
Ingredients and Why They Matter
- Dried chickpeas (2 cups, soaked overnight): Must be dried, not canned, for proper texture; soaking with baking soda softens them
- Baking soda (½ teaspoon for soaking): Breaks down chickpea skins and softens them faster
- Chickpea flour (1 teaspoon): Adds flavor and helps bind; find in baking aisles or online
- Baking powder (1 teaspoon): Creates lightness and helps falafel puff slightly during baking
- Fresh parsley (1 cup leaves, packed): Herbal base flavor and green color
- Fresh cilantro (¾ cup leaves, packed): Bright, fresh notes; substitute more parsley if you hate cilantro
- Fresh dill (½ cup leaves, packed): Adds unique herbal flavor traditional to Egyptian falafel
- Yellow onion (1 small, quartered): Sweetness and moisture
- Garlic cloves (7-8, smashed and peeled): Bold garlic flavor throughout
- Black pepper (1 tablespoon): Subtle heat and depth
- Ground cumin (1 tablespoon): Earthy, essential Middle Eastern flavor
- Ground coriander (1 tablespoon): Citrusy, floral notes that complement cumin
- Cayenne pepper (1 teaspoon, optional): Subtle heat; omit if sensitive to spice
- Kosher salt (generous pinch): Essential for proper seasoning
- Toasted sesame seeds (2 tablespoons): Nutty flavor and textural interest
- Extra virgin olive oil (for brushing): Helps browning and prevents sticking
How To Make It
- Soak the chickpeas:
- The day before you plan to make falafel, measure 2 cups of dried chickpeas into a large bowl. Add ½ teaspoon baking soda and cover with at least 2 inches of cold water - the chickpeas will expand significantly during soaking. Stir briefly to distribute the baking soda. Cover the bowl and leave at room temperature for at least 18 hours, or up to 24 hours. The baking soda helps break down the chickpea skins and softens them faster. After soaking, the chickpeas should easily break apart when you squeeze one between your fingers. Drain them thoroughly in a colander and pat dry with paper towels or a clean kitchen towel. Excess moisture will make the falafel mixture too wet.
- Blend the falafel mixture:
- Place the drained, dried chickpeas in a large food processor fitted with the S-blade. Add the chickpea flour, baking powder, parsley leaves, cilantro leaves, and dill leaves with the tough stems discarded. Quarter the onion and add it to the processor. Use the side of a knife to smash each garlic clove, which makes the papery skins easy to peel, then add the peeled cloves to the processor. Add the black pepper, cumin, coriander, cayenne if using, and a generous pinch of salt - about 1½ teaspoons. Pulse the food processor in 40-second bursts, stopping to scrape down the sides between pulses. The mixture should look finely ground but not paste-like, with some texture remaining. You want everything well-combined but not pureed smooth.
- Chill the mixture:
- Transfer the falafel mixture to an airtight container or bowl and cover tightly. Refrigerate for at least 1 hour, though up to 24 hours works fine. This chilling time is crucial because it allows the mixture to firm up and hydrate evenly, making it much easier to shape and helping the falafel hold together during baking. Don't skip this step thinking you can go straight to forming - the mixture will be too soft and sticky to work with, and the falafel may fall apart in the oven.
- Prepare for baking:
- When you're ready to bake, preheat your oven to 350°F. Lightly brush a large baking sheet with olive oil to prevent sticking. Remove the chilled falafel mixture from the refrigerator and stir in the toasted sesame seeds, mixing until evenly distributed throughout. The mixture should now be firm enough to hold its shape when formed.
- Shape the falafel:
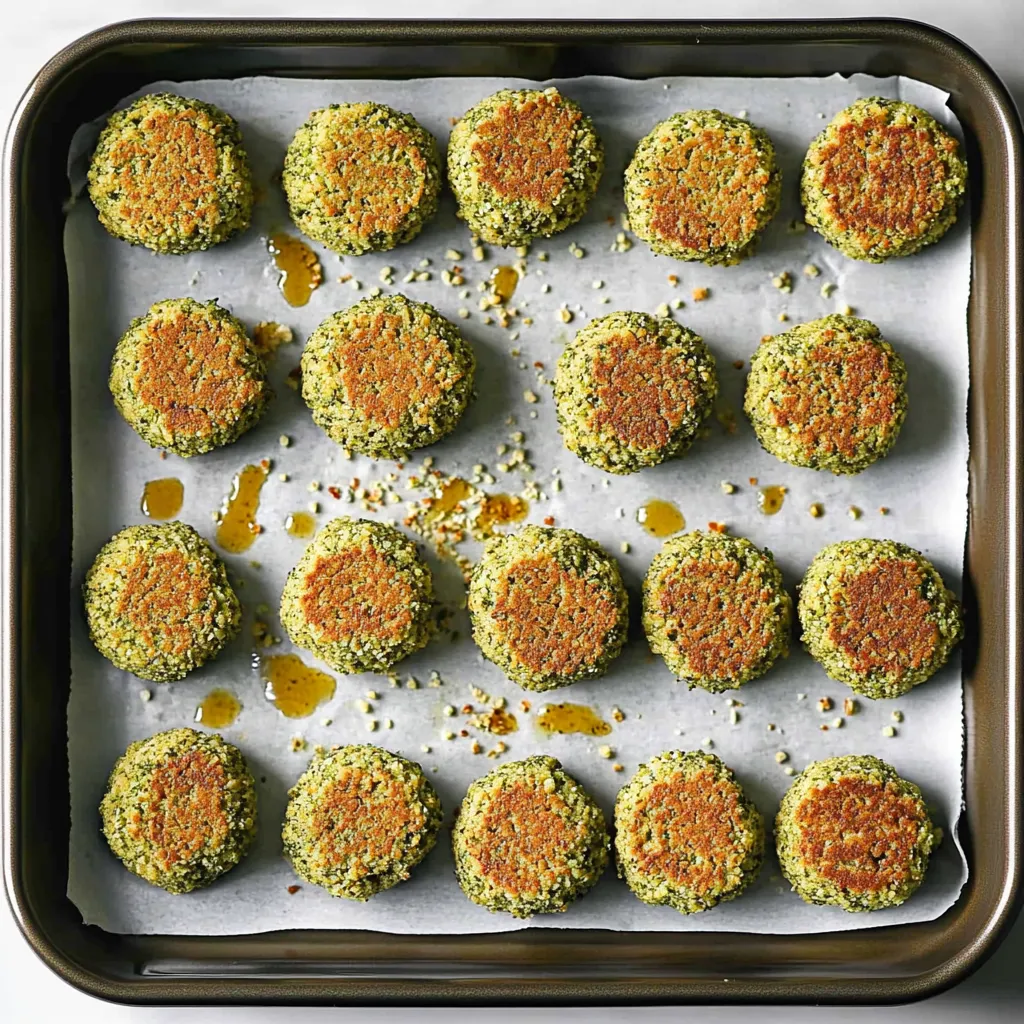
- Fill a small bowl with water and keep it nearby. Wet your hands slightly - this prevents the mixture from sticking to your skin. Scoop about 1 tablespoon of the falafel mixture and roll it between your palms to form a ball, then flatten it slightly into a patty about ½ inch thick and 1½ inches across. Place on the prepared baking sheet. Repeat with the remaining mixture, re-wetting your hands as needed. Space the falafel about an inch apart on the baking sheet. Once all are formed, use a pastry brush to lightly coat the top of each falafel with olive oil. This helps them brown and develop crispy exteriors.
- Bake:
- Place the baking sheet in the preheated oven and bake for 8 minutes. Remove from the oven and use a thin spatula to carefully flip each falafel. Some might stick slightly - gently work the spatula underneath to release them. Return to the oven and bake for another 7-12 minutes, checking at 7 minutes, until the falafel are golden brown on both sides and feel firm when gently pressed. The exact time depends on how thick you made them and how your oven runs. They should look nicely browned and crispy on the outside.
- Serve:
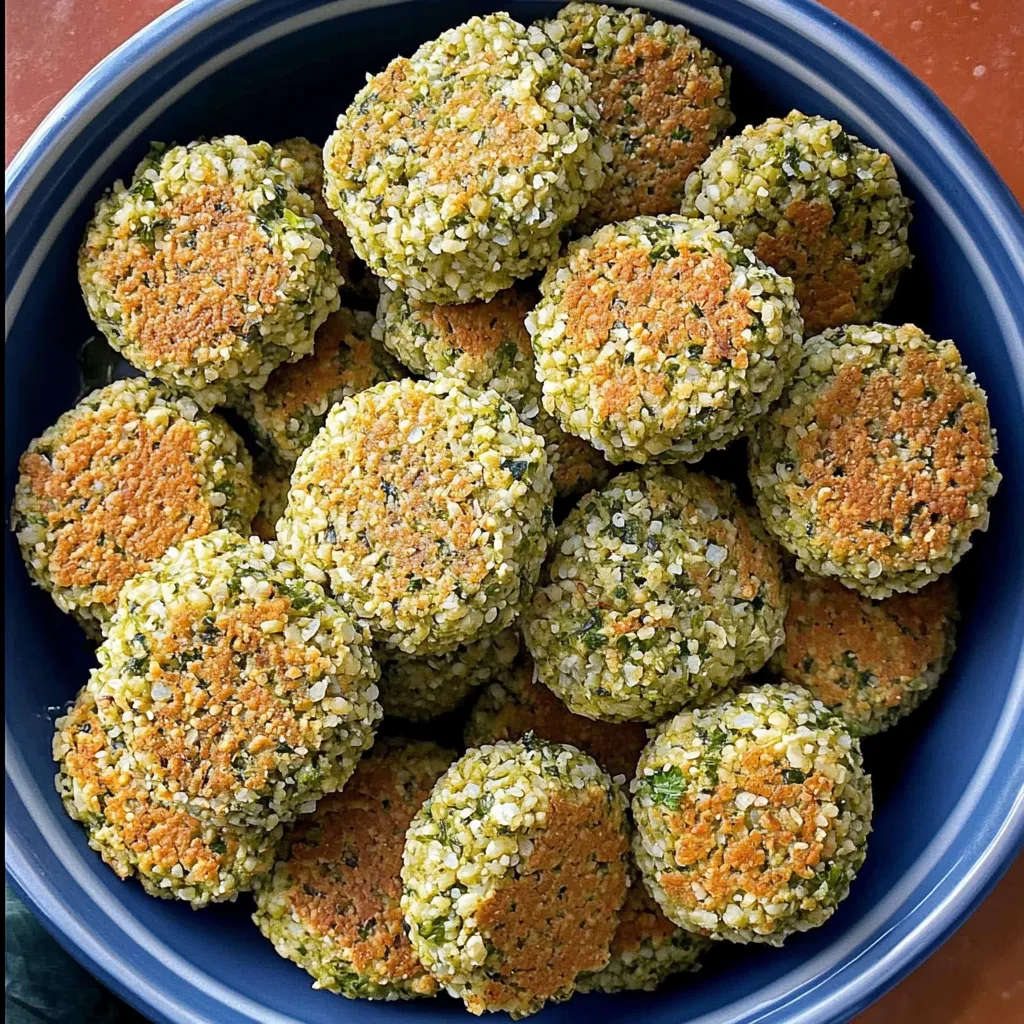
- Let the falafel cool on the baking sheet for 2-3 minutes after removing from the oven. This brief cooling allows them to firm up slightly and makes them easier to handle. Serve warm in pita bread with tahini sauce, cucumber tomato salad, and arugula. Or arrange over greens with hummus and vegetables for a bowl. Leftover falafel keeps refrigerated for 3-4 days or frozen for up to 3 months.
 Pin it
Dried chickpeas seemed like unnecessary effort until I understood they're what makes falafel light and fluffy instead of dense and heavy. Canned chickpeas are already fully cooked and waterlogged, which creates completely wrong texture. Dried chickpeas that have only been soaked, not cooked, maintain structure that creates proper falafel texture. Buying a large bag of dried chickpeas costs less than multiple cans anyway, and they keep for months in the pantry. Now I always have them on hand for making hummus and falafel.
The Soaking Process
Overnight soaking rehydrates dried chickpeas and begins breaking down complex sugars that make them harder to digest. The baking soda added to soaking water speeds softening by breaking down pectin in the chickpea skins. Proper soaking takes 18-24 hours at room temperature. You'll know they're ready when a chickpea easily breaks apart when squeezed - they should feel soft but not mushy. Under-soaked chickpeas won't blend properly and create grainy texture. Over-soaked chickpeas become too soft and waterlogged. The sweet spot is when they yield to pressure but still hold their shape.
Fresh Herbs Importance
Fresh herbs define authentic falafel flavor and create that characteristic green interior. Parsley provides the base herbal flavor. Cilantro adds brightness. Dill contributes unique aromatic notes common in Egyptian-style falafel. Dried herbs simply cannot replicate this fresh, vibrant flavor. Use just the tender leaves, not thick stems which add bitterness. Wash and dry herbs well before using because excess water will make the mixture too wet. If you genuinely dislike cilantro due to the genetic variation that makes it taste like soap, substitute additional parsley - don't force yourself to use an ingredient you hate.
Baked vs Fried Texture
The main difference between baked and fried falafel is exterior texture. Fried falafel develop very crispy, almost crunchy shells from contact with hot oil. Baked falafel have slightly softer exteriors - still golden and firm, but not quite as crispy. Think of the difference between French fries and oven-baked fries. The interior texture remains identical whether baked or fried. Baking uses minimal oil, creates no splatter or smoke, and requires far less active attention. Most people find the textural trade-off worthwhile for the convenience and health benefits.
Binding Without Eggs
Traditional falafel contains no eggs or excessive flour because proper technique creates binding naturally. Chilling the mixture allows starches from the chickpeas and chickpea flour to absorb moisture and firm up. The chickpeas themselves contain enough starch to bind when properly processed and chilled. Adding too much flour makes falafel heavy and dense. Using eggs is unnecessary and changes the texture. Some recipes add them as shortcuts to avoid chilling, but patient chilling creates better results. This vegan method produces authentic texture that works for everyone.
Serving Suggestions
Falafel shines when paired with complementary flavors and textures. Traditional pita sandwiches include tahini sauce (creamy and nutty), fresh vegetables like cucumber and tomato (crisp and refreshing), and something pickled like turnips or red onions (tangy and bright). These elements balance the rich, savory falafel. For bowls, layer hummus at the bottom, add greens, arrange falafel on top, scatter fresh and pickled vegetables around, and drizzle with tahini. The combination of textures and flavors makes falafel a complete meal rather than just a protein component.
Storage and Reheating
Properly stored falafel maintains quality for days or months. Refrigerate cooled falafel in airtight containers for 3-4 days. Reheat in a 350°F oven for 5-7 minutes to restore crispness - microwaving makes them soggy. For freezing, arrange cooled falafel on a baking sheet and freeze until solid, then transfer to freezer bags. This prevents them from sticking together. Freeze for up to 3 months. Reheat from frozen in a 350°F oven for 10-12 minutes, or thaw overnight and reheat for less time. Having frozen falafel ready means quick meals anytime.
 Pin it
This baked falafel recipe represents the kind of cooking that makes international cuisine accessible without compromising authenticity. The overnight chickpea soaking requires planning but not active work, and the payoff is restaurant-quality falafel made in your own kitchen. When you bite into a warm falafel fresh from the oven and taste all those herbs and spices with that perfect texture, it connects you to Middle Eastern food culture and traditions. Sometimes the best recipes are the ones that bring global flavors home while adapting techniques to fit modern preferences, and this baked falafel definitely accomplishes that goal perfectly every single time you make it.
Frequently Asked Questions
- → Can I use canned chickpeas instead of dried?
- No, dried chickpeas are essential for this recipe. Canned chickpeas have too much moisture and will make your falafel fall apart when cooking. The overnight soak of dried chickpeas is what gives you that perfect crispy texture.
- → How long do I need to soak the chickpeas?
- Soak the dried chickpeas for at least 18 hours, or overnight. They're ready when you can easily squeeze one and it breaks apart. Don't skip this step—it's crucial for getting the right texture.
- → Can I freeze uncooked falafel?
- Yes! Shape the patties and freeze them on a baking sheet until solid, then transfer to a freezer bag. They'll keep for up to a month. Bake straight from frozen, just add 5 extra minutes to the cooking time.
- → What temperature should I bake falafel at?
- Bake falafel at 350°F. Cook them for 8 minutes on one side, flip them over, then bake for another 7 to 12 minutes until they're golden brown and crispy.
- → Do I need chickpea flour for this recipe?
- Yes, the chickpea flour helps bind the mixture together. You can find it in the baking section of most grocery stores or online. It's different from regular flour and gives the falafel better structure.
- → What should I serve with baked falafel?
- Serve falafel in warm pita bread with tahini sauce, hummus, fresh vegetables, and pickles. They also work great as part of a mezze platter with other small dishes and salads.
- → How do I keep falafel from sticking to my hands?
- Keep your hands slightly wet while shaping the patties. This simple trick prevents the mixture from sticking to your fingers and makes forming the falafel much easier.