
 Pin it
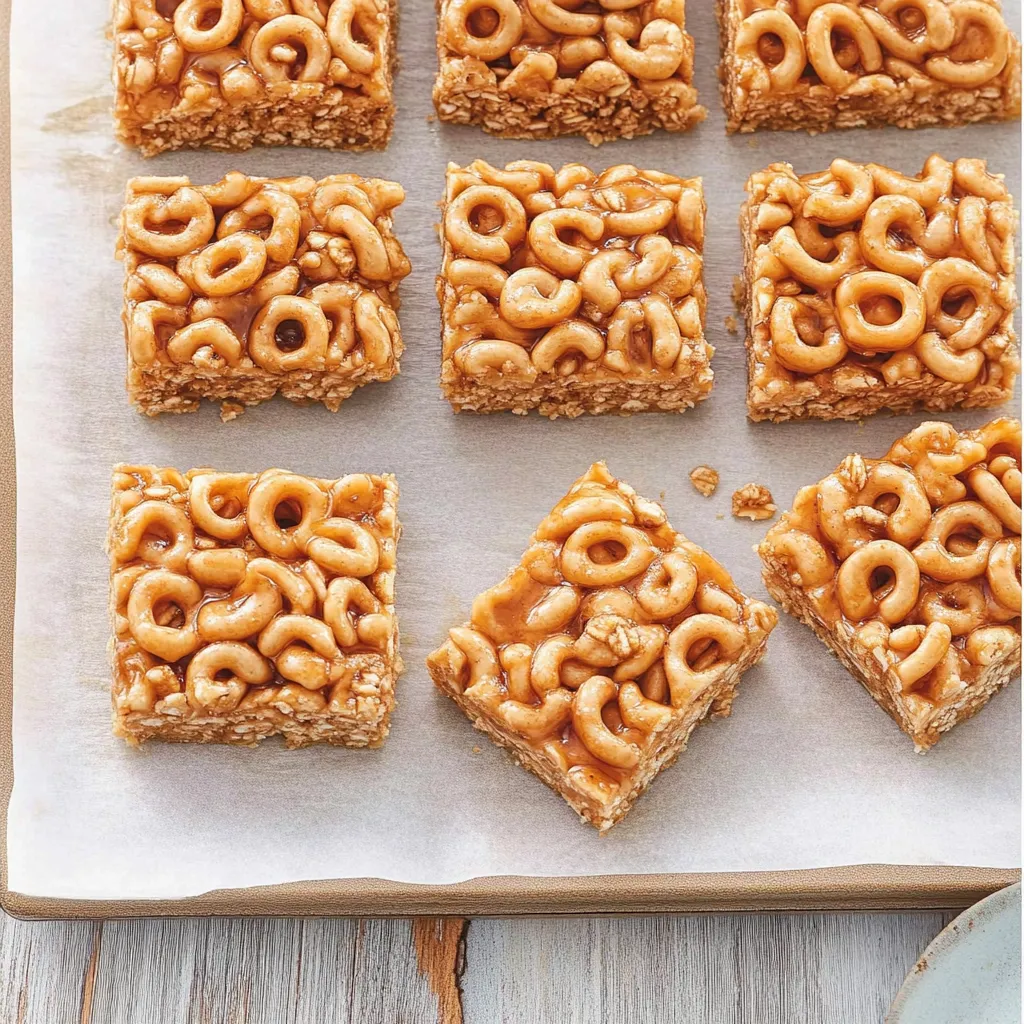
These homemade cereal bars transform pantry staples into irresistible treats that come together in minutes. With just four simple ingredients, they're the perfect solution for after-school hunger pangs or on-the-go snacking that both kids and adults will love.
I started making these cereal bars when my children would come home from school famished and impatient. The first time I served them, I watched as three hungry kids devoured an entire batch in almost complete silence - the ultimate sign of snack success! Now they've become our special after-school tradition, with the kids taking turns choosing which cereal we'll use each week.
Ingredients
- Peanut butter – Creates the creamy, protein-rich base that holds everything together. Its natural stickiness forms the perfect binding agent while adding satisfying richness and staying power.
- Honey – Provides natural sweetness and helps create that chewy, stick-together texture. When heated with peanut butter, it forms a mixture that sets up perfectly when chilled.
- Dry cereal – Adds the essential crunch factor and allows for endless customization. Different cereals create entirely different flavor experiences while maintaining the same easy preparation.
- Vanilla extract – Just a splash enhances all the other flavors, adding warmth and depth to the bars without overpowering them.
Step-by-Step Instructions
- Prepare your pan –
- Line an 8×8-inch baking dish with parchment paper, leaving some overhang on the sides for easy removal later. This simple step prevents sticking and makes cleanup a breeze.
- Create the binding mixture –
- In a medium saucepan over low heat, combine peanut butter and honey. The low heat is crucial here - too hot and the mixture can burn or separate.
- Heat gently –
- Stir continuously for about 3 minutes until the mixture is completely smooth and slightly bubbly around the edges. The constant stirring prevents scorching and ensures even melting.
- Add flavor enhancer –
- Remove the pan from heat and stir in vanilla extract. The residual heat will release the aromatic compounds in the vanilla without cooking off its flavor.
- Incorporate the cereal –
- Add the cereal to the warm peanut butter mixture, folding gently but thoroughly until every piece is evenly coated. Work quickly but carefully to avoid crushing the cereal.
- Transfer to pan –
- Pour the coated cereal into your prepared pan, spreading it evenly to fill the corners. The mixture will be sticky and somewhat resistant to spreading.
- Press firmly –
- Using the back of a spatula, the bottom of a measuring cup, or your hands (slightly dampened to prevent sticking), press the mixture firmly into the pan. This compression is crucial for bars that hold together.
- Chill to set –
- Refrigerate for about an hour until firm and completely cooled. The chilling time allows the honey and peanut butter mixture to solidify, creating bars that hold their shape when cut.
- Cut into bars –
- Using the parchment paper overhang, lift the entire slab out of the pan and onto a cutting board. With a sharp knife, cut into 12-16 bars, depending on your preferred size.
 Pin it
The transformation that happens during the chilling process is remarkable – what goes into the refrigerator as a sticky, loose mixture emerges as firm, cohesive bars with the perfect balance of chewiness and crunch. The peanut butter and honey create a binding matrix that holds everything together while maintaining the textural integrity of the cereal.
My grandmother always said the simplest recipes often become family favorites, and these cereal bars prove her right. When my oldest child started helping make these around age four, she'd stand on her little stool, solemnly stirring the pot while I counted to 180 (three minutes). That same child now makes these independently for her younger siblings – a simple recipe becoming part of our family's food heritage.
Endless Cereal Possibilities
- Cinnamon Toast Crunch for a warm, spiced version
- Fruity Pebbles for vibrant, rainbow-colored bars
- Rice Krispies for a lighter, airier texture
- Cocoa Puffs for chocolate lovers
- Chex for a more substantial, hearty snack
Nutritional Boosters
- 2 tablespoons of ground flaxseed
- 1/4 cup chopped dried fruits (apricots, cranberries, raisins)
- 1/4 cup chopped nuts or seeds (sunflower, pumpkin)
- 2 tablespoons of chia seeds
- 1/4 cup mini dark chocolate chips (added after mixture has cooled slightly)
Storage Wisdom
These bars keep well in an airtight container in the refrigerator for up to a week. For grab-and-go convenience, wrap individual bars in parchment paper and store them in a container – perfect for lunchboxes or backpacks. In warmer weather, refrigeration is essential to prevent the bars from becoming too soft.
After years of making these bars, I've found they're not just for after-school snacking. They've become our road trip essential, post-sports practice refueler, and even breakfast-on-the-go when mornings get hectic. There's something deeply satisfying about creating a simple treat that nourishes both body and soul – providing not just sustenance but a moment of connection around the kitchen table, hearing about science experiments, playground politics, and the everyday adventures that make up childhood.
Frequently Asked Questions
- → Can I use crunchy peanut butter instead?
- Yes, crunchy peanut butter works too! It will add extra texture to your cereal bars.
- → How long do these cereal bars last?
- When stored in the refrigerator, they'll stay fresh for up to a week in an airtight container.
- → Can I substitute the honey?
- Yes, maple syrup is a good alternative if you prefer not to use honey.
- → What type of cereal works best?
- Rice Krispies, Cheerios, and Corn Flakes all work great. Pick your favorite or what you have on hand!
- → Can I add mix-ins to the recipe?
- Absolutely! Mini chocolate chips, dried fruit, or chopped nuts make tasty additions to this flexible recipe.