
 Pin it
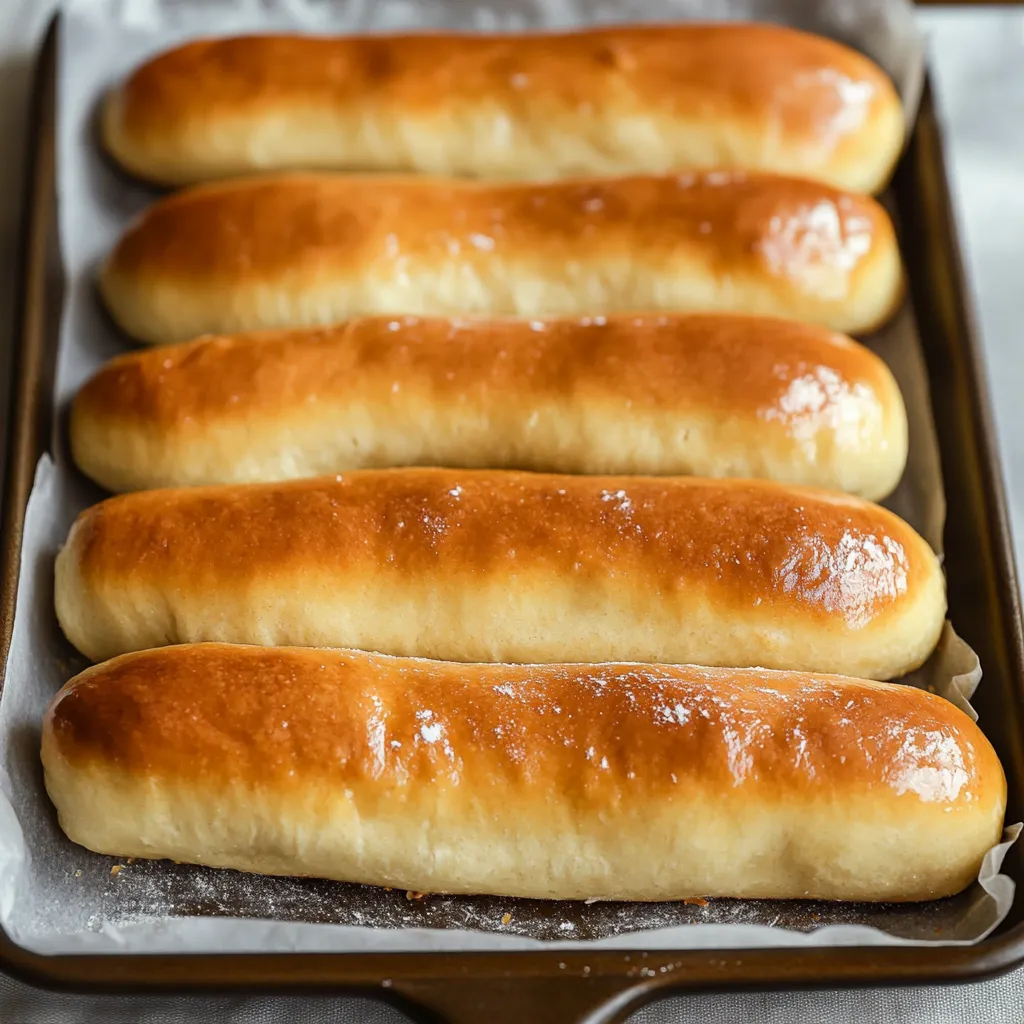
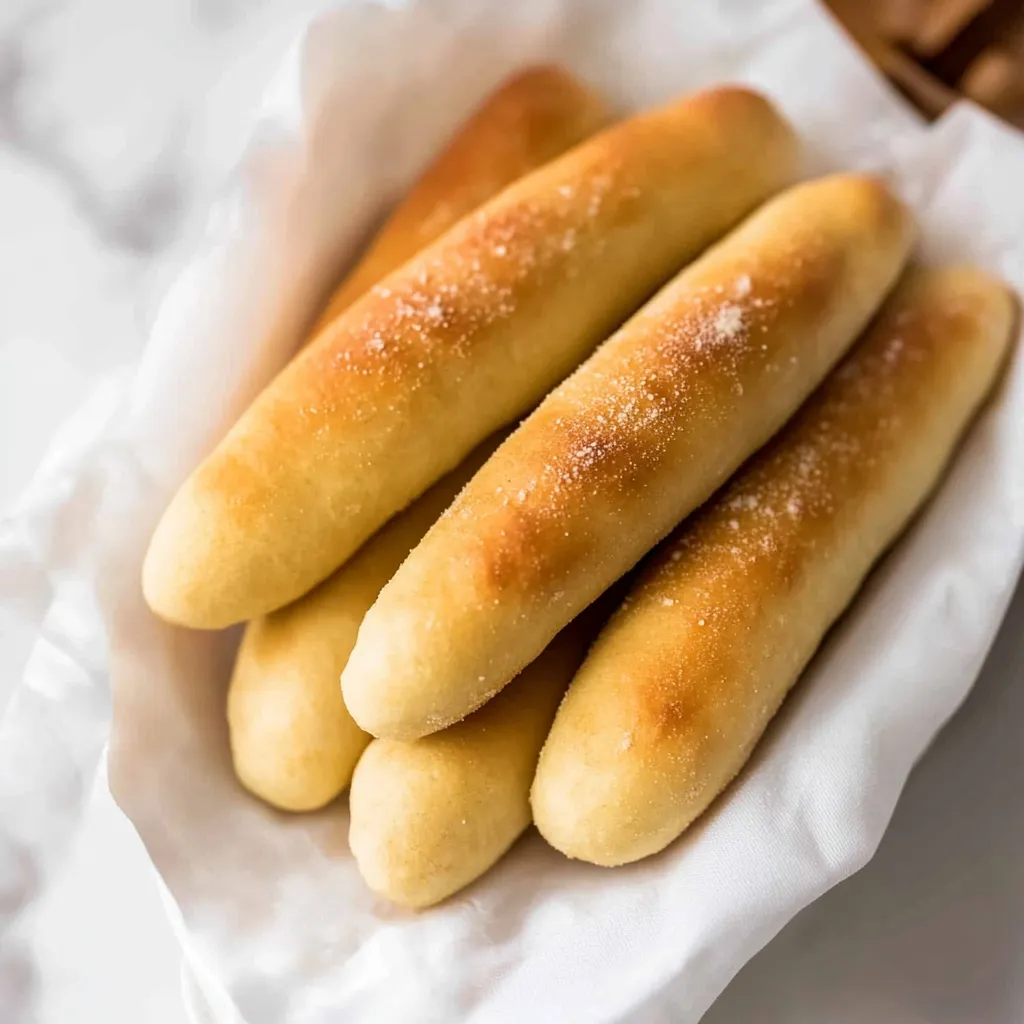
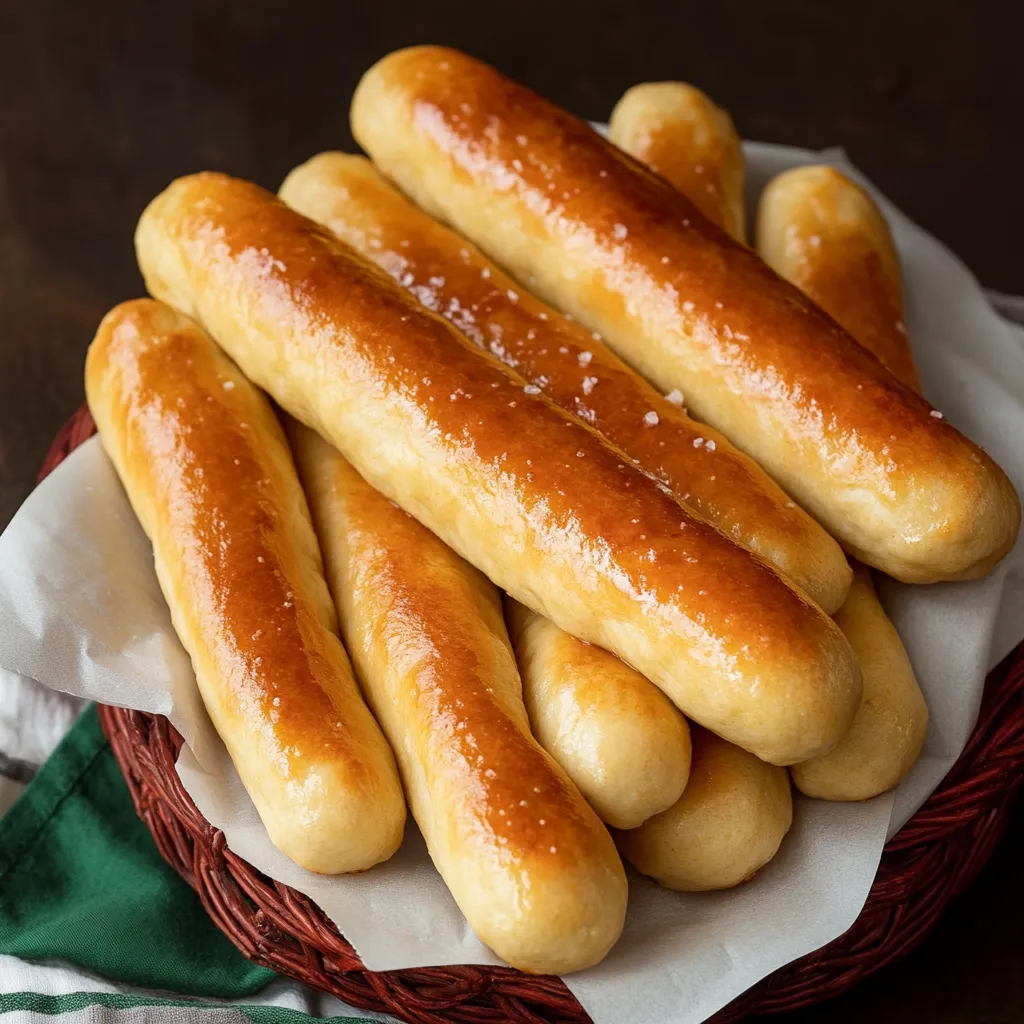
These homemade Olive Garden breadsticks deliver all the soft, buttery goodness of the restaurant favorite right in your own kitchen. With their pillowy texture, garlic-butter topping, and irresistible aroma, they're guaranteed to become the star of any meal. Perfect for dipping in your favorite sauce or enjoying alongside pasta, these breadsticks will have everyone reaching for seconds before the pasta even hits the table.
I've been perfecting this copycat recipe for years, and my family now requests these breadsticks weekly. Last month, I served these at a dinner party, and one guest insisted they were better than the original! The secret lies in the rise time and generous butter-garlic topping applied while they're still warm.
Essential Ingredients
- For the Dough:
- 1¼ cups warm water: Temperature around 110°F activates yeast without killing it
- 2 tablespoons granulated sugar: Feeds the yeast and adds subtle sweetness
- 1 tablespoon active dry yeast: Creates the perfect light, airy texture
- 2 tablespoons butter, melted: Unsalted preferred for better flavor control
- 3½ cups all-purpose flour: Provides structure while maintaining softness
- 2 teaspoons salt: Enhances overall flavor profile
- For the Topping:
- 4 tablespoons butter, melted: Use real butter for authentic flavor
- 1 teaspoon garlic powder: More evenly distributed than fresh garlic
- 1 teaspoon salt: Fine salt adheres better to the breadsticks
 Pin it
Detailed Cooking Instructions
- Step 1: Activate Your Yeast
- In a small bowl, combine warm water (110°F - comfortably warm to the touch) with sugar and stir until dissolved. Sprinkle yeast over the surface and let it sit undisturbed for 10 minutes. Watch for a foamy, bubbly surface - this indicates your yeast is alive and active. This step ensures your breadsticks will rise properly.
- Step 2: Form Your Dough
- In a large mixing bowl, combine flour and salt, mixing thoroughly. Make a well in the center and pour in your activated yeast mixture and melted butter. Using a wooden spoon, gradually incorporate the dry ingredients into the wet until a shaggy dough forms. Turn out onto a lightly floured surface.
- Step 3: Develop The Gluten
- Knead the dough for 7-8 minutes until smooth and elastic. The dough should feel slightly tacky but not sticky, and should spring back when gently pressed. This kneading process develops the gluten that gives your breadsticks their perfect chewy texture.
- Step 4: Shape The Breadsticks
- Divide the dough into 12 equal portions (using a kitchen scale helps ensure uniformity). Roll each portion into a rope approximately 7 inches long. Place them on a parchment-lined baking sheet, leaving about 2 inches between each breadstick to allow for expansion.
- Step 5: Allow Proper Rising
- Cover the breadsticks with a clean kitchen towel and place in a warm, draft-free area. Let them rise for 1 hour - they won't double in size like some bread recipes, but will become noticeably puffier. This slower rise develops flavor and creates that signature Olive Garden texture.
- Step 6: Bake To Golden Perfection
- Preheat your oven to 390°F during the final 10 minutes of rising time. Bake the breadsticks for 12-15 minutes, or until they're light golden on top. Watch carefully in the final minutes - they should be cooked through but not deeply browned.
 Pin it
I discovered that brushing the breadsticks with butter twice - once immediately after baking and again about 5 minutes later - creates that distinctive Olive Garden flavor and texture. The first layer soaks in while the second creates the perfect finish.
The Secrets To Perfect Texture
The key difference between homemade breadsticks and restaurant quality lies in handling the dough. Avoid overworking it once the yeast is added, as this can make them tough. A gentle touch during shaping helps maintain those air pockets that create the perfect chew.
Storage and Reheating Tips
While these breadsticks are best enjoyed fresh from the oven, they can be stored in an airtight container for up to 2 days. To restore their fresh-baked quality, wrap them in foil and reheat in a 300°F oven for about 5 minutes.
After years of testing, I've found that what makes these breadsticks truly special is the balance between a light, airy interior and that distinctive buttery, garlicky exterior. Unlike many copycat recipes, this version doesn't try to shortcut the process - those small details like proper kneading time and double butter application make all the difference between good breadsticks and great ones.
Frequently Asked Questions
- → Can I make these breadsticks ahead of time?
- Yes! You can prepare the dough up to 24 hours ahead and refrigerate it. Let it come to room temperature before shaping. You can also freeze baked breadsticks and reheat them in the oven.
- → Why do my breadsticks turn out dense instead of fluffy?
- Dense breadsticks usually mean the dough didn't rise enough. Make sure your yeast is fresh and the water temperature is correct (warm but not hot). Also, give the dough enough time to rise in a warm spot.
- → Can I use all-purpose flour instead of bread flour?
- Yes, you can substitute all-purpose flour, but your breadsticks might be slightly less chewy. Bread flour has more protein which helps develop the gluten that gives breadsticks their texture.
- → How do I store leftover breadsticks?
- Store completely cooled breadsticks in an airtight container at room temperature for up to 2 days. For longer storage, freeze them in a ziplock bag for up to 1 month.
- → Can I add different toppings to these breadsticks?
- Absolutely! Try brushing with egg wash and sprinkling with everything bagel seasoning before baking, or adding Italian herbs, or even making sweet cinnamon breadsticks by tossing them in cinnamon sugar after baking.