
 Pin it
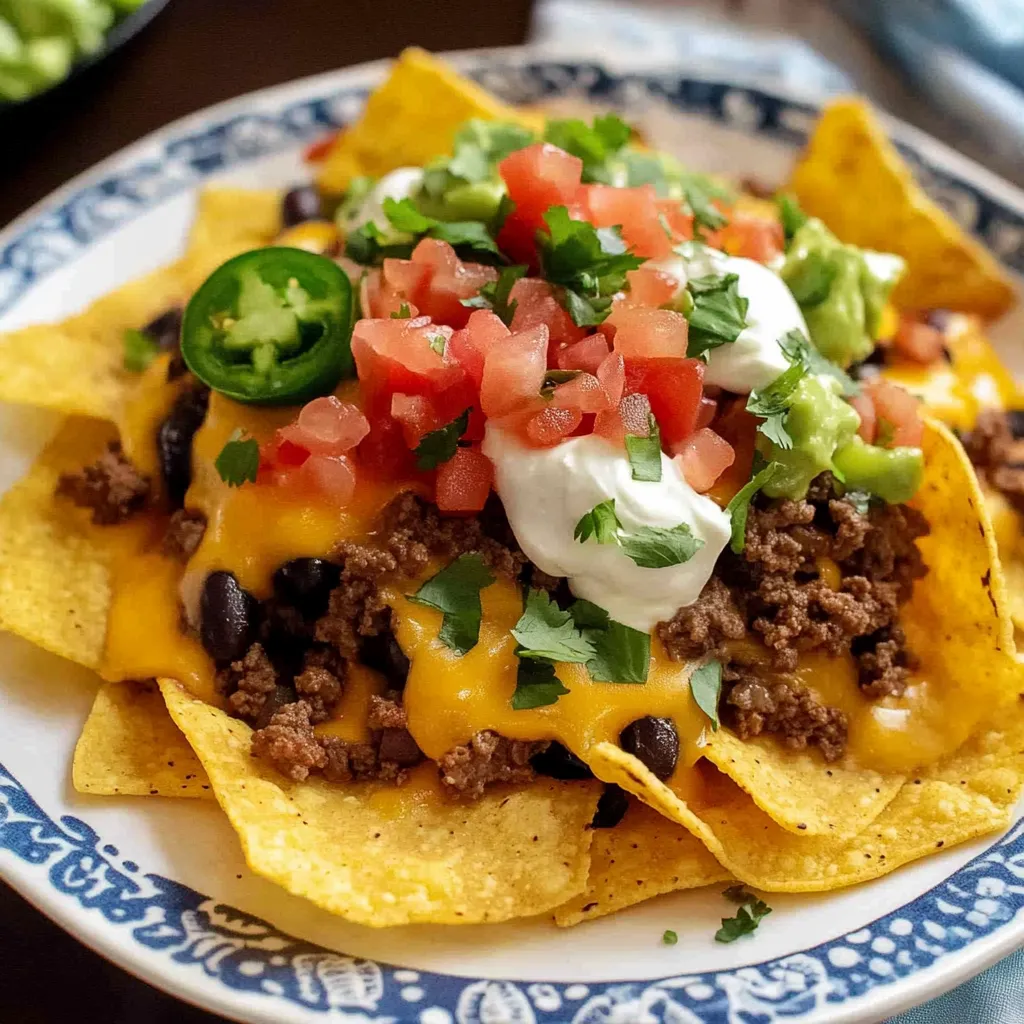
These loaded nachos deliver on every level - crispy, cheesy, savory, and endlessly customizable. Built on a foundation of toasted tortilla chips and layered with seasoned ground beef, melted cheese, and your choice of vibrant toppings, this recipe creates the perfect balance of textures and flavors in every bite. Whether serving as a game day appetizer, party snack, or casual family dinner, these nachos are guaranteed to disappear fast.
I've made these nachos for countless gatherings, and they consistently earn rave reviews. Last Super Bowl, I set out a tray that was supposed to serve as an appetizer - it vanished before the main dishes even made it to the table! The secret lies in toasting the chips before adding toppings, creating that perfect foundation that stays crispy even under layers of goodness.
Essential Ingredients
- For the Beef Layer:
- 1 pound ground beef: Lean ground beef (85/15) provides flavor without excess grease
- 1 small onion, diced: Adds aromatic depth and natural sweetness
- 1 tablespoon chili powder: Creates authentic taco flavor
- 1 teaspoon garlic powder: Provides savory notes without the burn of fresh garlic
- 1 teaspoon ground cumin: Adds earthy warmth essential to Mexican-inspired dishes
- For the Base and Cheese:
- 1 large bag tortilla chips (13 oz): Thick, sturdy chips hold up best under toppings
- 3 cups shredded cheese: Colby Jack offers perfect meltability and flavor balance
- 1 can (15 oz) black beans, drained: Adds protein and hearty texture
- For Topping Options:
- Pico de gallo: Provides fresh brightness that cuts through the richness
- Sliced jalapeños: Adds customizable heat
- Chopped cilantro: Contributes fresh, herbal notes
- Sour cream: Offers cooling creaminess that balances spice
 Pin it
Detailed Cooking Instructions
- Step 1: Prepare the Seasoned Beef
- In a large skillet over medium-high heat, brown the ground beef and diced onion together. Break the meat into small, bite-sized crumbles as it cooks - this ensures even distribution across your nachos. Once the beef is no longer pink (about 5-7 minutes), drain any excess fat. Return to heat and add chili powder, garlic powder, cumin, and salt. Cook for an additional 2 minutes, stirring frequently to toast the spices and develop flavor.
- Step 2: Toast the Foundation
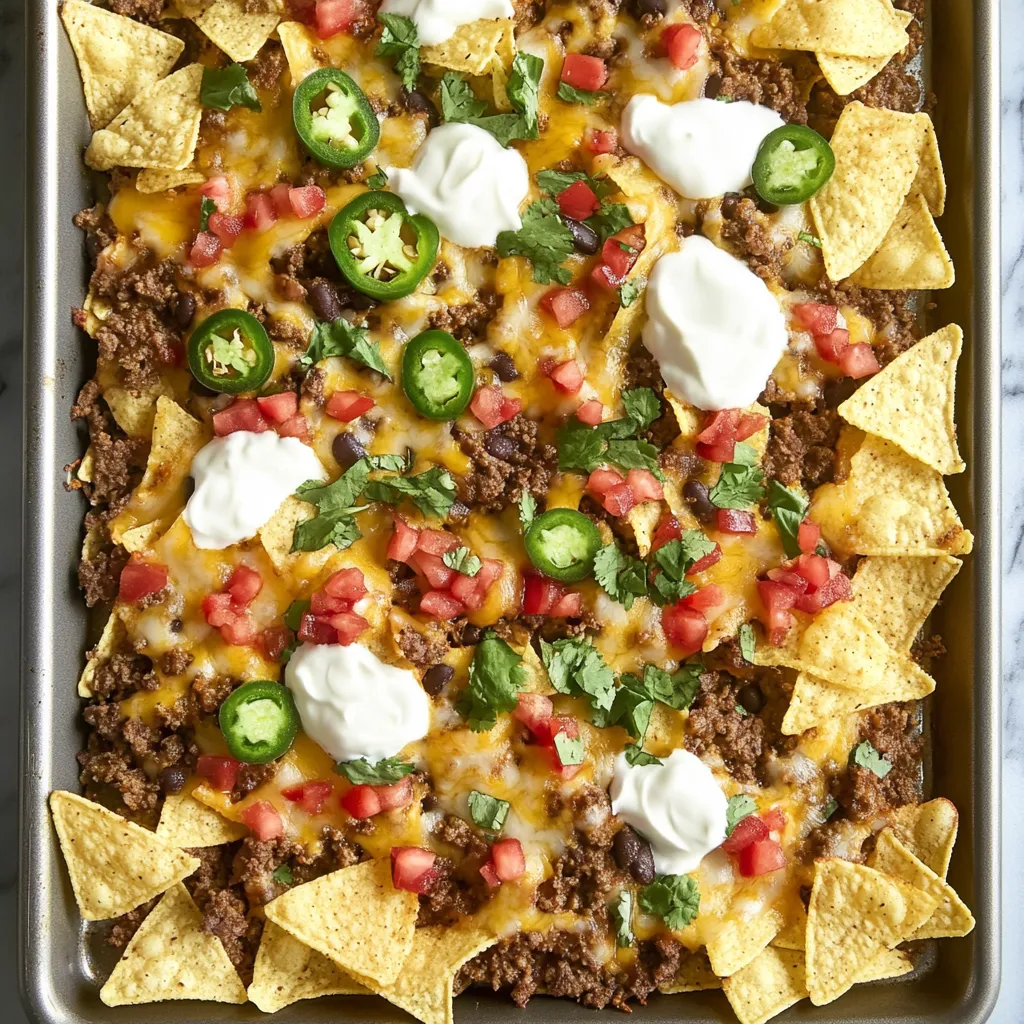
- Preheat your oven to 350°F. Spread tortilla chips in an even layer on a large rimmed baking sheet. Don't overcrowd - a single layer with slight overlap is ideal. Place in the preheated oven for 5 minutes. This crucial step warms and slightly crisps the chips, creating a sturdy base that resists sogginess once topped.
- Step 3: Begin the Layering Process
- Remove the warmed chips from the oven and immediately sprinkle with two-thirds of your shredded cheese. The residual heat will begin melting the cheese, creating a protective layer between the chips and toppings. This cheese "barrier" is key to maintaining crispness.
- Step 4: Add Protein Components
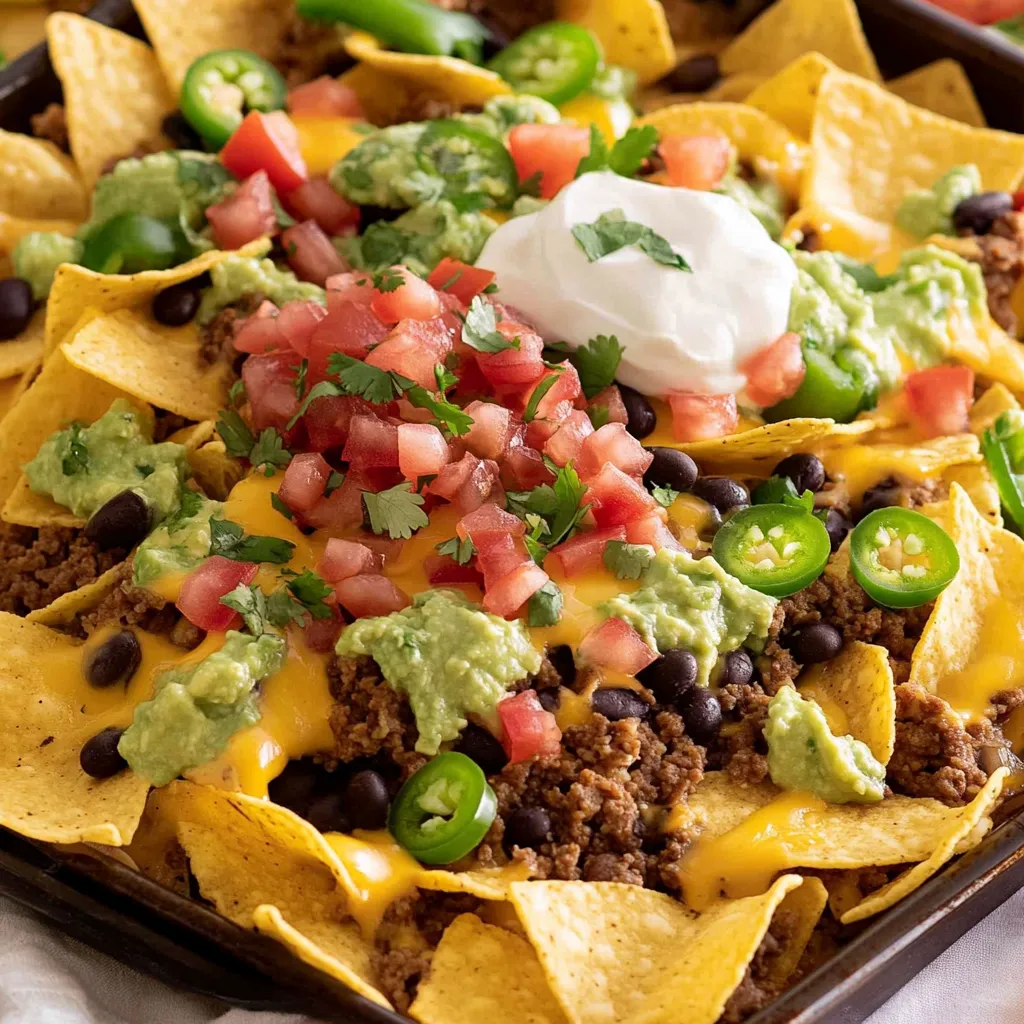
- Evenly distribute the seasoned beef and drained black beans over the partially melted cheese layer. Try to cover as much surface area as possible for well-balanced bites. Sprinkle the remaining cheese over the top to bind everything together.
- Step 5: Melt to Perfection
- Return the loaded nachos to the oven for approximately 5 minutes, just until the cheese is completely melted and the toppings are heated through. Watch carefully - you want melted cheese, not browned or hardened cheese.
- Step 6: Add Fresh Toppings
- Remove from the oven and immediately add fresh toppings like pico de gallo, sliced jalapeños, and chopped cilantro. Serve with small bowls of sour cream, guacamole, and salsa for customized garnishing at the table.
I've found that creating a "station" of toppings allows everyone to customize their portion. Some prefer extra jalapeños while others want to load up on sour cream - providing options ensures everyone gets their perfect nacho experience.
 Pin it
The Art of Chip Selection
After many nacho-making sessions, I've discovered that the chip is truly the foundation of success. Restaurant-style thick tortilla chips are ideal, as they maintain structural integrity under the weight of toppings. Thin chips may be fine for dipping, but they simply can't stand up to loaded nachos.
After perfecting this recipe through countless game days and gatherings, I've learned that nachos are as much about technique as ingredients. The layering process, proper pre-toasting, and strategic placement of wet ingredients make the difference between soggy disappointment and crispy, cheese-pull perfection. These loaded nachos deliver that perfect balance every time.
Frequently Asked Questions
- → Can I make nachos ahead of time?
- For best results, assemble and bake nachos right before serving. You can prep the meat mixture ahead of time and store it in the fridge for 1-2 days. When ready to serve, warm the meat, then assemble and bake the nachos fresh.
- → What's the best cheese for nachos?
- Freshly shredded Colby Jack works great, but you can also use cheddar, Monterey Jack, or a Mexican cheese blend. Avoid pre-shredded cheese as it contains anti-caking agents that prevent proper melting.
- → How do I keep my nachos from getting soggy?
- Pre-toast your chips for 5 minutes before adding toppings, drain any wet ingredients like beans, and serve immediately after baking. If making a large batch, consider doing multiple smaller batches.
- → Can I make vegetarian nachos?
- Absolutely! Skip the ground beef and double up on black beans, or add vegetarian meat alternatives. You can also add roasted vegetables like corn, bell peppers, and zucchini for extra flavor and nutrition.
- → What sides go well with nachos?
- Nachos work great with sides like Mexican rice, refried beans, a simple green salad, or corn on the cob. For drinks, consider margaritas, Mexican beer, or horchata.