
 Pin it
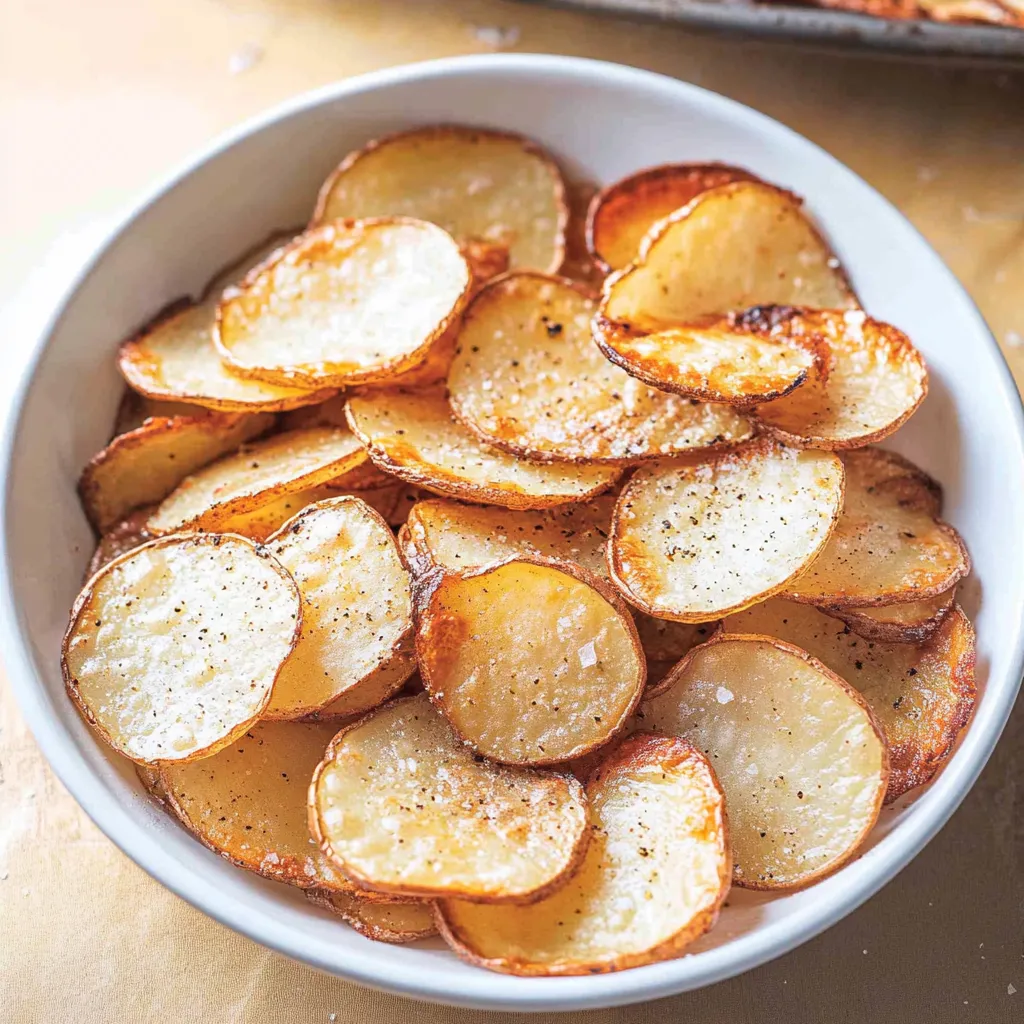
There's something absolutely magical about pulling a tray of perfectly golden, crispy homemade potato chips out of your own oven, knowing they're so much better than anything you could buy at the store. These aren't your typical greasy chips - they're light, incredibly crunchy, and seasoned with just the right amount of garlic and paprika to make them completely addictive. The best part is how simple they are to make with just a few ingredients and some patience while they transform in the oven.
I started making these when I wanted a healthier alternative to store-bought chips but didn't want to sacrifice any of that satisfying crunch. The first batch was such a hit with my family that I immediately made another tray, and now these have become our go-to snack for movie nights and casual entertaining. There's something so satisfying about making your own chips from scratch.
Essential Ingredients for Perfect Crispiness
- Russet potatoes: The high starch content is what creates that incredible crispiness we're after
- Extra virgin olive oil: Just enough to help the seasonings stick and promote browning
- Paprika and garlic powder: Create that perfect savory flavor that makes these so addictive
- Sea salt and black pepper: Essential for bringing out all the other flavors
- Extra salt for finishing: Because fresh-from-the-oven chips need that final sprinkle
Step-by-Step Chip Making Process
- Prepare your potatoes properly:
- Wash and scrub 2-3 large russet potatoes thoroughly, leaving the skin on for extra nutrition and texture. Using a mandoline slicer or very sharp knife, slice them into uniform rounds just under ⅛ inch thick. Consistency is key for even cooking.
- Remove excess starch completely:
- Place the sliced potatoes in a large bowl of cold water and rinse them thoroughly, using your hands to agitate and separate the slices. Change the water 2-3 times until it runs clear. This step is absolutely crucial for achieving maximum crispiness.
- Dry thoroughly for best results:
- Spread the rinsed potato slices on clean kitchen towels and pat them completely dry. Any excess moisture will cause steaming instead of crisping, so don't rush this step. Let them air dry for a few minutes while you preheat your oven to 425 degrees.
- Season with perfect flavor balance:
- In a large bowl, toss the dried potato slices with 2 tablespoons olive oil, 1 teaspoon paprika, ½ teaspoon garlic powder, ½ teaspoon salt, and ¼ teaspoon black pepper. Use your hands to make sure every slice is evenly coated with oil and seasonings.
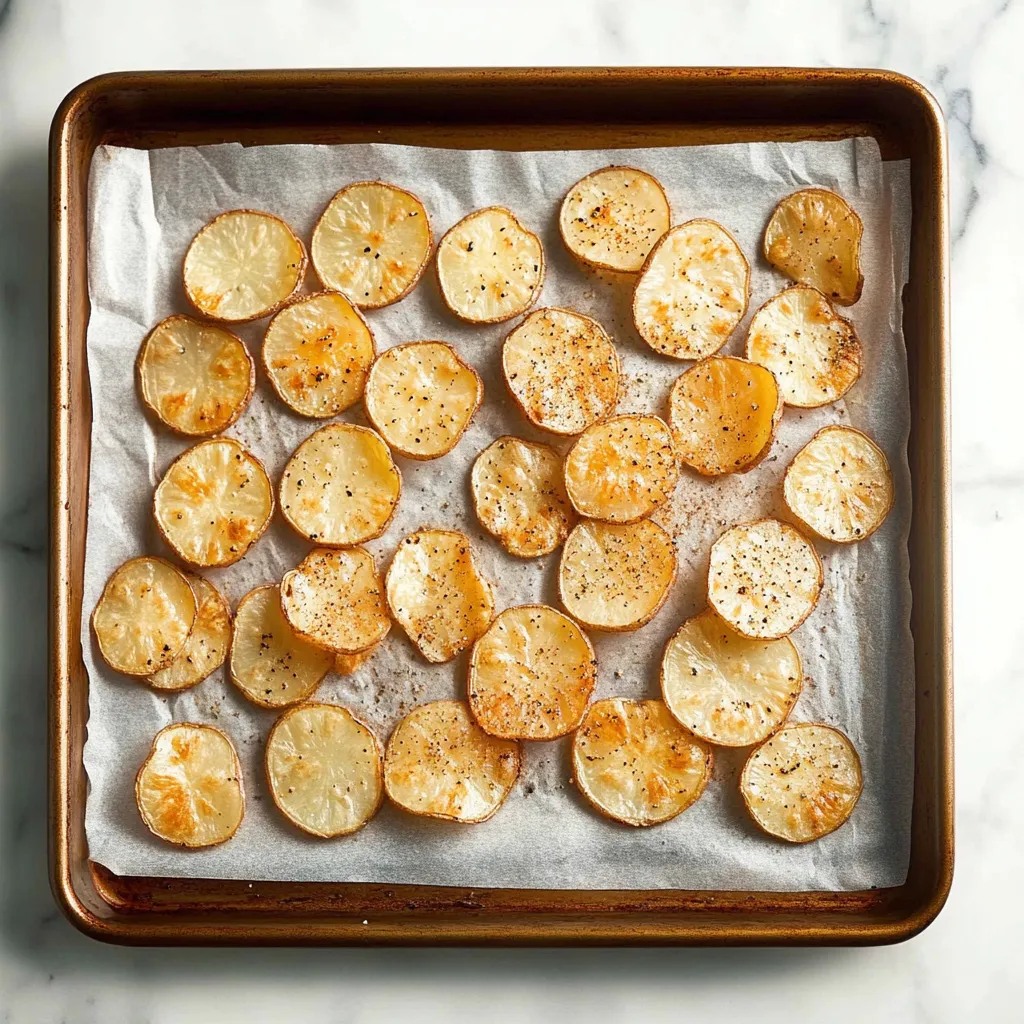
- Arrange for optimal crisping:
- Line large baking sheets with parchment paper and arrange the seasoned potato slices in a single layer with no overlapping. If they overlap, they'll steam instead of crisp. Use multiple baking sheets if necessary - it's worth it for perfect results.
- Bake to golden perfection:
- Bake for 15-20 minutes, checking frequently during the last few minutes since they can go from perfect to burnt very quickly. They're done when they're golden brown and lift easily from the parchment paper. Immediately sprinkle with additional salt while still hot.
 Pin it
My kids get so excited when they see me pulling out the mandoline because they know chip-making time has arrived. They love helping season the potato slices and arguing over who gets to eat the first perfectly crispy chip that comes out of the oven. Even my husband, who's usually skeptical of my "healthier" versions of things, admits these are better than store-bought.
Understanding the Potato Selection
Russet potatoes are absolutely essential for this recipe because of their high starch content and low moisture. These characteristics are what create that perfect crispy texture we're after. While you could use other potatoes, russets give you the closest thing to professional chip shop results in your home oven.
Mastering the Slicing Technique
Getting uniform slices is crucial for even cooking - some too thick and they won't crisp, some too thin and they'll burn. A mandoline slicer is worth the investment if you plan to make these regularly, but a very sharp knife and careful attention to thickness will work too. Aim for just under ⅛ inch thick.
The Critical Starch Removal Process
This step might seem tedious, but it's what separates amazing homemade chips from disappointing ones. The starch on the surface of the potatoes traps moisture and prevents proper crisping. Keep rinsing until the water runs clear - it usually takes 3-4 changes of water and some gentle agitation with your hands.
Temperature and Timing Secrets
Every oven is slightly different, so start checking your chips around the 12-minute mark. They'll go from perfectly golden to burnt very quickly, so don't walk away during the final stages. The chips are ready when they're golden brown and you can lift them easily from the parchment without them sticking.
Creative Seasoning Variations
While the garlic and paprika combination is absolutely perfect, these chips are incredibly versatile. I sometimes make batches with different seasonings - ranch powder, chili lime, or even just sea salt and rosemary for something more sophisticated. The key is adding seasonings while the oil is still wet so they adhere properly.
After making countless batches of these homemade potato chips for family snack times, party appetizers, and movie night treats, I can honestly say they never get old. There's something so satisfying about creating this kind of perfectly crispy, flavorful snack from such simple ingredients. Whether you're looking for a healthier alternative to store-bought chips or just want the satisfaction of making something delicious from scratch, these oven-baked chips prove that sometimes the best treats are the ones you make yourself with just a little patience and care.
Frequently Asked Questions
- → How thin should I slice the potatoes?
- Slice them just under 1/8-inch thick. Use a mandoline for best results, or a sharp knife if you don't have one.
- → Why do I need to rinse the potatoes?
- Rinsing removes surface starch which helps the chips get crispy instead of soggy. Don't skip this step!
- → Can I use other types of potatoes?
- Russet potatoes work best because they have less moisture and more starch, which makes them crispier when baked.
- → How do I store leftover chips?
- Keep cooled chips in an airtight container for up to 3 days. They might lose some crunch but still taste good.
- → What if my chips aren't crispy enough?
- Bake them a few minutes longer, checking every 2-3 minutes. Make sure they were dried well before baking.
- → Can I make these without oil?
- Oil helps with browning and flavor, but you can reduce it to 1-2 tablespoons if you prefer lighter chips.