
 Pin it
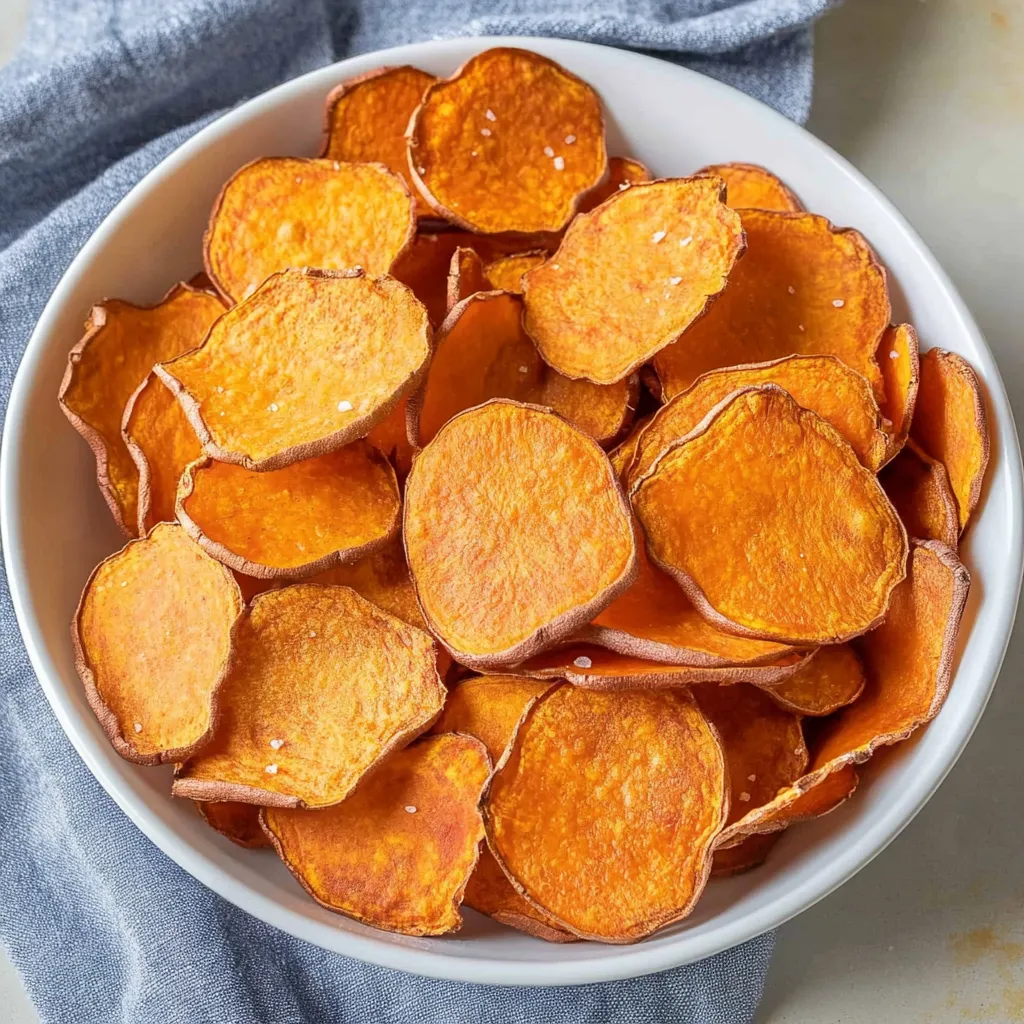
When you want something crispy and satisfying to snack on but don't want to feel guilty about it afterward, these baked sweet potato chips are absolutely perfect. They're naturally sweet, incredibly crunchy, and require just three simple ingredients to create something that rivals any fancy store-bought veggie chips. The best part is that you can control exactly how thick or thin you want them, and they taste so much fresher than anything you could buy in a bag.
I started making these when I got tired of spending ridiculous amounts of money on those fancy vegetable chips at the store, only to have them disappear in one sitting. The first time I made a batch, I was amazed at how much better they tasted fresh from the oven, and now I can't imagine going back to store-bought. My kids actually prefer these to regular chips, which makes me feel like such a winner as a parent.
Essential Ingredients for Perfect Chips
- Fresh sweet potatoes (about 1½ pounds): Choose firm ones with smooth skin for the best results
- Extra virgin olive oil: Just enough to help them crisp up beautifully without being greasy
- Coarse kosher salt or sea salt: The larger flakes stick better and provide that perfect salty contrast to the natural sweetness
Step-by-Step Chip Making Process
- Set up for success:
- Preheat your oven to 300 degrees and line several large baking sheets with parchment paper. The lower temperature is key - it allows the chips to dehydrate and crisp up without burning.
- Slice for perfect consistency:
- Wash the sweet potatoes thoroughly but leave the skin on for extra nutrition and color. Using a mandoline slicer set to the thinnest setting, slice the sweet potatoes into uniform rounds. If you don't have a mandoline, use a very sharp knife or even a vegetable peeler for paper-thin slices.
- Coat evenly with oil:
- Place all the sweet potato slices in a large bowl and drizzle with about 2 tablespoons olive oil. Use your hands to toss them thoroughly, making sure every single slice is lightly coated on both sides. This even coating is what creates that perfect golden crispiness.
- Arrange for optimal crisping:
- Lay the oiled slices in a single layer on your prepared baking sheets, making sure they don't overlap at all. Overlapping slices will steam instead of crisp, so use as many baking sheets as necessary.
- Season with perfect salt distribution:
- Sprinkle the slices lightly with kosher salt while the oil is still wet so it adheres properly. Don't go overboard - you can always add more salt after they're baked, but you can't take it away.
- Bake low and slow to perfection:
- Bake for 20-25 minutes, checking frequently during the last 5 minutes since they can go from perfect to burnt very quickly. They're done when they're golden around the edges and feel crispy when you test one. If some are done before others, remove the finished ones and continue baking the rest.
- Cool completely for maximum crunch:
- Let the chips cool on the baking sheets for about 5 minutes before transferring to serving bowls. Any chips that still feel soft in the center can go back in the oven for another 3-5 minutes.
 Pin it
My family has become completely addicted to these chips. My husband actually hides bags of them from himself because he has zero self-control when they're around, and my kids pack them in their lunches and get jealous looks from their friends. I love that I can feel good about giving them something this delicious and nutritious.
Understanding the Sweet Potato Magic
Sweet potatoes are naturally higher in vitamins and fiber than regular potatoes, and that natural sweetness pairs so beautifully with just a touch of salt. The skin adds extra nutrition and a lovely color contrast, plus it helps the chips hold their shape during baking. Don't skip it - it's one of the best parts.
Mastering the Slicing Technique
The key to perfect chips is getting them sliced as evenly as possible. A mandoline really is worth the investment if you plan to make these regularly, but a sharp knife and patience will work too. Aim for slices that are almost translucent - the thinner they are, the crispier they'll get.
Temperature and Timing Secrets
That 300-degree temperature might seem low, but it's what allows the moisture to evaporate slowly while the natural sugars caramelize just enough to create incredible flavor. Higher temperatures would burn the outside before the inside gets crispy. Watch them carefully during the last few minutes since every oven is different.
Creative Seasoning Variations
While the simple salt version is absolutely perfect, these chips are incredibly versatile when it comes to seasonings. Sometimes I make batches with smoked paprika and garlic powder for something more savory, or a sprinkle of cinnamon for when I want something that feels more like a treat.
Storage and Serving Ideas
These keep beautifully in airtight containers for up to a week, making them perfect for meal prep. I love serving them with hummus or guacamole for a healthy snack, or just eating them straight from the container when I need something satisfying. They're also gorgeous as part of a cheese board or appetizer spread.
After making countless batches of these sweet potato chips for family snacks, party appetizers, and meal prep sessions, I can honestly say they never get old. There's something so satisfying about creating this kind of healthy, delicious snack from such simple ingredients, and knowing that you're giving your family something nutritious that they actually crave. Whether you're looking for a guilt-free snack or just want to impress guests with something homemade and special, these chips prove that the best treats often come from the simplest techniques.
Frequently Asked Questions
- → How thin should I slice the sweet potatoes?
- Slice them as thin as possible, like paper. A mandoline slicer works best, but a sharp knife can do the job too.
- → Why do my chips come out soggy?
- Make sure slices are thin enough and baked in a single layer. Don't overlap them on the baking sheet.
- → Can I store leftover chips?
- Yes, store them in an airtight container for up to 3 days. They taste best when fresh though.
- → What temperature should I bake them at?
- Bake at 300°F. This lower temperature prevents burning while making them crispy.
- → How do I know when they're done?
- They should look golden around the edges and feel crispy. Start checking after 20 minutes of baking.
- → Do I need to peel the sweet potatoes?
- You can leave the skin on for extra nutrition, but peeling gives a cleaner taste and appearance.