
 Pin it
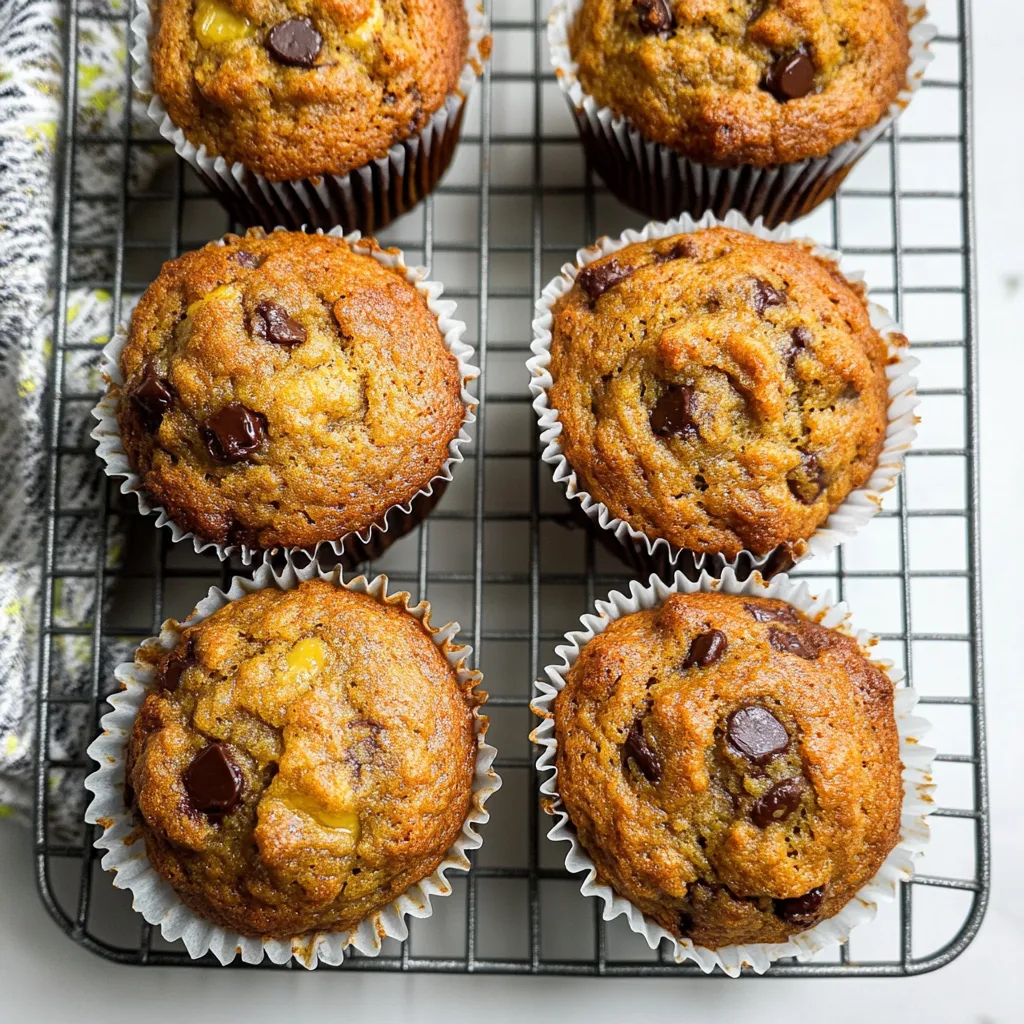
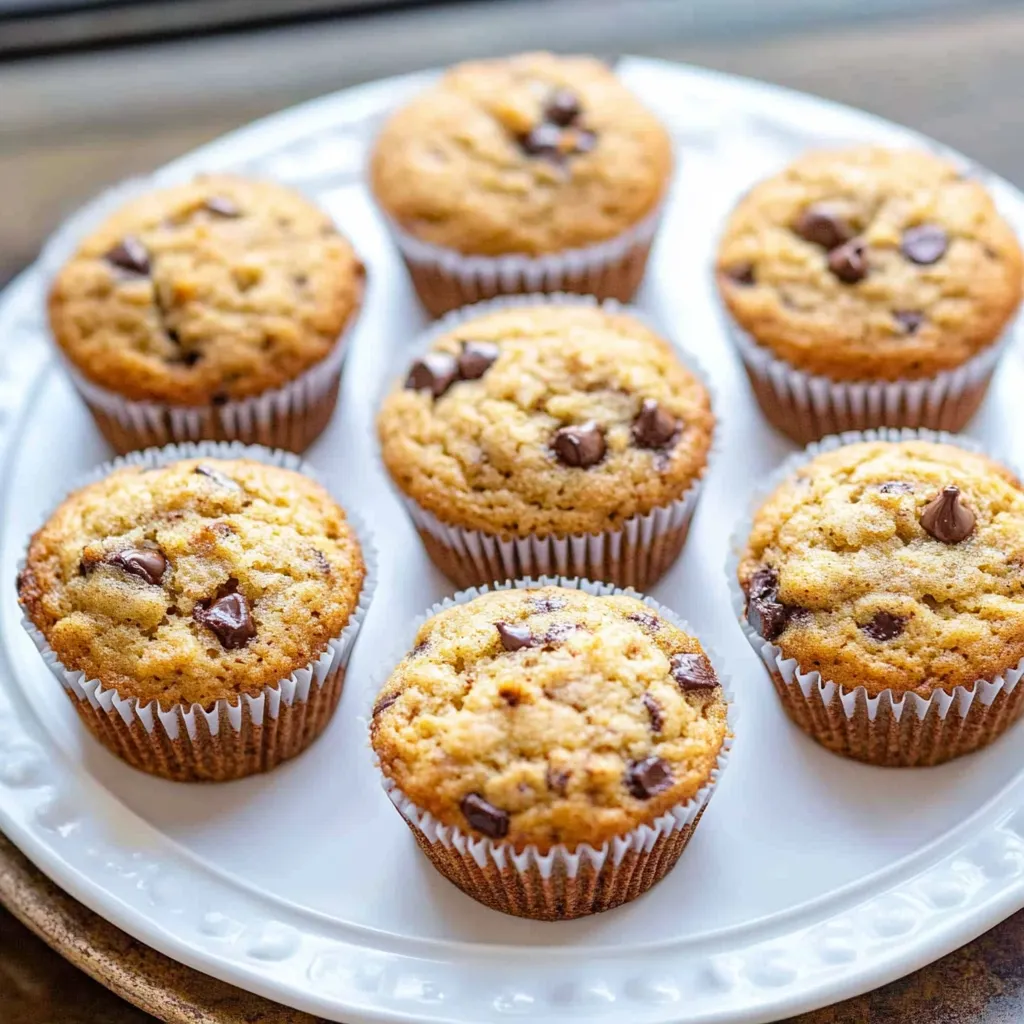
These incredibly moist banana bread muffins transform overripe bananas into the most delicious breakfast treats that taste like individual slices of your favorite banana bread in convenient, portable form. With just 20 minutes of prep time and basic pantry ingredients, these tender muffins deliver that perfect balance of sweet banana flavor and comforting spices that makes them absolutely irresistible any time of day.
I honestly believe these muffins are the absolute best way to get your daily dose of fruit - and I'm only half joking about that! There's something so satisfying about transforming those spotted bananas that everyone's avoiding into these amazing muffins that disappear within hours of coming out of the oven. My family has completely fallen in love with these because they deliver all the comfort and flavor of traditional banana bread but in individual portions that are perfect for grabbing on busy mornings.
Ingredients and Why They Matter
- Very ripe bananas with brown spots: provide natural sweetness and intense banana flavor while creating the moist texture that makes these muffins so special
- All-purpose flour: gives the perfect structure and tender crumb without making the muffins too dense or heavy
- Light brown sugar: adds moisture, rich flavor, and that subtle molasses note that complements the bananas beautifully
- Unsalted butter: creates rich flavor and contributes to the tender, moist texture when properly incorporated
- Large egg: binds all the ingredients together while adding structure and richness to the final muffins
- Pure vanilla extract: enhances all the other flavors and adds that warm, comforting aroma we all love
- Baking soda: provides the perfect amount of lift to create light, fluffy muffins that aren't too dense
- Salt: balances the sweetness and intensifies all the other flavors in the most important way
Step-by-Step Instructions
- Prepare your oven and muffin pan:
- Preheat your oven to 375°F and line a standard 12-cup muffin pan with paper liners or grease thoroughly with butter. Having everything ready before you start mixing ensures the batter goes into the oven at the perfect moment.
- Mash the bananas to perfection:
- Peel 3 large very ripe bananas and place them in a large mixing bowl. Using a potato masher or large fork, mash them until they're mostly smooth with just a few small lumps remaining. The riper the bananas, the easier this step will be and the more flavorful your muffins.
- Combine the wet ingredients:
- Add 1 beaten large egg, 1/3 cup melted and cooled butter, and 1 teaspoon pure vanilla extract to the mashed bananas. Stir everything together until well combined and the mixture looks smooth and cohesive.
- Mix the dry ingredients separately:
- In a separate medium bowl, whisk together 1 1/2 cups all-purpose flour, 3/4 cup packed light brown sugar, 1 teaspoon baking soda, and 1/2 teaspoon salt until everything is evenly distributed and there are no lumps.
- Combine wet and dry ingredients carefully:
- Add the dry ingredient mixture to the wet ingredients all at once. Using a rubber spatula or wooden spoon, gently fold the mixture together just until the flour disappears and everything is incorporated. Don't overmix - a few streaks of flour are okay and will prevent tough muffins.
- Add optional mix-ins:
- If using chocolate chips, chopped walnuts, or other add-ins, gently fold in up to 1 cup total of your chosen mix-ins. Distribute them evenly throughout the batter without overmixing.
- Fill the muffin cups properly:
- Using a large spoon or ice cream scoop, divide the batter evenly among the 12 muffin cups, filling each about 3/4 full. This ensures they have room to rise without overflowing.
- Bake to golden perfection:
- Bake for 18-22 minutes, until the tops are golden brown and a toothpick inserted in the center comes out with just a few moist crumbs attached. Don't overbake or they'll become dry.
- Cool properly:
- Let the muffins cool in the pan for 5 minutes to set up, then carefully transfer them to a wire rack to cool completely. This prevents them from becoming soggy on the bottom while maintaining that perfect texture.
 Pin it
I learned the hard way that banana ripeness really makes or breaks this recipe. The first time I made these, I used bananas that were only lightly spotted because I thought they looked better, but the muffins lacked that intense banana flavor I was craving. Now I wait until my bananas are really spotted and soft - sometimes even completely brown - because that's when they're at their sweetest and most flavorful for baking.
Understanding Banana Selection and Preparation
The perfect bananas for these muffins are ones that most people would consider past their prime for eating fresh. Look for bananas with brown spots covering at least half the peel, and don't worry if they're even darker than that. These very ripe bananas have converted most of their starches to sugars, which means they'll provide both sweetness and intense banana flavor to your muffins. When mashing the bananas, aim for a consistency that's mostly smooth but retains some small lumps. These little pieces of banana will create pockets of concentrated flavor throughout the muffins and add interesting texture. If your bananas are very ripe, they'll mash easily with just a fork, but a potato masher gives you better control over the final texture.
Mastering the Mixing Technique
The key to tender, fluffy muffins lies in understanding the proper mixing technique. When you combine the wet and dry ingredients, you want to mix just until the flour disappears - no more. Overmixing develops the gluten in the flour, which creates tough, dense muffins instead of the light, tender ones we're after. I like to use a folding motion rather than stirring, which is gentler and less likely to overwork the batter. Add all the dry ingredients at once and then fold from the bottom of the bowl up and over, rotating the bowl slightly with each fold. Stop as soon as you don't see any dry flour streaks, even if the batter looks a bit lumpy - those lumps will disappear during baking.
Customization and Mix-In Options
One of the best things about this recipe is how easily it adapts to different flavor preferences and dietary needs. Classic add-ins like chocolate chips and chopped walnuts are always winners, but don't be afraid to get creative. Dried cranberries, mini cinnamon chips, or even a swirl of peanut butter can transform these basic muffins into something completely new and exciting. The key to successful mix-ins is not to use more than one cup total, regardless of what you're adding. Too many mix-ins will disrupt the structure of the muffins and can cause them to fall apart or bake unevenly. I also like to toss mix-ins with a little flour before folding them in, which helps prevent them from sinking to the bottom during baking.
Baking and Doneness Indicators
Getting the baking time exactly right is crucial for achieving that perfect moist texture. Start checking your muffins at 18 minutes, but don't be surprised if they need the full 22 minutes depending on your oven and the size of your muffins. The tops should be golden brown and spring back lightly when touched, and a toothpick inserted in the center should come out with just a few moist crumbs. The cooling process is just as important as the baking itself. Letting the muffins rest in the pan for 5 minutes allows them to finish cooking from residual heat while setting their structure. If you try to remove them too early, they might fall apart, but if you leave them in the pan too long, the bottoms can become soggy from trapped steam.
Storage and Make-Ahead Tips
These muffins actually improve in flavor and texture after sitting for a day, as the banana flavor becomes more pronounced and the crumb becomes even more tender. Store them in an airtight container at room temperature for up to a week, though they're usually gone much sooner than that in my house. For longer storage, they freeze beautifully for up to three months. For busy mornings, I love making a double batch and freezing half for later. Individual muffins thaw quickly at room temperature or can be warmed in the microwave for 30-45 seconds for that fresh-from-the-oven experience. They're also perfect for meal prep - I often make them on Sunday and have grab-and-go breakfasts ready for the entire week.
These banana bread muffins have become such a treasured part of our family's routine because they perfectly capture the comfort and satisfaction of homemade baking while being completely achievable on even the busiest days. Every time I make them, I'm amazed at how such simple ingredients can create something so delicious and satisfying that brings everyone together in the kitchen. They've taught me that sometimes the best recipes are the ones that transform everyday ingredients into something special, turning what might be considered kitchen scraps into the kind of treat that creates lasting memories.
Frequently Asked Questions
- → Can I use regular bananas instead of overripe ones?
- Overripe bananas with brown spots work best because they're sweeter and mash easier. Regular bananas will work but won't be as flavorful.
- → How do I know when the muffins are done?
- Insert a toothpick in the center - it should come out with just a few moist crumbs. Don't overbake or they'll be dry.
- → Can I make these without chocolate chips?
- Yes! The chocolate chips and nuts are totally optional. Plain banana muffins taste great on their own.
- → How should I store leftover muffins?
- Keep them in an airtight container at room temperature for up to 3 days, or freeze for up to 3 months.
- → Can I use whole wheat flour instead?
- You can substitute up to half the flour with whole wheat, but using all whole wheat might make them dense and heavy.