
 Pin it
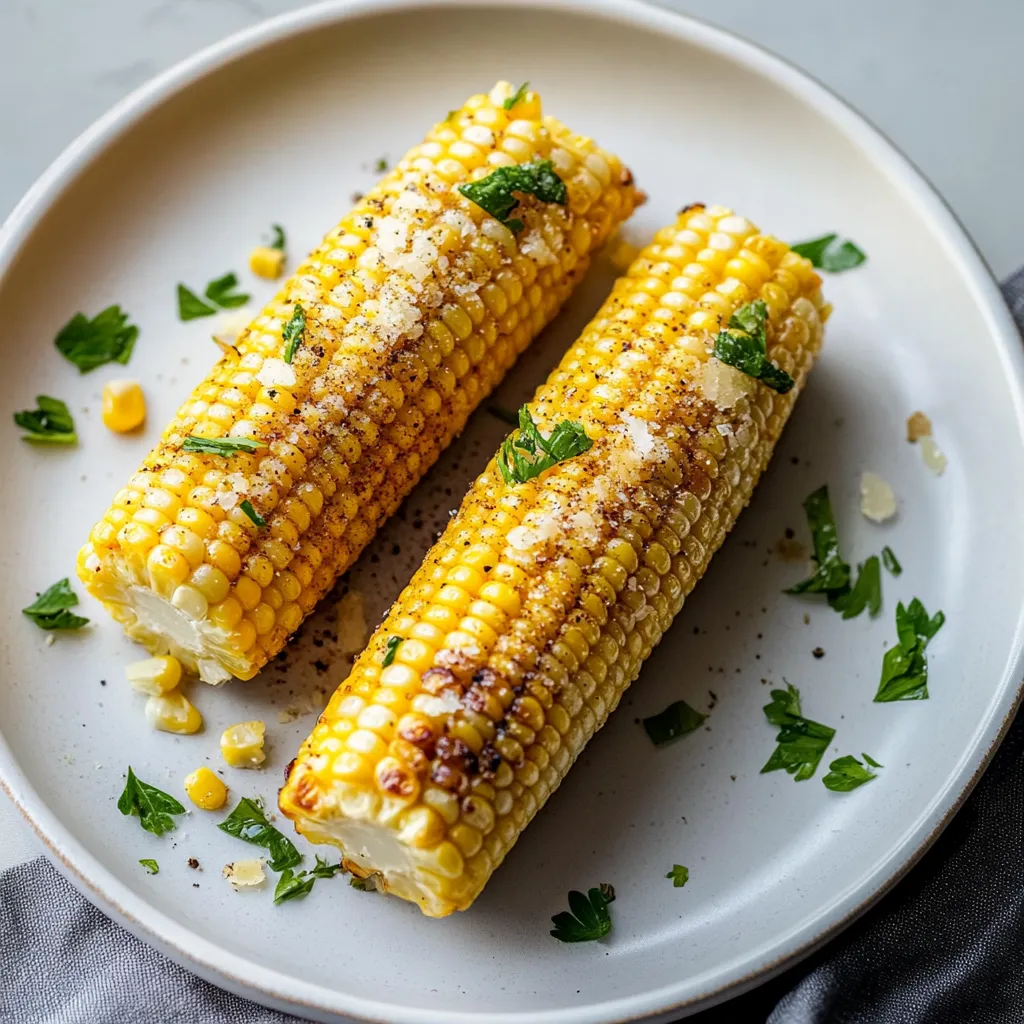
This Blackstone corn on the cob transforms a summer staple into something truly special. The flat top griddle creates the perfect environment for the corn to develop sweet, caramelized flavors while maintaining that perfect juicy texture. Simple ingredients and minimal prep time make this the ideal side dish for everything from casual weeknight dinners to backyard gatherings.
I started cooking corn this way last summer after my daughter, who normally pushes vegetables around her plate, devoured two entire ears at our neighbor's cookout. When I asked about his secret, he showed me his Blackstone technique. Since then, it's become our family's go-to method for corn, converting even the most vegetable-averse members of my household into corn enthusiasts. There's something about that perfect caramelization that brings out flavors you just don't get from boiling.
Ingredients
- 6 ears of fresh corn: Look for bright green husks and plump kernels for the sweetest, juiciest results
- 3 tablespoons olive oil: Helps the seasoning stick while promoting beautiful caramelization
- 1 teaspoon kosher salt: The larger crystals provide better flavor distribution than regular table salt
- ½ teaspoon freshly ground black pepper: Adds a subtle warmth that complements corn's natural sweetness
- 6 pieces of aluminum foil (about 12×12 inches each): Creates a perfect cooking environment for tender, juicy corn
Step-by-Step Cooking Instructions
- Step 1:
- Preheat your Blackstone griddle: Set your Blackstone to medium heat (approximately 400°F) and allow it to preheat thoroughly. This usually takes about 10-15 minutes. The proper temperature is crucial – too hot and the corn might char before cooking through; too cool and you'll miss out on that beautiful caramelization.
- Step 2:
- Prepare the corn: While the griddle heats, shuck the corn by peeling away the outer husks and removing all the silky threads. I find the easiest method is to pull the husks down from the top (not completely off), remove the silk, then break off the husks at the base. Rinse the ears under cool water to remove any remaining silk strands and pat them dry with paper towels.
- Step 3:
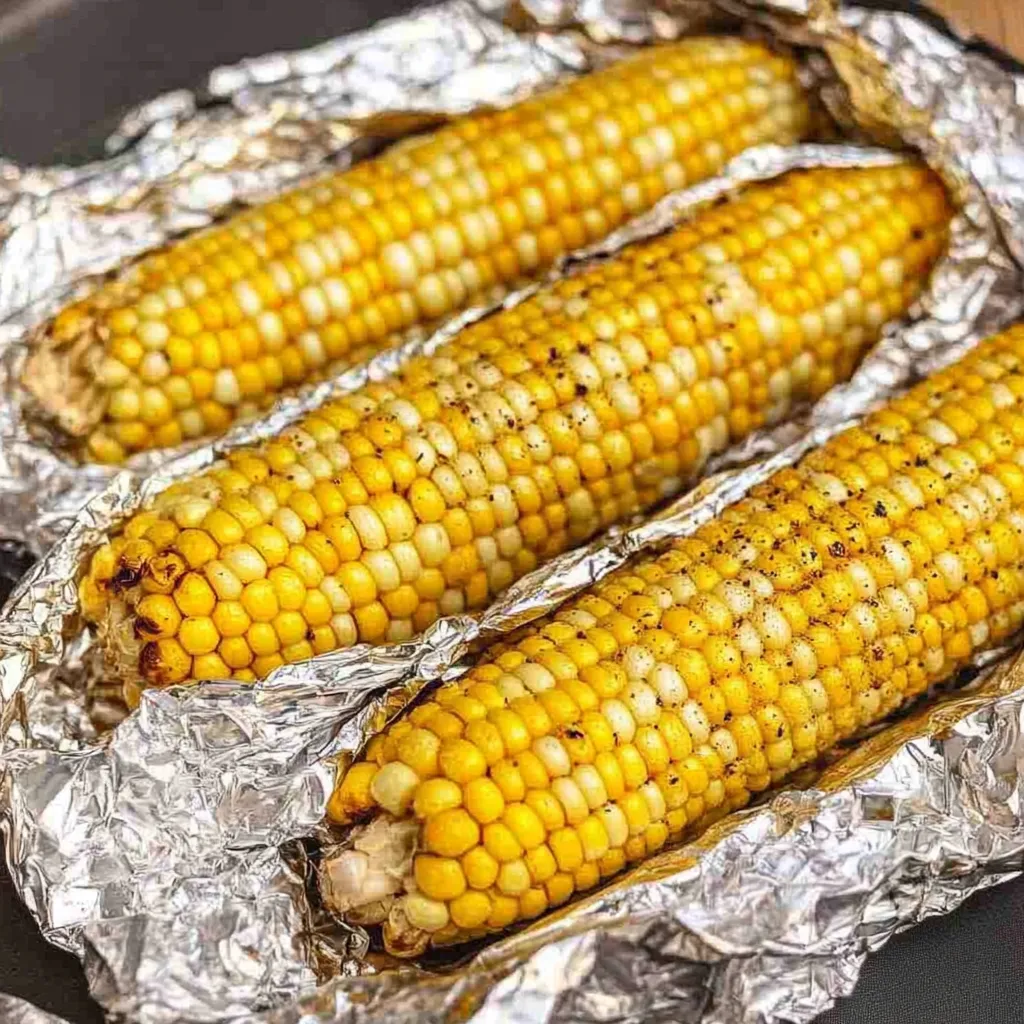
- Set up your foil packets: Tear off six pieces of aluminum foil, each large enough to completely wrap an ear of corn with some overlap (about 12×12 inches). Place one ear of corn in the center of each foil piece. Position them so they're ready for the seasoning.
- Step 4:
- Season each ear: Drizzle each ear of corn with approximately ½ tablespoon of olive oil, turning to coat all sides. Use your hands to ensure even coverage if needed – this helps the seasonings stick and promotes even cooking. Sprinkle each ear evenly with kosher salt and freshly ground black pepper, rotating to season all sides.
- Step 5:
- Wrap in foil: Fold the aluminum foil around each ear of corn, creating a secure but not too tight package. Fold the edges over to seal completely, but leave a little room for steam to circulate around the corn. A properly wrapped ear should be completely enclosed with the foil edges secured.
- Step 6:
- Cook on the Blackstone: Place the wrapped corn on the preheated griddle. Cook for 15-20 minutes total, turning each ear approximately every 5 minutes to ensure even cooking. This rotation is important to prevent any hot spots from burning the corn. For even more consistent results, you can cover the corn with a dome lid if you have one, which helps trap heat and steam.
- Step 7:
- Check for doneness: After about 15 minutes, carefully open one packet (watch for hot steam!) and check if the corn is tender by piercing a kernel with a fork or knife. It should pierce easily and the kernel should appear plump and juicy. If it still seems firm, rewrap and continue cooking for another 3-5 minutes.
- Step 8:
- Optional char step: For those who enjoy a bit of char on their corn, unwrap the ears during the final 2-3 minutes of cooking and place them directly on the griddle. Turn them frequently until you achieve your desired level of caramelization. This step adds beautiful color and an extra layer of smoky-sweet flavor.
- Step 9:
- Serve and enjoy: Use tongs to transfer the hot corn to a serving platter. You can serve them still wrapped in the foil (which helps keep them warm) or unwrapped. Allow to cool slightly before handling, as they'll be very hot. Serve with additional butter, herbs, or your favorite corn toppings.
 Pin it
Selecting the Perfect Corn
The key to exceptional corn on the cob starts long before it hits the Blackstone – it begins with selecting the best ears possible. I've learned through many summer seasons that the freshest corn makes all the difference in the final result.
When I'm choosing corn, I first look at the husks – they should be bright green, tightly wrapped, and slightly damp. Dry, yellowing husks usually indicate older corn that's past its prime. I gently squeeze the ear from top to bottom to ensure it feels firm and full all the way to the tip, with no soft spots or missing kernels.
The silk peeking out from the top should be pale golden or light brown and slightly sticky. Black or dry silk often means the corn is older. And contrary to what many people do, I never pull back the husk in the store – this exposes the kernels to air and speeds up the sugar-to-starch conversion that reduces sweetness.
Most importantly, I try to cook corn as quickly as possible after purchasing. Those natural sugars begin converting to starch immediately after harvest, so the sooner you cook it, the sweeter your corn will be.
Last July, I prepared this corn for a neighborhood potluck where a local farmer happened to be attending. He took one bite and asked if I'd gotten the corn from his stand that morning (I had). He explained that cooking it on the Blackstone within hours of harvest had preserved that field-fresh sweetness that's often lost with other cooking methods. Now I make a special trip to his stand every weekend during corn season just for this recipe.
Creative Seasoning Variations
While simple salt and pepper let the natural corn flavor shine, I love experimenting with different seasoning combinations depending on the main dish. Here are some favorites from our summer rotation:
For a south-of-the-border twist, I mix softened butter with chili powder, lime zest, and a pinch of cayenne before drizzling it over the hot corn. After cooking, I add a sprinkle of crumbled cotija cheese and chopped cilantro for authentic Mexican street corn flavor without leaving my backyard.
When serving with Italian-inspired meals, I toss the hot corn with a mixture of melted butter, minced garlic, fresh basil, and grated Parmesan cheese. The heat from the corn slightly melts the cheese, creating a delicious savory coating that complements everything from grilled chicken to pasta.
For an unexpected sweet-savory combination, I sometimes brush the corn with a mixture of honey, butter, and a sprinkle of smoked paprika after cooking. The slight sweetness highlights the natural sugars in the corn while the paprika adds a subtle smoky depth that's absolutely addictive.
I've been perfecting this Blackstone corn technique for three summers now, tweaking little details each time. What started as a simple side dish has become one of our most requested recipes when friends come over. There's something deeply satisfying about transforming such a simple ingredient into something that makes people ask for your secret. The real magic lies in letting the natural sweetness of fresh corn shine through with just the right cooking method.
Frequently Asked Questions
- → Do I need to soak the corn before grilling?
- No, there's no need to soak the corn when using this foil method on a Blackstone. The foil helps trap moisture and steam the corn to perfection.
- → Can I add other seasonings to the corn?
- Absolutely! Try garlic powder, paprika, or even some grated parmesan after cooking for extra flavor.
- → How do I know when the corn is done?
- The kernels will be plump, juicy and slightly darker in color after 15-20 minutes of cooking. You can always peek at one ear to check doneness.
- → Can I make this without a Blackstone griddle?
- Yes, you can use a regular grill, grill pan, or even bake the foil-wrapped corn in an oven at 400°F for about the same time.
- → Can I prepare the corn packets ahead of time?
- You can prep the corn and wrap in foil up to 8 hours ahead. Store in the refrigerator until ready to grill for a quick side dish.