
 Pin it
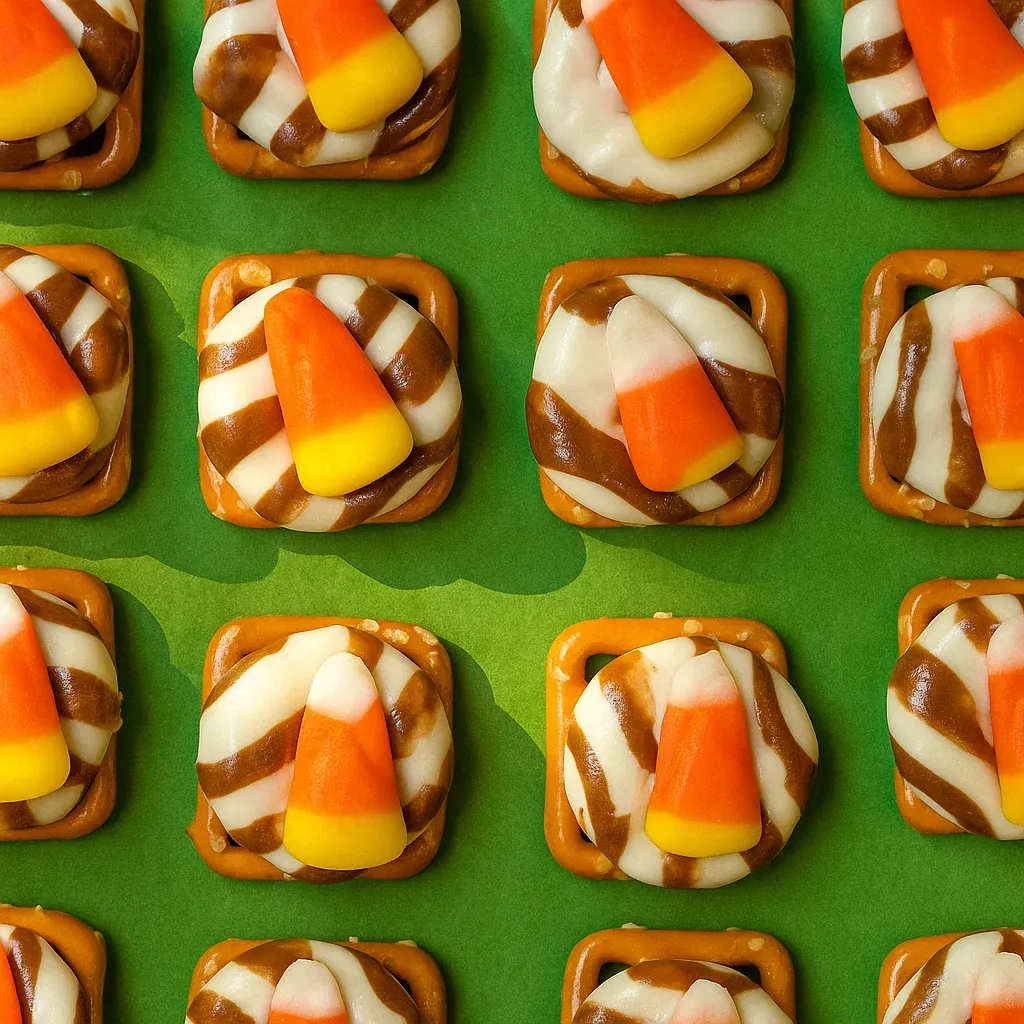
Combining three simple ingredients into festive treats sounds almost too easy to be worth making, but these candy corn pretzel bites prove that straightforward recipes often become the most popular. Mini pretzels provide the salty, crunchy base while Hershey's Hugs melt just enough in the oven to become sticky, and candy corn pressed on top adds that unmistakable fall flavor. The whole process from start to finish takes about ten minutes including baking time, making this perfect when you need treats quickly for unexpected guests or want a fun project that kids can mostly handle themselves. That sweet-salty combination keeps hands reaching back for just one more bite.
Candy corn has been my fall tradition since childhood when my grandmother kept a glass jar filled with them on her kitchen counter all through October. I'd sneak handfuls whenever we visited, and she'd pretend not to notice. Now my own kids get excited the moment candy corn appears in stores, and we buy multiple bags to last the whole season. These pretzel bites started as a way to use up leftover candy corn after Halloween, but they became so popular that now I buy extra bags specifically for making them. My son can eat a dozen in one sitting, which is why I usually make triple batches.
Ingredients and Why They Matter
- Mini pretzels (about 40-50 square pretzels): Square pretzels work best because they provide a flat, stable base for the chocolate and candy corn; the salty pretzel flavor balances the sweet toppings perfectly
- Hershey's Hugs or Kisses (40-50 pieces, unwrapped): Hugs have white and milk chocolate stripes that look festive for Halloween, but any Hershey's Kiss flavor works; these melt quickly at low temperature and firm back up nicely when cooled
- Candy corn (40-50 pieces): Classic candy corn adds the iconic fall flavor and creates that recognizable Halloween look; pick through and choose pieces that aren't broken or misshapen for the best presentation
How To Make It
- Prepare your workspace and ingredients:
- Before turning on your oven, get everything organized because this recipe moves fast once baking starts. Line one or two large rimmed baking sheets with parchment paper to prevent any melted chocolate from sticking to the pans and making cleanup difficult. Unwrap all your Hershey's Hugs or Kisses and place them in a small bowl within easy reach - once those pretzels come out of the oven, you'll need to work quickly before the chocolate cools. Open your candy corn bag and have it ready nearby. This advance preparation means you're not fumbling with wrappers or searching for ingredients while your chocolate is melting. Having everything at your fingertips makes the assembly process smooth and stress-free.
- Preheat and arrange pretzels:
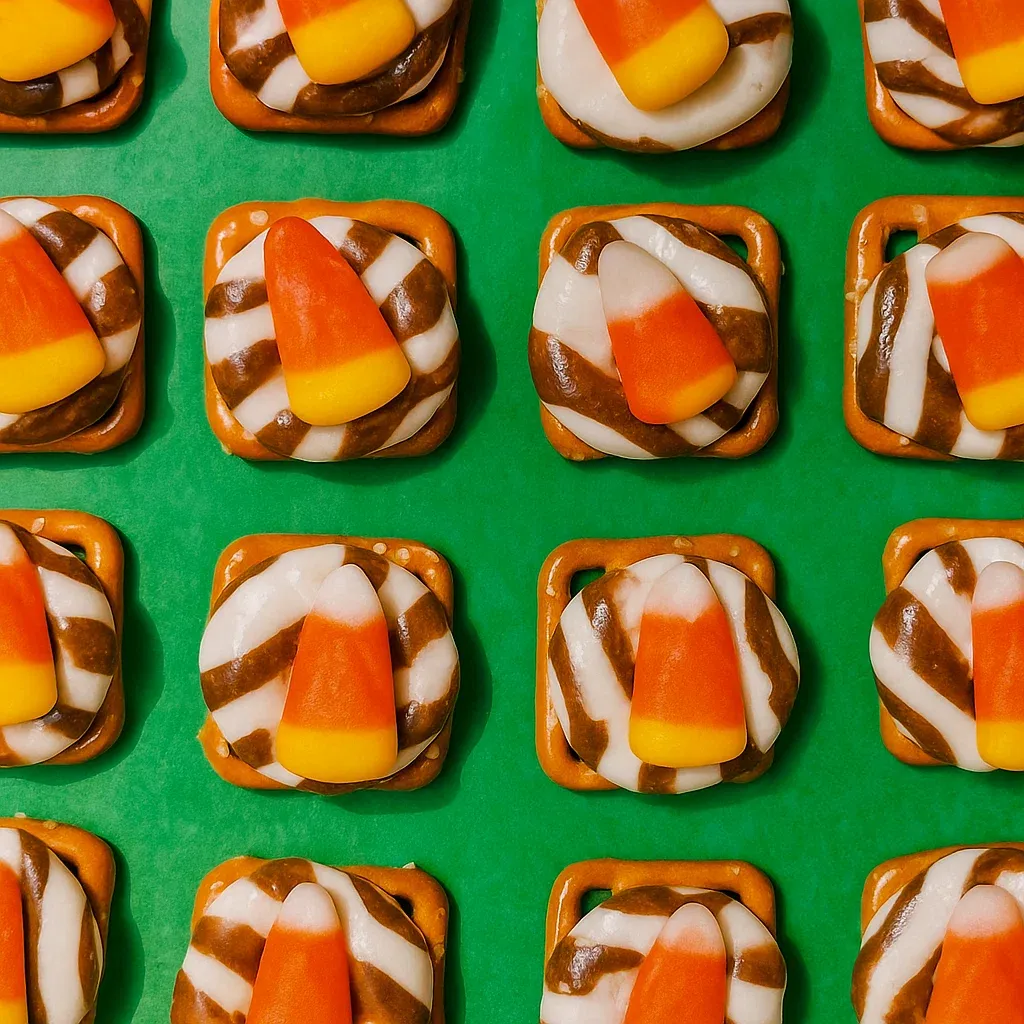
- Turn your oven to 250°F and let it preheat fully - this low temperature is crucial because higher heat would burn the chocolate or make it too runny. While the oven heats, arrange your mini pretzels on the prepared baking sheet in neat rows, placing them about an inch apart. You want them close enough to fit many on one sheet but not touching each other. Square pretzels should sit flat with one flat side down so they're stable. If using traditional twisted pretzels, position them so they sit level without wobbling. Count your pretzels as you place them so you know exactly how many chocolate pieces you need. This systematic arrangement makes the next steps easier because you can work in a logical pattern across the sheet.
- Add chocolate and bake:
- Place one unwrapped Hershey's Hug or Kiss on top of each pretzel, centering it as much as possible so it sits balanced. The flat bottom of the chocolate should rest on the pretzel surface. Slide the baking sheet into your preheated oven and set a timer for 3 minutes. Watch through the oven window if possible - you're looking for the chocolate to just start getting shiny and soft on the surface, not completely melted into a puddle. The chocolates should hold their shape but feel soft when gently touched. Depending on your oven's exact temperature and the chocolate size, this might take 3-4 minutes. Don't overbake or the chocolate will melt too much and run off the pretzels. As soon as you see that glossy sheen indicating the chocolate is softening, remove the baking sheet immediately.
- Press candy corn on top:
- Work quickly now because the chocolate firms up fast as it cools. Take one candy corn piece and gently but firmly press the pointed end down into the soft chocolate on top of a pretzel. Push just hard enough that the candy corn sticks and stands upright without pushing so hard that you flatten the chocolate completely or make it squish off the pretzel. The warmth of the chocolate will grab onto the candy corn and hold it in place as everything cools. Move systematically across the baking sheet, adding one candy corn to each chocolate-topped pretzel. If you're working with kids, assign them sections so multiple people can press candy corn simultaneously. If the chocolate starts firming up before you finish, you can pop the sheet back in the warm oven for 30 seconds to soften it again. Speed matters here but so does being gentle - rushing and pressing too hard creates messy results.
- Cool completely:
- Once every pretzel has its candy corn topping, you need to let everything cool so the chocolate hardens back to its original firm texture. You can let the baking sheet sit at room temperature for about 20-30 minutes until the chocolate feels completely hard when touched. If you're in a hurry or your kitchen is warm, transfer the baking sheet to the refrigerator and chill for about 10 minutes instead. The cold speeds up the hardening process significantly. Don't try to remove the pretzel bites from the parchment paper until the chocolate is fully set, or they'll stick and the toppings might slide off. Once hardened, the pretzel bites will easily lift off the parchment without leaving any chocolate behind.
- Store properly:
- Transfer your finished candy corn pretzel bites to an airtight container or tin, layering them with parchment paper between each layer if you're stacking them. This prevents the candy corn from sticking to other pieces. Store at room temperature in a cool, dry place for up to a week - avoid anywhere warm or humid because the chocolate can soften and get sticky. These keep their best texture when stored away from heat sources. If your house runs very warm, refrigerator storage works but bring them to room temperature before serving so the chocolate isn't too hard and the pretzels soften slightly for better eating texture.
 Pin it
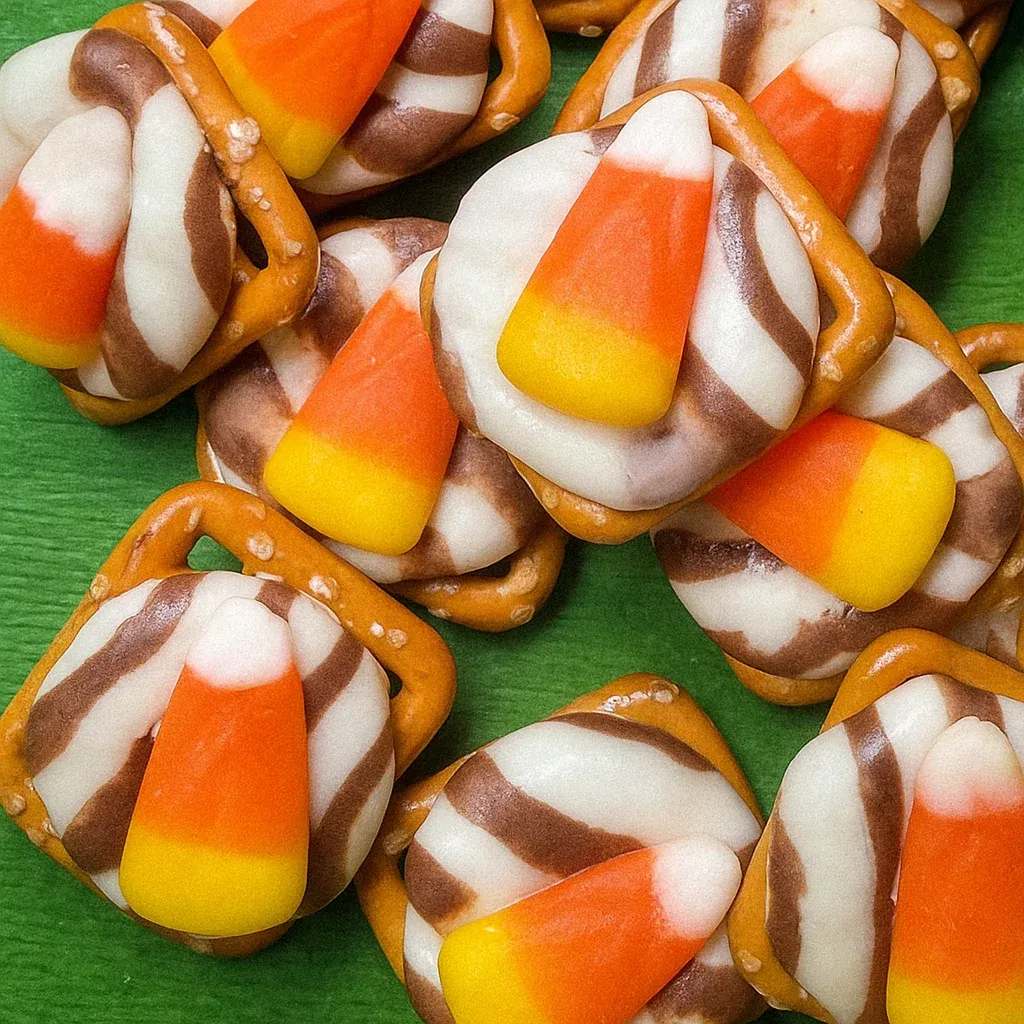
Square pretzels became my preferred choice for these bites after trying traditional twisted pretzels that kept tipping over and losing their chocolate. The flat, stable base of square pretzels means everything stays put during baking and cooling. My daughter loves helping make these specifically because the candy corn pressing step is satisfying - she says it's like planting little flags on each pretzel. We make huge batches before Halloween parties and pack them in clear bags tied with orange ribbons to give to her classmates. Teachers appreciate getting homemade treats that don't require refrigeration or cutting, just grab and eat.
Chocolate Melting Temperature
Understanding how chocolate behaves at different temperatures helps you control this recipe perfectly. Chocolate starts softening around 80-90°F and fully melts between 110-120°F. The 250°F oven temperature heats the pretzels which then conduct heat to the chocolate sitting on top, warming it gradually from underneath. This indirect heating method is gentler than direct heat and prevents chocolate from scorching or seizing. You want the chocolate soft enough to grip the candy corn but not so melted that it loses its shape entirely. That sweet spot where chocolate looks glossy and indents when touched but still holds its Kiss shape is exactly what you're aiming for. Checking at 3 minutes and adding time in 30-second increments if needed prevents overshooting this target.
Candy Corn Alternatives
While traditional candy corn creates the classic fall look, swapping different candies transforms these into treats for other occasions throughout the year. Mini peanut butter cups pressed into the chocolate make these taste like peanut butter cup pretzels. M&Ms in various colors work for any holiday - red and green for Christmas, pastels for Easter, red and pink for Valentine's Day. Reese's Pieces add peanut butter flavor without the cup shape. Caramel bits create sweet caramel pretzel bites. Miniature marshmallows give you s'mores-inspired treats. The base method stays identical regardless of topping choice - you're just changing the final flavor profile and appearance while keeping that addictive salty-sweet combination.
Making It a Group Activity
This recipe works beautifully as a group project because you can divide tasks among multiple people working simultaneously. One person arranges pretzels on the baking sheet while another unwraps chocolates. Someone else monitors the oven and determines when chocolate reaches the right softness. Multiple people can press candy corn onto different sections of the baking sheet at once. Kids as young as four or five can handle the candy corn pressing with supervision, making this an inclusive activity where everyone contributes. The quick timeline from start to finish keeps attention spans engaged without dragging on so long that kids lose interest. Finished treats provide immediate gratification and something tangible that kids feel proud about creating mostly themselves.
Troubleshooting Common Issues
Sometimes chocolate melts unevenly with some pieces too soft while others barely warm. This happens when pretzels sit too close together or the oven has hot spots that heat certain areas more than others. Rotating the baking sheet halfway through the short baking time helps. If chocolate melts too much and runs off pretzels, your oven temperature was too high or baking time too long - reduce temperature by 25°F or check a minute earlier next time. Candy corn that won't stick means the chocolate cooled too much before you pressed it on - return the sheet to the warm oven briefly to soften chocolate again. Candy corn that falls over instead of standing upright needs firmer pressing or the chocolate was too melted - find that middle ground where chocolate is soft but still has body.
Scaling the Recipe
These treats scale up or down effortlessly depending on how many you need. The ingredient ratio stays constant - one pretzel gets one chocolate and one candy corn regardless of batch size. Making a small test batch of 10-12 pieces lets you practice the technique and timing before committing to larger quantities. For parties, making 100+ pieces goes quickly when you work in batches of 40-50 at a time, the number that fits comfortably on one standard baking sheet. Keep unmade batches ready to go while one sheet bakes, then immediately load the next sheet once you finish pressing candy corn on the first batch. Assembly-line production means you can make massive quantities in under an hour.
 Pin it
These candy corn pretzel bites represent everything I appreciate about simple fall treats that prioritize fun and flavor over complexity. You don't need baking skills, special equipment, or unusual ingredients to create something festive that people genuinely enjoy eating. The whole project feels more like playing than cooking, which is probably why kids love helping and adults find the process relaxing rather than stressful. When I put these out at Halloween parties alongside elaborate decorated cookies and complex desserts, these simple three-ingredient bites always disappear first. Sometimes the easiest recipes deliver the most satisfaction, and having treats ready in ten minutes means more time for actually enjoying the holiday instead of spending all day in the kitchen.
Frequently Asked Questions
- → Can I use regular Hershey's Kisses instead of Hugs?
- Yes, regular Kisses work fine. The Hugs just give a nice striped look, but any chocolate Kiss will melt and taste great on these pretzel bites.
- → How do I store leftover pretzel bites?
- Keep them in a sealed container at room temperature for up to 5 days. You can also refrigerate them if your house is warm to prevent melting.
- → Why isn't my chocolate melting in the oven?
- Every oven is different. If the chocolate seems firm after 4 minutes, just put it back in for another 30 to 45 seconds until it softens enough to press the candy corn in.
- → Can I make these ahead of time?
- Absolutely! These hold up really well when made a day or two before your party. Just store them properly and they'll stay fresh and tasty.
- → What if I don't have square pretzels?
- Round pretzels work too! Any flat pretzel shape will do the job. Just make sure it's big enough to hold the chocolate and candy corn on top.
- → Do these need to be refrigerated?
- Not necessarily. Room temperature is fine unless it's really hot in your kitchen. Refrigerating just speeds up the cooling process if you're in a hurry.