
 Pin it
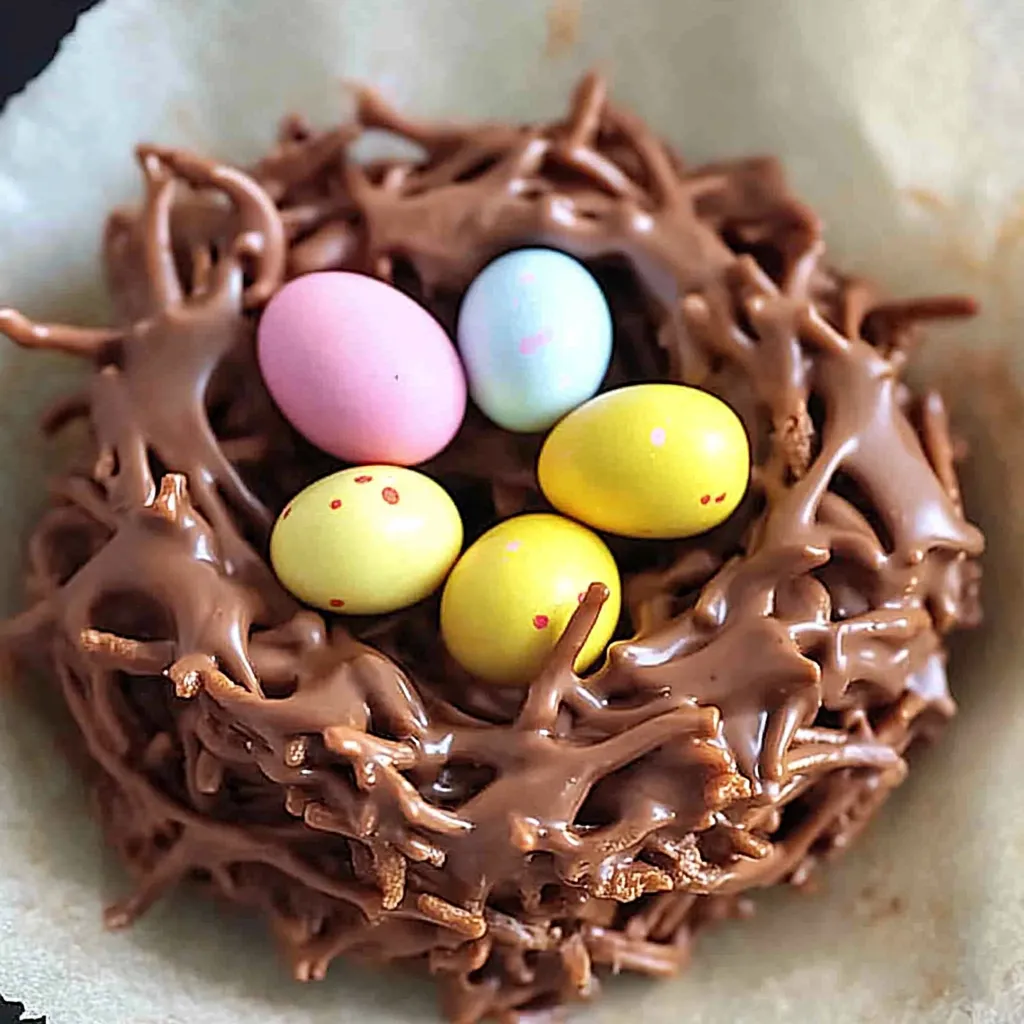
These delightfully simple Easter Birds Nest Cookies transform ordinary Rice Krispies into charming spring treats that double as festive table decorations. Made with just four ingredients in about 10 minutes, these no-bake chocolate and peanut butter nests topped with colorful candy eggs capture the whimsy of the season without requiring any actual baking skills. The combination of crisp cereal, smooth chocolate-peanut butter coating, and sweet candy eggs creates an irresistible treat that's perfect for Easter celebrations or any spring gathering.
I first made these nests for my daughter's kindergarten Easter party when I needed something quick that wouldn't require oven space. The children were absolutely delighted by the realistic-looking nests, and the teachers couldn't believe how quickly I'd put them together. Now they're a yearly tradition, with my kids eagerly helping to "build" the nests and carefully place the eggs.
Ingredients That Make All The Difference
- Cocoa Rice Krispies: The chocolate version provides the perfect brown "twig" appearance while adding rich chocolate flavor. The texture creates realistic-looking nests without any additional coloring needed.
- Creamy peanut butter: Smooth store-bought varieties work best, providing optimal binding and the perfect nutty complement to chocolate. Avoid natural peanut butter, which can separate and create inconsistent texture.
- Milk chocolate chips: Melts smoothly and creates a perfect coating that hardens just enough to hold the nest shape while remaining pleasantly chewy.
- Cadbury Mini Eggs: These pastel-colored candies perfectly mimic bird eggs while providing a sweet crunch. Their speckled appearance adds authentic charm to the finished nests.
Step-by-Step Instructions
- Prepare your muffin tin:
- by lining it with paper cupcake liners. This step is crucial for easy removal of the finished nests and makes for attractive presentation. Standard-size muffin tins work best, though you can use mini tins for bite-sized treats. Measure out 3 cups of cocoa Rice Krispies into a large mixing bowl, setting it aside while you prepare the coating.
- Place 1 cup of milk chocolate chips:
- in a microwave-safe bowl. Microwave on 50% power for 30 seconds, then remove and stir. Return to the microwave for another 30 seconds at 50% power, then stir again. Continue this process until the chocolate is almost completely melted, with just a few small solid pieces remaining. The residual heat will melt these final bits as you stir, preventing the chocolate from overheating and seizing.
- Immediately after removing the chocolate:
- from the microwave, add 1/2 cup of creamy peanut butter to the hot melted chocolate. The warmth of the chocolate will soften the peanut butter, making it easier to blend. Stir vigorously until the mixture is completely smooth and uniform in color. This combination creates the perfect consistency for coating the cereal while adding delicious flavor.
- Pour the warm chocolate-peanut butter mixture:
- over the measured Rice Krispies. Using a rubber spatula, gently fold the coating into the cereal, ensuring every piece is evenly covered. Work quickly but carefully to coat all the cereal before the mixture begins to cool and harden. The goal is to maintain the crispy texture while ensuring each piece is bound together by the chocolate mixture.
- Using a 1/4 cup measuring cup or large spoon:
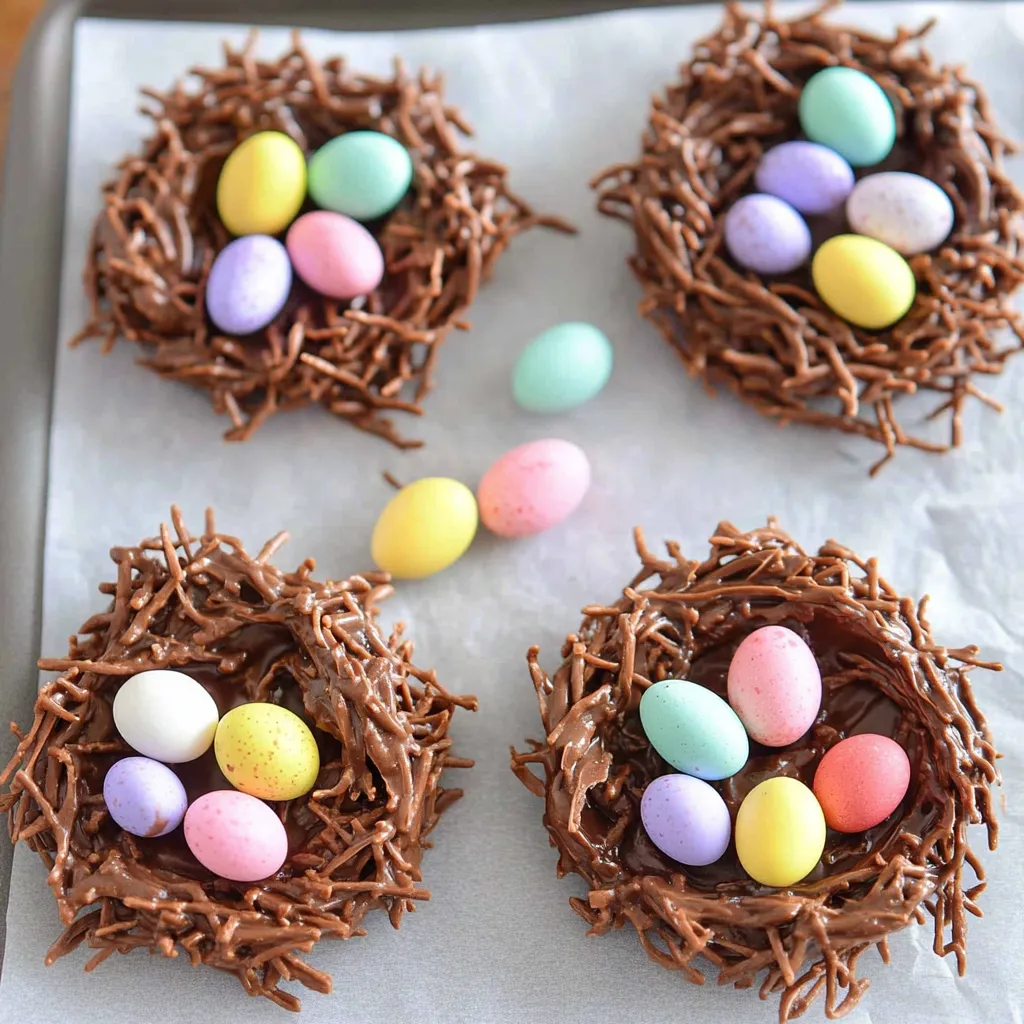
- scoop the coated cereal mixture into each prepared muffin cup. Fill each cup nearly to the top, but don't pack it too tightly—you want to maintain some of the airy texture that resembles a real bird's nest. Work quickly before the mixture begins to set.
- Using the back of a rounded tablespoon or small measuring spoon:
- create an indentation in the center of each mound to form the nest cavity. Press gently but firmly, creating space for the candy eggs while pushing the sides up slightly to form a wall that will keep the eggs from rolling out. The edges should be high enough to cradle the eggs securely.
- Transfer the muffin tin:
- to the refrigerator or freezer to allow the nests to set completely. In the refrigerator, this takes about 30 minutes; in the freezer, just 10-15 minutes. The chocolate needs to harden fully to maintain the nest shape when removed from the liners. Once set, the nests should feel firm to the touch without being too hard to bite.
- Once the nests are completely set:
- carefully place 3 Cadbury Mini Eggs in the center indentation of each nest. The eggs should sit snugly in the cavity without rolling out. For a more naturalistic look, vary the colors of the eggs in each nest, or use different sizes of candy eggs for visual interest. The nests are now ready to serve or can be stored for later use.
 Pin it
I learned the importance of creating proper nest walls after my first attempt resulted in eggs that constantly rolled off the treats. Now I take extra care to create a defined cavity with raised edges, ensuring those precious candy eggs stay perfectly nestled in place, creating both a more attractive and functional dessert.
Creative Variations
While the classic chocolate-peanut butter combination is beloved, these nests welcome creative adaptations. For nut-free versions, substitute sunflower seed butter or wow butter for the peanut butter. Create white chocolate versions using white chocolate chips and regular Rice Krispies, then add colorful sprinkles for a festive spring appearance. For a gourmet twist, use dark chocolate and sea salt for a sophisticated flavor profile.
Perfect for Parties
These nests are ideal for entertaining because they can be made well in advance and actually improve slightly as the flavors meld in storage. For larger gatherings, create a beautiful display by arranging nests on tiered serving plates surrounded by fresh flowers and spring greenery. Consider making various sizes—mini nests for individual servings and larger ones as centerpieces filled with multiple candy eggs.
Kid-Friendly Cooking Activity
This recipe offers a perfect opportunity for children to participate in holiday preparations. They can help measure ingredients, stir the mixture, form the nests, and place the eggs. The no-bake aspect ensures safety, while the hands-on nature keeps them engaged. It's an excellent activity for teaching basic cooking skills while creating lasting memories.
I've come to treasure this recipe not just for its simplicity and delicious results, but for how it brings joy and creativity to Easter celebrations. There's something magical about watching children's faces light up as they create these edible nests, then proudly present them to family and friends. These little treats have become more than just desserts—they're springtime traditions that connect generations through the simple pleasure of creating and sharing homemade goodies.
Frequently Asked Questions
- → Can I use different cereal for this recipe?
- Yes, you can substitute with regular Rice Krispies, crushed corn flakes, or shredded wheat cereal. Just keep the same 3-cup measurement.
- → How long do chocolate bird nests last?
- These treats stay fresh for up to 5 days when stored in an airtight container in the refrigerator.
- → Can I make these nut-free?
- Absolutely! Replace peanut butter with sunflower seed butter or cookie butter for a nut-free version.
- → What can I use instead of Cadbury eggs?
- You can use jelly beans, M&Ms, chocolate covered almonds, or any small egg-shaped candy you like.
- → Do these freeze well?
- Yes, you can freeze them for up to 3 months. Thaw in the refrigerator before serving.