
 Pin it
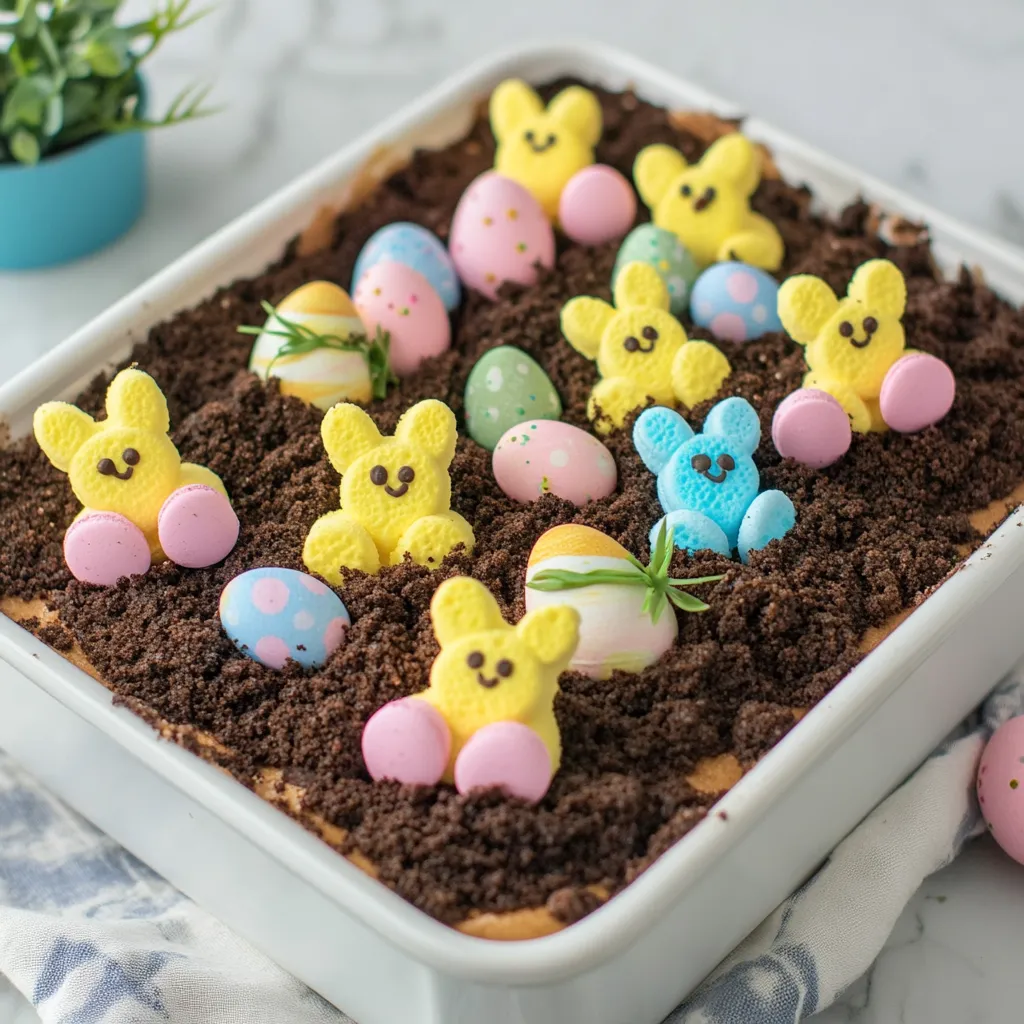
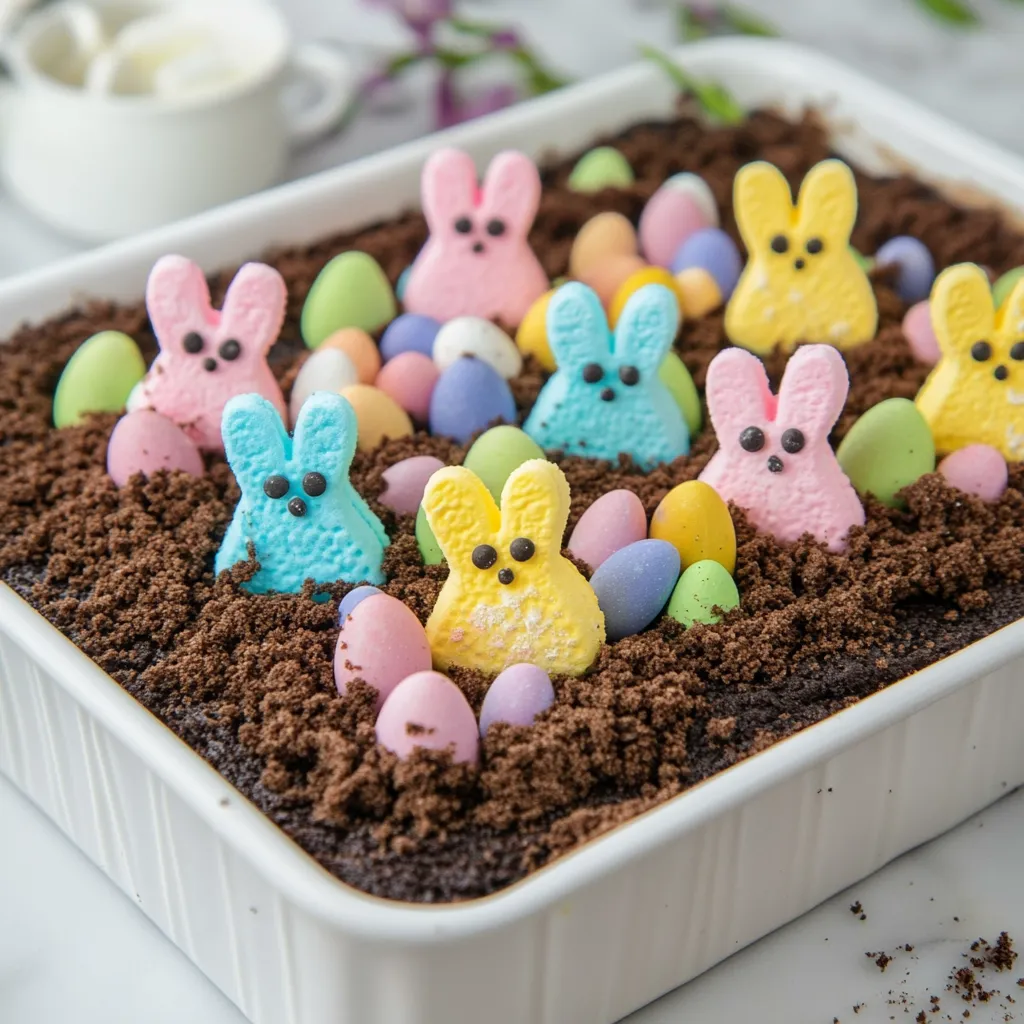
The playful charm of classic dirt cake gets a festive upgrade in this Easter-themed no-bake dessert. Featuring a chocolatey Oreo crust, velvety chocolate cheesecake filling, and whimsical Easter decorations, this treat delivers both eye-catching presentation and indulgent flavor. Perfect for holiday gatherings, this dessert requires minimal effort yet creates maximum impact—ideal for busy hosts who want to impress without spending hours in the kitchen.
I first made this Easter dirt cake for a neighborhood gathering where many families with young children would be attending. The wide-eyed excitement from the kids when they spotted the bunnies "hopping" through the chocolate dirt was matched only by the appreciative nods from parents who went back for seconds. It's now become an expected tradition at our annual Easter egg hunt!
Ingredients That Make All The Difference
- Oreo cookies: Their distinct chocolate flavor and perfect crunch-to-cream ratio creates an ideal "dirt" texture that holds its crispness even when refrigerated.
- Cream cheese: Adds tanginess that balances the sweetness and creates a more sophisticated flavor profile than traditional dirt cake recipes. Let it soften properly for the smoothest texture.
- Instant chocolate pudding: The stabilizers in instant pudding help maintain the dessert's structure while adding rich chocolate flavor. Choose dark chocolate variety for deeper flavor.
- Cool Whip: Creates airiness that lightens the dense cream cheese and pudding mixture. While homemade whipped cream can be substituted, Cool Whip's stability makes it ideal for make-ahead preparation.
- Bunny Peeps: These iconic Easter marshmallows add height and whimsy to the dessert's presentation. Their bright colors pop beautifully against the chocolate "dirt" backdrop.
Step-by-Step Instructions
- Begin:
- with proper preparation of your ingredients for the smoothest, most delicious results. Set the cream cheese and butter out at room temperature for at least 30 minutes before beginning. Having these ingredients properly softened is crucial for achieving a lump-free filling. Meanwhile, separate 24-30 Oreo cookies for crushing. For the best "dirt" texture, place the cookies (cream filling and all) in a food processor and pulse until they resemble coarse soil—some variety in particle size creates the most realistic dirt appearance.
- In a large mixing bowl:
- combine the softened cream cheese, softened butter, and powdered sugar using an electric mixer on medium speed. Beat until the mixture becomes light, fluffy, and completely smooth, about 2-3 minutes. Scrape down the sides of the bowl occasionally to ensure all ingredients are well incorporated. This creates a rich, stable base for your filling with just the right balance of sweetness and tang.
- In a separate bowl:
- prepare the instant chocolate pudding by whisking the dry mix with cold milk for about 2 minutes until it begins to thicken. The pudding should have a soft-set consistency—not fully firm, but no longer liquid. This step can be done while the cream cheese mixture is being prepared to maximize efficiency.
- Combine the pudding:
- with the cream cheese mixture using a rubber spatula, folding gently to maintain the lightness while ensuring thorough integration. Continue folding until no streaks remain and the mixture is uniform in color and texture. Take care not to overmix, which can deflate the airy texture you're working to achieve.
- Gently fold in the Cool Whip:
- using a light hand and a folding motion rather than stirring. This technique preserves the air bubbles in both the whipped topping and your base mixture, resulting in a mousse-like filling that's both rich and light. The filling should be smooth, fluffy, and hold soft peaks when the spatula is lifted.
- Assemble the dessert:
- by pressing half of the crushed Oreos into an even layer across the bottom of a 9x13-inch baking dish. Use the back of a measuring cup to compact this layer slightly, creating a solid base. Pour the chocolate filling over the crust, spreading it into an even layer with an offset spatula or the back of a spoon. The filling should be smooth and level for the most professional-looking presentation.
- Sprinkle the remaining crushed Oreos:
- evenly over the top of the filling, completely covering it to create the "dirt" effect. Use a light hand to distribute the crumbs without pressing them into the filling. This maintains the distinct layers when serving and preserves the crumbly texture of the dirt topping.
- Cover the dish:
- with plastic wrap, being careful not to let it touch the surface of the dessert, and refrigerate for at least 2 hours or overnight. This chilling time is essential for allowing the dessert to set properly and for the flavors to meld together. The texture improves significantly with proper chilling.
- Just before serving:
- decorate the dirt cake with your Easter elements. Place edible green grass in small clusters across the surface, then position bunny Peeps so they appear to be hopping through the landscape. Scatter pastel M&Ms around like colorful Easter eggs. The contrast of the bright decorations against the chocolate "dirt" creates a festive, eye-catching presentation.
 Pin it
I learned the importance of proper assembly timing through an early mishap when I added the Peeps too far in advance. The moisture from the dessert caused their colorful sugar coating to dissolve and bleed into the "dirt," creating an unintentional tie-dye effect! Now I always add the decorative elements right before presenting the dessert, ensuring everything looks pristine.
Make It Your Own
This versatile base recipe welcomes creative adaptations. For a mint-chocolate version, add a half teaspoon of mint extract to the filling and use mint Oreos for the crust and topping. Chocolate lovers might appreciate a drizzle of chocolate ganache over the dirt before adding decorations. For a fruity twist, add a layer of fresh strawberries or raspberries between the crust and filling—their bright flavor provides wonderful contrast to the rich chocolate.
Serving and Storage Tips
For the cleanest slices, dip your knife in hot water and wipe it clean between cuts. This dessert is richest when served slightly chilled but not cold—remove it from the refrigerator about 15 minutes before serving for the best flavor and texture. If making ahead for an event, prepare the base and filling up to two days in advance, but add the decorative elements shortly before serving to maintain their appearance and texture.
Perfect for Any Occasion
While this version showcases Easter decorations, the basic dirt cake concept adapts beautifully to any holiday or theme. Halloween versions can feature gummy worms and candy pumpkins, while a birthday celebration might include miniature toy construction vehicles "digging" in the dirt. For Christmas, create a winter wonderland with coconut "snow" and mint trees. The versatility makes this recipe a year-round favorite that can be customized for any gathering.
I've come to treasure this dessert not just for its delicious taste, but for the joy it brings to gatherings. There's something magical about watching faces light up when this whimsical creation appears on the dessert table. The combination of nostalgic dirt cake flavors with festive Easter elements creates a treat that appeals to all ages—proving that sometimes the simplest desserts create the most memorable moments around the holiday table.
Frequently Asked Questions
- → Can I make Easter Dirt Cake ahead of time?
- Yes! It's actually better when made a day ahead so the flavors can meld together. Just add the decorative toppings right before serving.
- → How long does Easter Dirt Cake stay fresh?
- When stored covered in the refrigerator, it will stay fresh for up to 3 days.
- → Can I use different candies for decoration?
- Absolutely! Feel free to swap the M&M's for jelly beans, mini chocolate eggs, or any spring-themed candy you prefer.
- → Is there a way to make individual dirt cups instead?
- Yes! Simply layer the ingredients in clear plastic cups or small mason jars for individual servings that are perfect for parties.
- → Can I freeze leftover Easter Dirt Cake?
- It's not recommended as the texture of the Cool Whip and pudding may change when thawed.
- → Do I need to use brand name ingredients?
- Store brand alternatives work fine for most ingredients, though name-brand Oreos tend to have the best flavor and texture for the 'dirt' layers.