
 Pin it
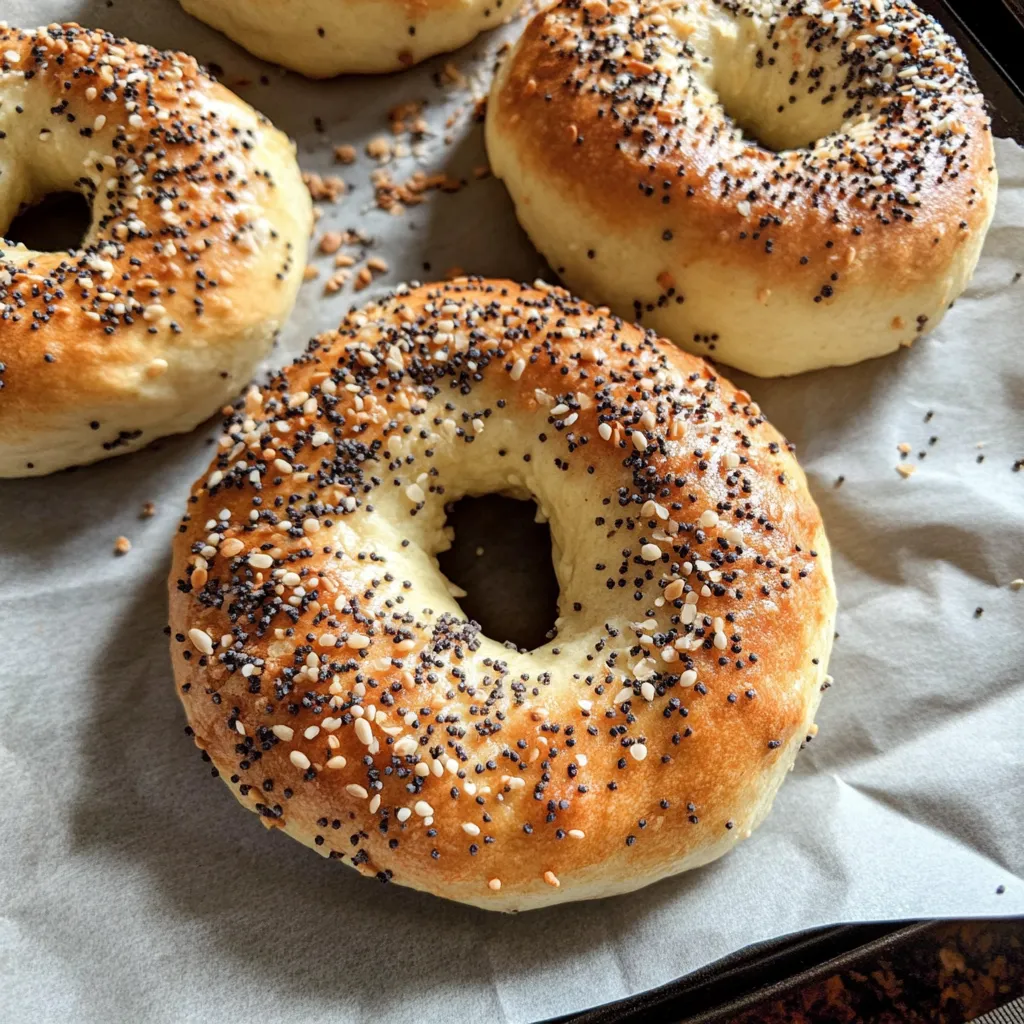
Nothing beats the satisfaction of pulling fresh, golden bagels out of your own oven, especially when they're this simple to make and packed with protein to boot. These Greek yogurt bagels deliver all the chewy, satisfying texture you crave from a good bagel, but with a fraction of the work and way more nutritional value. No waiting for yeast to rise, no boiling water - just mix, shape, and bake for homemade bagels that rival anything from the bakery.
I started making these during a phase when I was trying to add more protein to my breakfast routine without resorting to boring protein bars. The first batch turned out so surprisingly good that my family didn't even realize they weren't store-bought. Now I make them almost every weekend, and there's something so satisfying about having fresh bagels cooling on the counter while the coffee brews.
Simple Ingredients That Work Magic
- All-purpose flour: Creates the structure and familiar bagel texture, though gluten-free flour works beautifully too
- Plain Greek yogurt: The star ingredient that adds protein, moisture, and creates that slightly tangy flavor reminiscent of sourdough
- Baking powder: Provides the lift to make these bagels fluffy and light instead of dense
- Fine sea salt: Essential for flavor - don't skip this or your bagels will taste bland and boring
- One egg for washing: Creates that gorgeous golden-brown color and helps any toppings stick perfectly
- Your favorite bagel toppings: Everything seasoning, sesame seeds, poppy seeds, whatever makes your heart happy
Step-by-Step Bagel Making Process
- Set up your workspace properly:
- Preheat your oven to 375 degrees and line a large baking sheet with parchment paper. Having everything ready before you start mixing makes the whole process flow so much smoother.
- Create your dry mixture:
- In a large mixing bowl, whisk together 1 cup of all-purpose flour, 2 teaspoons of baking powder, and 1 teaspoon of salt. Make sure everything is evenly distributed because this ensures your bagels will have consistent flavor and texture throughout.
- Add the Greek yogurt and form dough:
- Add 1 cup of plain Greek yogurt to your flour mixture and start stirring with a spatula until it begins to come together. Once it gets too thick to stir, switch to using your clean hands to knead everything into a cohesive ball of dough. The texture should be slightly sticky but manageable.
- Knead and rest the dough:
- Turn the dough out onto a lightly floured surface and knead it about 20 times until it becomes smooth and elastic. If it's too sticky, sprinkle in a bit more flour. Cover with a clean kitchen towel and let it rest for 10 minutes - this relaxation time helps create a better texture.
- Shape into perfect bagels:
- Divide the rested dough into 4 equal pieces. Roll each piece into a rope about 8 inches long, then bring the ends together to form a circle, pinching the seam tightly to seal. Make the center holes larger than you think you need - they'll shrink as the bagels bake.
- Apply egg wash and toppings:
- Beat one egg with a tablespoon of water and brush it all over each bagel. This creates that beautiful golden color and helps toppings adhere. Sprinkle with your chosen toppings while the egg wash is still wet.
- Bake to golden perfection:
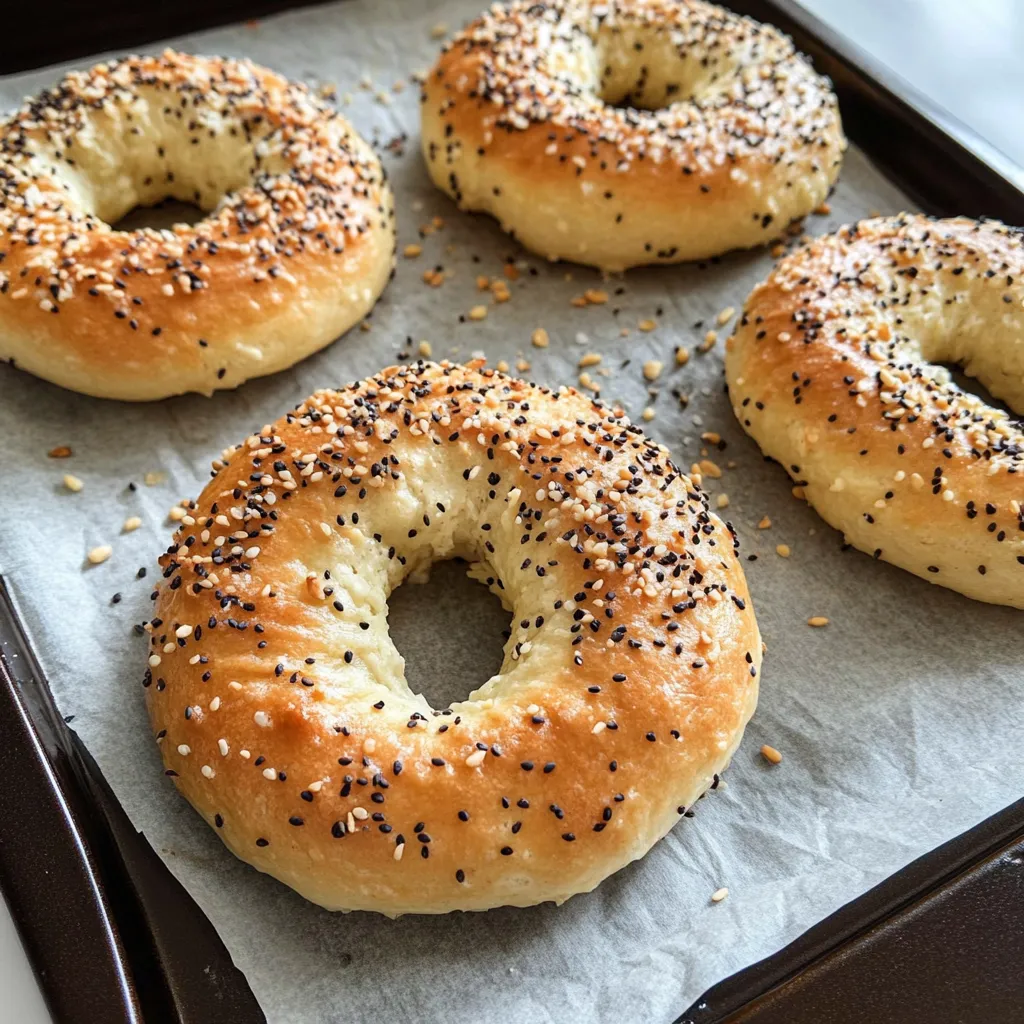
- Bake for 23-25 minutes until the bagels are golden brown and sound hollow when tapped on the bottom. Let them cool on the baking sheet for at least 15 minutes before slicing - this prevents them from deflating and helps the texture set properly.
 Pin it
My kids have become completely spoiled by these homemade bagels. They actually turn their noses up at store-bought ones now, claiming they taste "fake" compared to these. I love that I can feel good about giving them something with real protein that will actually fuel their busy mornings instead of just providing empty carbs.
Understanding the Greek Yogurt Magic
The Greek yogurt in this recipe does double duty - it provides the liquid needed to form the dough while adding protein and that slight tang that makes these taste more complex than regular bagels. The thick consistency of Greek yogurt is crucial here; regular yogurt would make the dough too wet and sticky to work with properly.
Perfecting Your Shaping Technique
Getting the bagel shape just right takes a little practice, but don't stress about making them perfect. I've found that rolling the dough pieces into ropes and then joining the ends works better than trying to poke holes through balls of dough. The key is making sure that seam is really pinched together so it doesn't come apart during baking.
Topping Combinations That Never Disappoint
While everything bagel seasoning is absolutely classic and delicious, don't be afraid to get creative with your toppings. I sometimes do a sweet version with cinnamon and sugar, or go savory with grated parmesan and dried herbs. Sesame seeds give you that classic bagel shop flavor, while poppy seeds add a subtle nutty taste and gorgeous appearance.
Make-Ahead and Storage Strategies
These bagels freeze incredibly well, which makes them perfect for meal prep. I often make a double batch on Sunday and freeze half for busy weekday mornings. Just slice them before freezing so you can pop them right into the toaster. They keep in the freezer for up to three months and taste just as fresh as the day you made them.
Troubleshooting Common Issues
If your dough feels too sticky to handle, don't panic - just dust your hands and work surface with a bit more flour. Conversely, if it feels too dry and won't hold together, add a tablespoon of Greek yogurt at a time until it reaches the right consistency. The humidity in your kitchen can affect how much flour you need, so adjust as necessary.
After perfecting this recipe through countless weekend mornings and experimenting with different toppings and variations, I can honestly say these have become a staple in our house. There's something so satisfying about the process of making them - from mixing that simple dough to watching them puff up golden and beautiful in the oven. They taste like you spent way more effort than you actually did, and knowing they're packed with protein makes them feel like a genuinely nutritious way to start the day rather than just an indulgent treat.
Frequently Asked Questions
- → Can I use regular flour instead of all-purpose flour?
- All-purpose flour works best for this recipe. You can substitute with gluten-free flour, but the texture will be slightly different and less stretchy.
- → What type of Greek yogurt should I use?
- Any fat percentage Greek yogurt works great. Full-fat gives the richest flavor, but low-fat and non-fat work just as well for the recipe.
- → Why do I need to let the bagels rest after baking?
- The 15-minute resting period lets the bagels finish cooking through and develop the perfect chewy texture. Skipping this step makes them gummy inside.
- → Can I freeze these bagels?
- Yes! Store them in a freezer bag for up to 3 months. Thaw at room temperature or toast them straight from frozen for best results.
- → How do I know when the bagels are done baking?
- They should be golden brown and puffy after 25 minutes. The tops will feel firm when gently pressed, and they'll sound hollow when tapped.
- → Can I make these without an egg wash?
- The egg wash gives them a beautiful golden color, but you can skip it if needed. They'll still taste great, just won't have that shiny finish.