
 Pin it
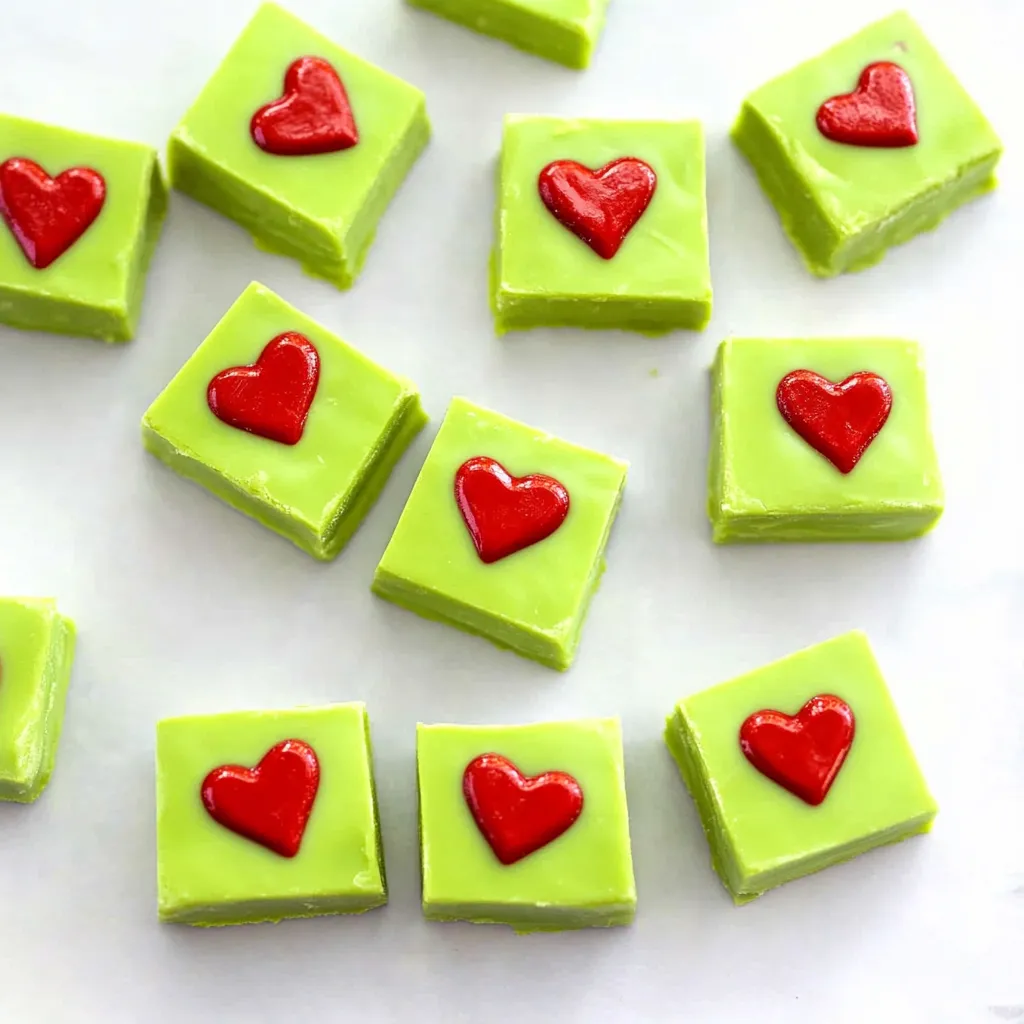
This Grinch fudge captures the whimsical spirit of the beloved Christmas character in the most delightfully simple way, transforming rich white chocolate into vibrant green squares that look like they came straight from Whoville. The magic lies in how just a few drops of gel food coloring turn ordinary white chocolate fudge into something that instantly makes people smile, while the red candy hearts perfectly represent the Grinch's growing heart from the story. What makes this recipe particularly wonderful is how it delivers impressive visual impact with minimal effort, requiring no candy thermometer or complicated techniques.
I first made this fudge during a particularly hectic December when I needed something festive for multiple holiday events but had zero time for complicated baking. The combination of how easy it was to make and how much joy it brought to everyone who saw it made it an instant addition to my holiday tradition.
Essential Ingredients and Selection Tips
- High-quality white chocolate chips: Ghirardelli or similar premium brands melt more smoothly and create better texture than lower-quality alternatives
- Sweetened condensed milk: Not evaporated milk; this provides the creamy sweetness and helps the fudge set properly
- Gel food coloring: Absolutely essential for achieving vibrant Grinch green without affecting texture; liquid coloring will cause the chocolate to seize
- Large red candy hearts: Choose jumbo-sized hearts about half an inch in diameter for proper proportion and visual impact
Detailed Step-by-Step Instructions
- Prepare your workspace efficiently:
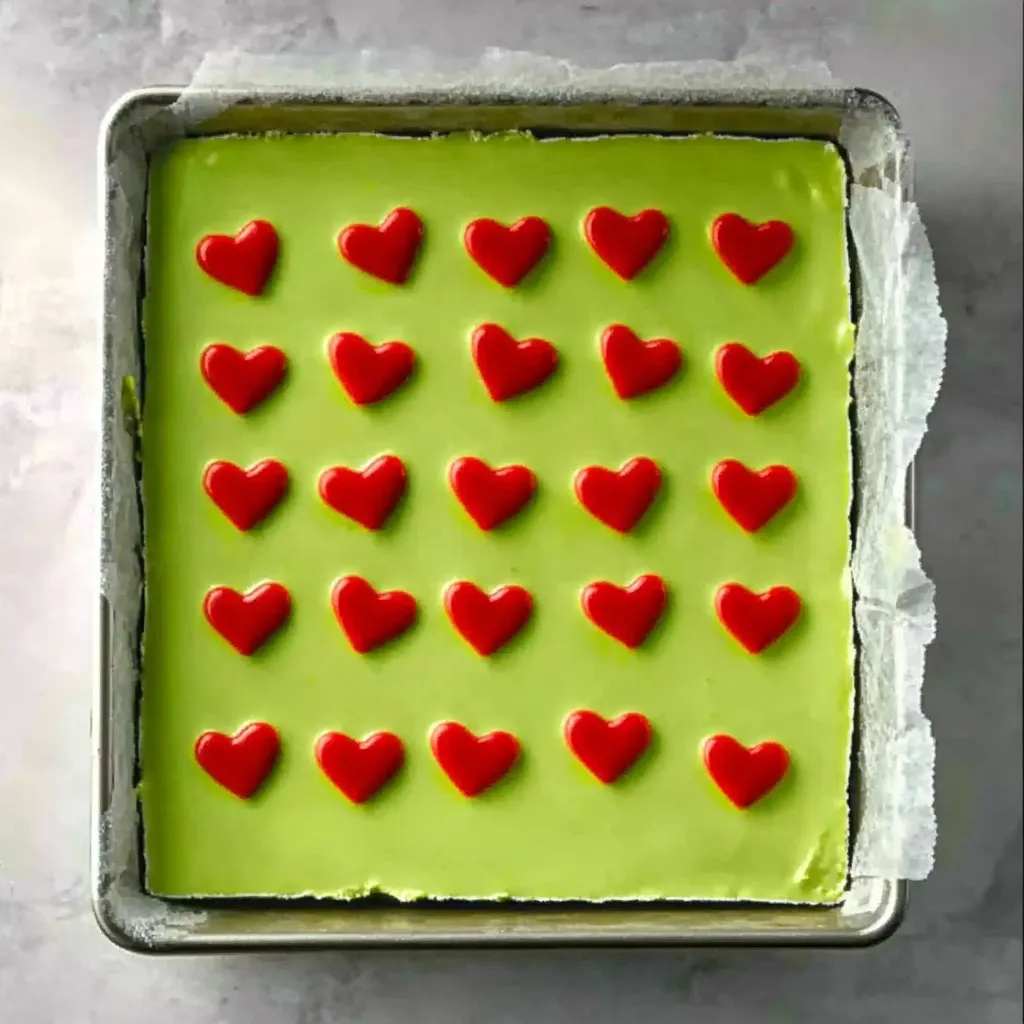
- Line an 8-inch square pan with parchment paper, leaving overhang on two sides to create handles for easy removal later. This preparation step is crucial since you'll need to work quickly once the chocolate mixture is ready.
- Master the gentle melting technique:
- In a medium saucepan over medium-low heat, combine white chocolate chips and sweetened condensed milk. Stir frequently and patiently as the mixture melts, maintaining low heat to prevent burning. The process takes about 5-7 minutes and results in a smooth, glossy mixture when properly done.
- Add flavor and achieve perfect color:
- Remove the pan from heat and immediately stir in vanilla extract and gel food coloring. Start with just a few drops of green coloring and add more gradually until you achieve that perfect Grinch lime green shade. The color should be vibrant but not neon unless you specifically want that effect.
- Work quickly for smooth results:
- Pour the mixture into your prepared pan immediately, as it begins setting as soon as it cools. Use an offset spatula to spread it into an even layer, working efficiently but carefully to avoid air bubbles or uneven thickness.
- Create the signature heart pattern:
- While the fudge is still soft and warm, gently press red candy hearts into the surface in a grid pattern. Position them so each future square will have one heart centered on it. Press firmly enough to secure them but not so hard that they sink completely into the fudge.
- Chill for proper setting:
- Refrigerate the pan for at least 2 hours, or until the fudge feels completely firm when lightly pressed. Proper chilling ensures clean cuts and prevents the fudge from sticking to your knife during slicing.
- Execute professional cutting technique:
- Use the parchment overhang to lift the entire block onto a cutting board. With a sharp, flat knife warmed under hot water and dried completely, cut the fudge into 16 squares, cleaning the blade between cuts for the cleanest appearance.
 Pin it
My kids now consider December officially started when they see me making Grinch fudge, and there's something magical about watching their faces light up when they see that perfect green color come together. The combination of rich white chocolate sweetness with the fun visual appeal makes it irresistible to all ages.
Advanced Color Techniques
For the most authentic Grinch green, start with a tiny amount of coloring and build gradually. The color will appear darker as the mixture cools, so aim for slightly lighter than your target shade while the fudge is warm. Some bakers prefer mixing yellow and blue gels to create a custom green that matches their vision perfectly.
Creative Variations and Seasonal Adaptations
While red hearts create the classic Grinch theme, this base recipe adapts beautifully to other holidays. Pink hearts make perfect Valentine's Day treats, while orange candy creates Halloween versions. For everyday treats, omit the coloring entirely and use various colored candies for rainbow effects.
Gift-Giving and Presentation Ideas
This fudge makes exceptional holiday gifts when presented thoughtfully. Package individual squares in clear cellophane bags tied with red ribbon, or arrange them in decorative tins lined with festive paper. For teacher gifts or neighbor treats, small boxes with clear lids showcase the beautiful green color perfectly.
Storage Solutions for Maximum Freshness
Proper storage maintains both flavor and appearance. Layer the fudge squares between parchment paper in airtight containers, refrigerating for up to one week. The red hearts can bleed slightly over time, so consume within a few days for the best visual appeal. Never freeze this fudge as condensation will cause color bleeding.
Troubleshooting Common Issues
If your chocolate seizes during melting, remove it from heat immediately and try whisking in a tablespoon of warm milk to restore smoothness. Fudge that's too soft usually indicates insufficient chilling time. If the green color looks muddy, you likely used too much coloring - start over with less for better results.
This Grinch fudge represents everything wonderful about holiday treats - it's festive, delicious, and brings instant smiles to everyone who encounters it. The fact that it requires no special equipment or advanced techniques makes it accessible to bakers of any skill level, while the impressive results make it feel special enough for any holiday gathering. Whether you're making it for family traditions or sharing with neighbors, this fudge delivers that perfect combination of visual magic and irresistible taste.
Frequently Asked Questions
- → How long does Grinch fudge take to set?
- The fudge needs at least 2 hours in the fridge to become firm and ready to cut into squares.
- → Can I use regular vanilla instead of clear vanilla?
- Yes, but clear vanilla works best for the bright green color. Regular vanilla will make it slightly darker.
- → What if I don't have gel food coloring?
- Gel coloring works best, but you can use liquid food coloring. Just use less since it's more watery.
- → How do I store leftover fudge?
- Keep it in an airtight container in the fridge for up to one week, or freeze for up to 3 months.
- → Can I make this fudge ahead of time?
- Yes! This fudge is perfect for making ahead. It actually tastes better after sitting for a day.