
 Pin it
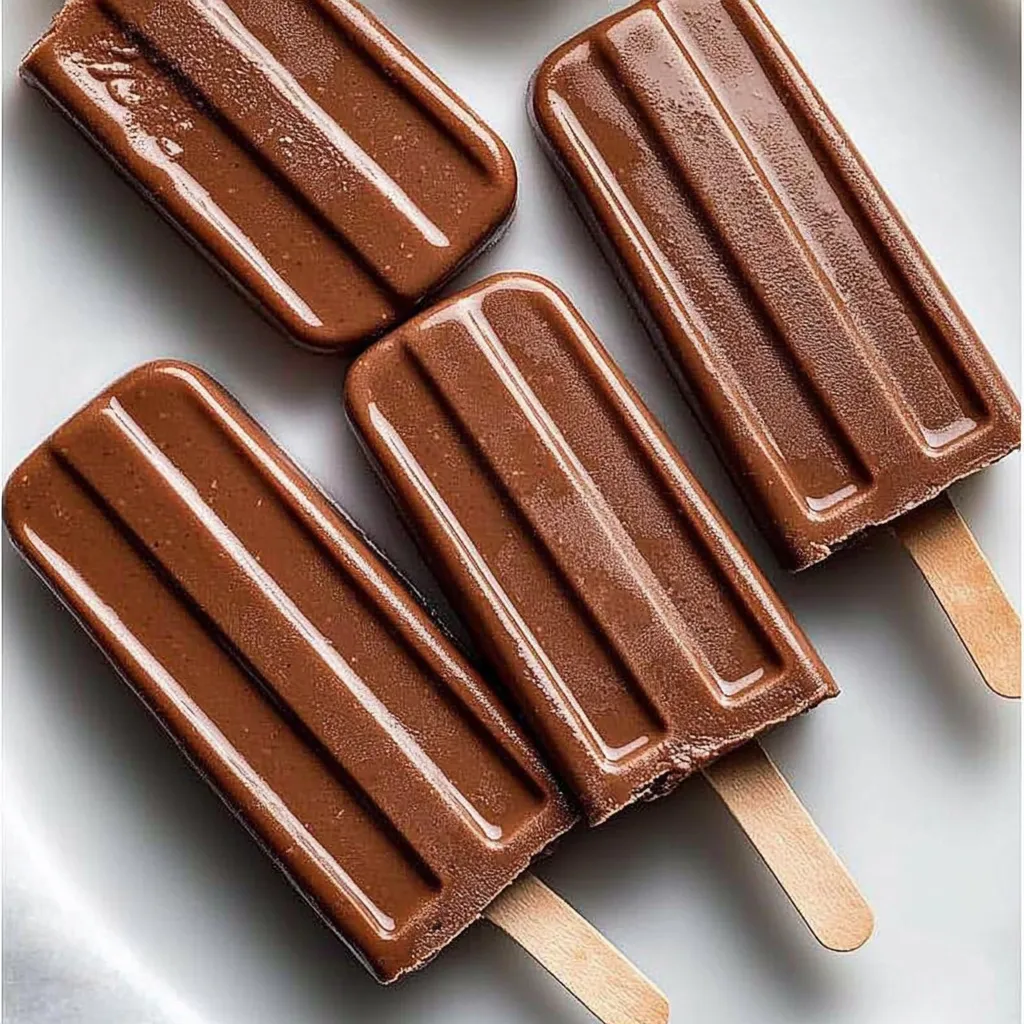
These homemade fudge popsicles deliver all the nostalgic joy of the classic frozen treat with an elevated flavor that puts store-bought versions to shame. Incredibly rich and silky-smooth, these chocolate pops strike the perfect balance between sophisticated dark chocolate flavor and creamy sweetness. With just a handful of simple ingredients and minimal prep time, you'll have a freezer stocked with the ultimate cool-down treat for hot summer days.
I first created these popsicles during an especially brutal heat wave last summer when my childhood craving for fudgesicles hit hard. After one taste, my husband (who normally reaches for fruit-based desserts) declared them the best chocolate anything he'd ever eaten and suggested we never buy the packaged version again. Even my picky five-year-old nephew, who typically turns his nose up at homemade versions of store-bought treats, requested these specifically at his birthday party instead of cake!
Ingredients
- 2 cups whole milk: Creates the perfect creamy base – the higher fat content is worth it for the silky texture
- ½ cup heavy cream: Adds luxurious richness and helps prevent ice crystals for that signature smooth bite
- ½ cup granulated sugar: Provides just enough sweetness to balance the deep chocolate flavor
- ⅓ cup semi-sweet chocolate chips: Melts beautifully into the base for that classic fudgy flavor
- 3 tablespoons unsweetened cocoa powder: Intensifies the chocolate flavor with sophisticated depth
- 1 teaspoon pure vanilla extract: Enhances the chocolate notes with a subtle warmth
- ¼ teaspoon salt: Amplifies all the other flavors and cuts through the richness for a more balanced taste
Step-by-Step Preparation Instructions
- Step 1:
- Combine the base ingredients: In a medium saucepan, whisk together the whole milk, heavy cream, granulated sugar, and cocoa powder until the cocoa and sugar are fully incorporated with no lumps. This initial mixing is crucial to prevent cocoa clumps in the final popsicles. I find that sifting the cocoa powder first makes this step much easier and results in a smoother mixture.
- Step 2:
- Heat the mixture: Place the saucepan over medium heat and bring the mixture to a gentle simmer, stirring frequently to prevent scorching on the bottom. Watch carefully – you want it just hot enough to reach a simmer but not boil over. Once you see small bubbles forming around the edges and the mixture is steaming, immediately remove it from the heat. The heating process activates the cocoa powder's flavor and helps dissolve the sugar completely.
- Step 3:
- Melt the chocolate: Place the chocolate chips in the bottom of a blender jar or a medium bowl if using an immersion blender. Carefully pour the hot milk mixture over the chocolate chips and let it sit undisturbed for about 2-3 minutes. This brief resting period allows the chocolate to melt from the residual heat without having to dirty another pan. The patience here is worth it!
- Step 4:
- Blend until smooth: Add the vanilla extract and salt to the mixture, then blend until completely smooth and silky. If using a standard blender, start on low speed and gradually increase to medium to prevent splashing. With an immersion blender, keep the head completely submerged to avoid splattering. The blending not only combines everything thoroughly but also helps create that ultra-creamy texture by incorporating a bit of air into the mixture.
- Step 5:
- Fill the molds: Allow the mixture to cool for about 5 minutes before pouring it into your popsicle molds. Filling them while the mixture is too hot can cause some plastic molds to warp. Leave about ¼-inch space at the top of each mold to allow for expansion as the popsicles freeze. If you don't have popsicle molds, small paper cups work wonderfully as a substitute.
- Step 6:
- Partial freeze and add sticks: Place the filled molds in the freezer for about 30-45 minutes until the mixture has thickened to a slushy consistency but isn't completely frozen. This partial freezing ensures that the popsicle sticks stand straight when inserted. Remove from the freezer, insert the sticks in the center of each pop, and return to the freezer.
- Step 7:
- Freeze completely: Allow the popsicles to freeze for at least 6 hours, though overnight is best for the optimal creamy-yet-frozen texture. The patience required here will be rewarded with perfectly set popsicles that have the ideal consistency throughout.
- Step 8:
- Unmold and enjoy: When ready to serve, run warm water over the outside of the mold for 10-15 seconds, being careful not to get water on the exposed part of the popsicles. Gently wiggle the sticks to release the popsicles from the mold. If they don't release easily, run warm water over the mold for a few more seconds. Enjoy immediately or wrap individually in wax paper and store in a freezer bag for later.
 Pin it
The Secret to Ultra-Creamy Popsicles
The key to fudge popsicles that rival or surpass any store-bought version lies in the balance of ingredients and proper technique. I've discovered through much trial and error that there are a few crucial elements that make all the difference.
First, the combination of whole milk and heavy cream provides just the right fat content to prevent the icy texture that plagues many homemade popsicles. Too little fat and you'll get ice crystals; too much and the popsicles won't freeze properly. This ratio hits the sweet spot for that signature creamy bite.
Second, briefly heating the mixture doesn't just melt the chocolate – it also allows the cocoa powder to "bloom," releasing more complex flavor compounds than simply mixing it cold would. I discovered this technique accidentally when comparing a heated batch to a non-heated one, and the difference in chocolate depth was remarkable.
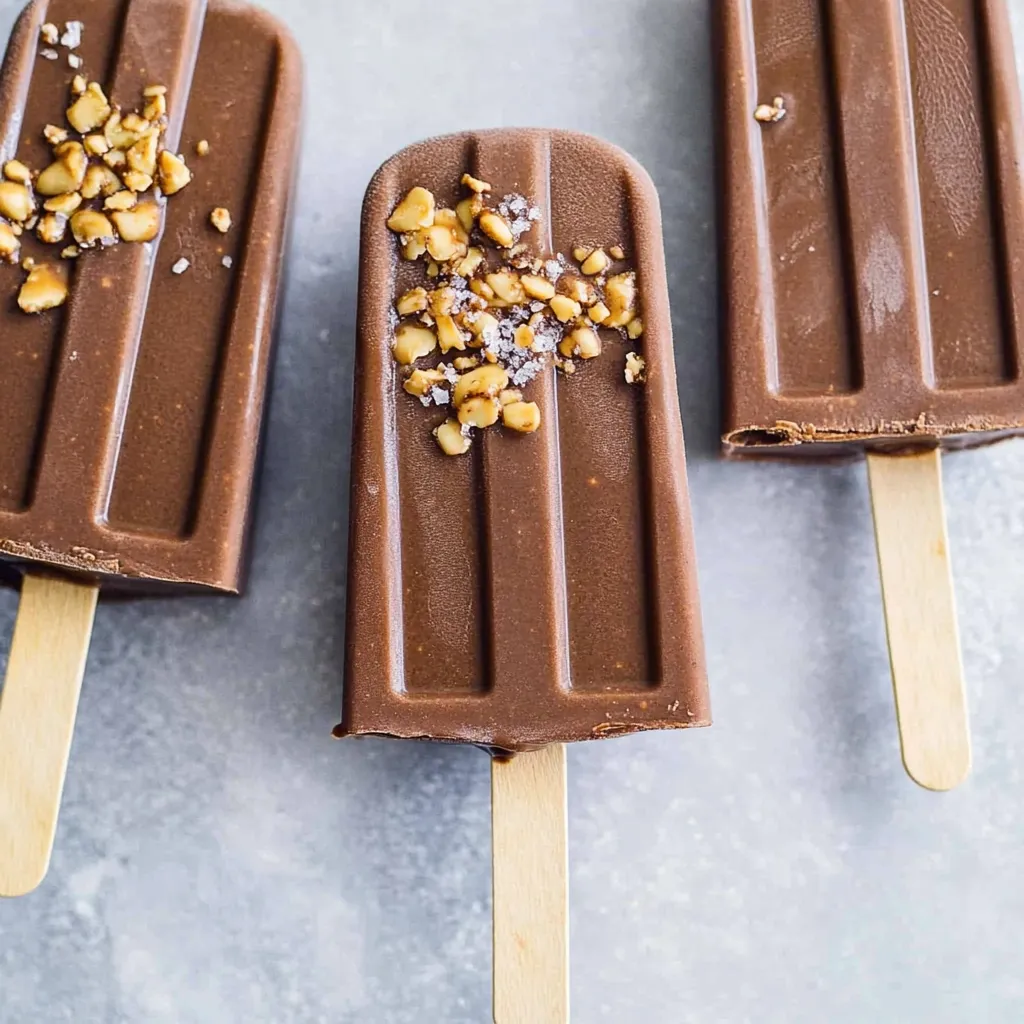
Finally, the addition of salt might seem insignificant, but it's actually transformative. Salt enhances sweetness while simultaneously cutting through richness, creating a more balanced and sophisticated flavor profile that makes these popsicles craveable for adults and kids alike.
Last summer, I hosted a popsicle taste-test party for my nieces and nephews, pitting these homemade fudgesicles against the name-brand version they'd always eaten. The kids initially eyed my homemade version skeptically (they were slightly less uniform in shape), but after one taste, they unanimously declared these the winner. My sister texted me the next day saying her kids had asked if "Aunt Jenny could make the chocolate popsicles that taste like chocolate ice cream instead of the ones from the store." There's simply no better endorsement than that!
Creative Variations
While the classic recipe is perfect as is, I love experimenting with different flavors and add-ins. Here are a few variations that have become favorites in our house:
For a Mexican chocolate twist, add ¼ teaspoon of ground cinnamon and a tiny pinch of cayenne pepper to the mixture before heating. The warm spices create an intriguing depth that's sophisticated enough for an adult dessert but still accessible for adventurous kids.
Coffee lovers should try dissolving 1 tablespoon of espresso powder in the milk mixture before heating. The coffee intensifies the chocolate flavor without overwhelming it, creating a mocha popsicle that's perfect for an afternoon pick-me-up.
For an indulgent treat reminiscent of chocolate-covered strawberries, fold ¼ cup of finely diced fresh strawberries into the cooled mixture just before pouring into molds. The strawberry pieces freeze into juicy little bursts within the fudgy base.
I've been perfecting this recipe for three summers now, tweaking the ratio of ingredients each time to achieve that ideal balance of rich chocolate flavor and creamy texture. What started as a nostalgic attempt to recreate a childhood favorite has evolved into something even better than the original. There's something deeply satisfying about transforming simple ingredients into a treat that brings so much joy to both kids and adults alike.
Frequently Asked Questions
- → How long do homemade fudge popsicles last in the freezer?
- When stored properly in airtight containers or wrapped individually, homemade fudge popsicles will last about 2-3 weeks in the freezer.
- → Can I use non-dairy milk for these fudge popsicles?
- Yes, you can substitute the milk and cream with coconut milk or other non-dairy alternatives, though the texture may be slightly different.
- → Why did my fudge popsicles turn icy instead of creamy?
- Icy popsicles usually happen when there's not enough fat. Make sure to use whole milk and heavy cream as directed for the creamiest texture.
- → Can I add other flavors to these fudge popsicles?
- Absolutely! Try adding mint extract, instant coffee, or peanut butter for flavor variations that complement the chocolate base.
- → My popsicles won't come out of the mold. What should I do?
- Run warm (not hot) water over the outside of the mold for 10-15 seconds, then gently wiggle the stick. Don't pull too hard or the stick might come out alone.