
 Pin it
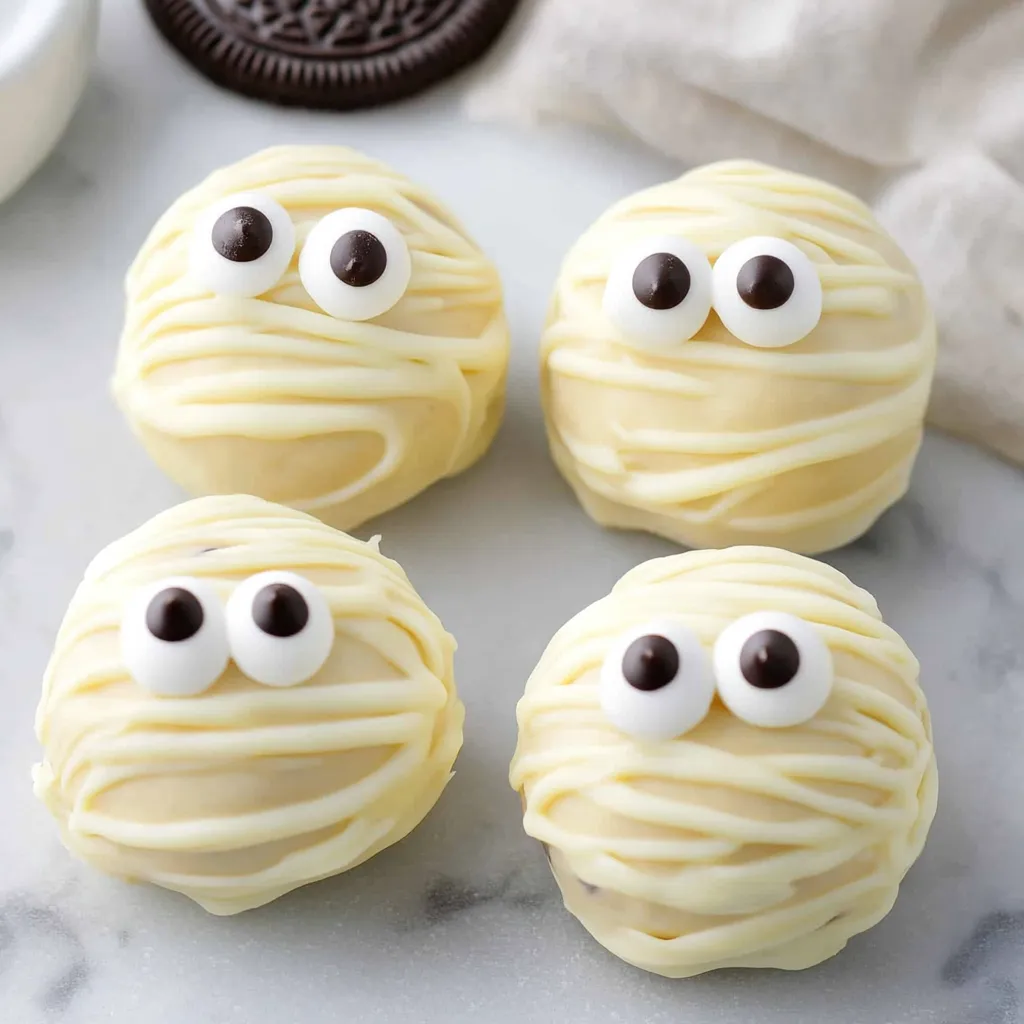
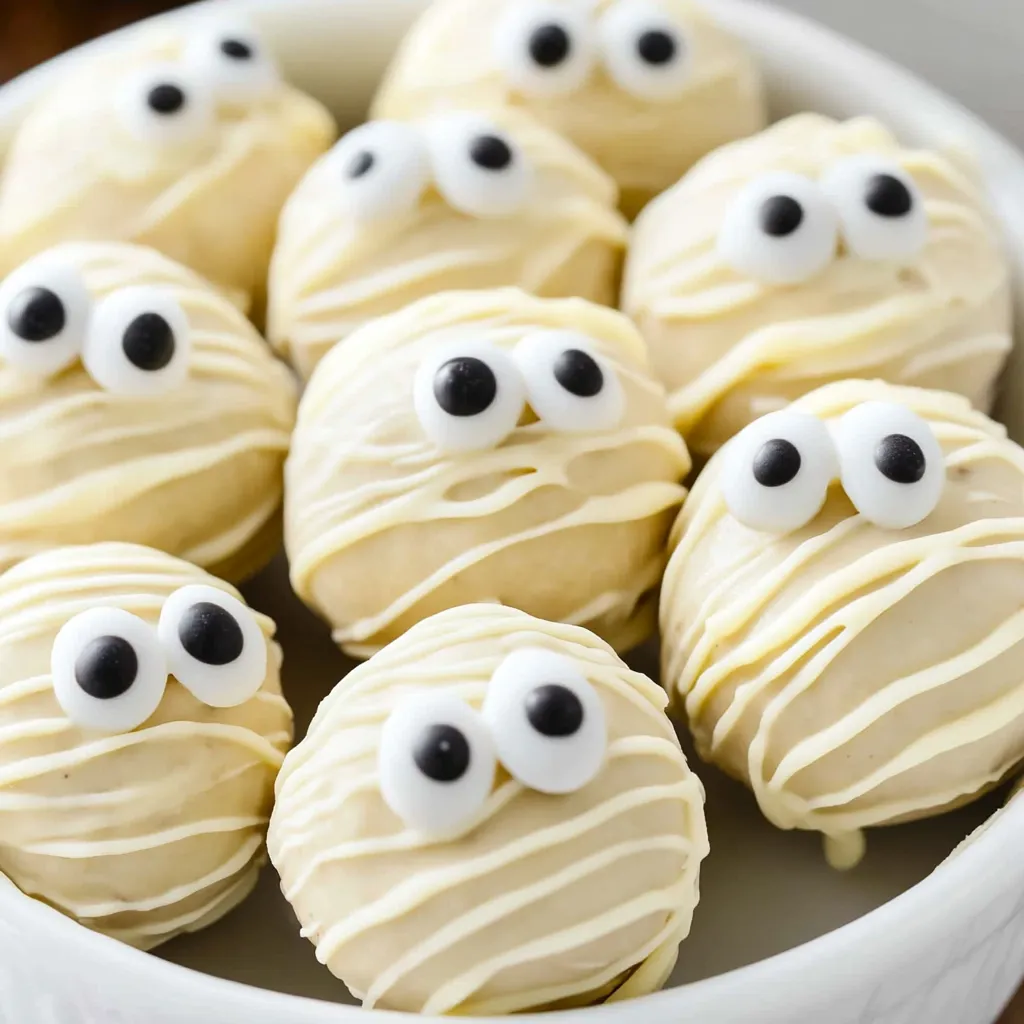
These mummy Oreo balls are hands down the cutest Halloween treat I've ever made, and kids absolutely lose their minds over them every single time. The combination of crushed cookies mixed with cream cheese creates this incredibly creamy center, while the white chocolate coating hardens into a satisfying shell that cracks when you bite through it. I started making these four years ago for my son's Halloween party at school, and now the other parents specifically request them every October because their kids talk about them all year long.
My daughter's favorite part is definitely adding the googly candy eyes at the end, and she insists on giving each mummy a different "personality" by placing the eyes at slightly different angles. Watching her concentrate so seriously on making each one unique is worth making these for that reason alone.
Ingredients You'll Need
- Golden or blonde Oreos (one package): The lighter color works perfectly for mummies because the filling won't show through the white chocolate coating as much as regular dark Oreos would; you'll use the entire cookie including the cream filling
- Cream cheese (softened to room temperature, about 8 ounces): This binds the cookie crumbs together and creates that smooth, creamy center that makes these so much better than plain cookies; it must be completely soft or you'll have lumps
- White chocolate candy melts or dipping wafers (about 12 ounces): These melt smoothly and harden with a nice snap at room temperature, unlike regular white chocolate chips which stay soft and messy; Wilton or Ghirardelli brands work beautifully
- Candy eyes (as many as you need for decorating): These transform plain chocolate-covered balls into adorable mummies and are what make kids go crazy for them; find them in the baking aisle near sprinkles or order them online
Step-by-Step Instructions
- Crush the Oreos into fine crumbs
- Take your entire package of golden Oreos and break them roughly in half with your hands, then dump them into your food processor including all the cream filling. Pulse the cookies repeatedly for about thirty seconds to one minute, stopping occasionally to scrape down the sides of the bowl, until the cookies transform into very fine, uniform crumbs that look almost like sand. You want them completely pulverized with no large chunks remaining because big pieces will make your balls lumpy and difficult to form smoothly. If you don't have a food processor, you can put the cookies in a sealed plastic bag and crush them with a rolling pin, though this takes more time and effort to get them fine enough.
- Mix cookie crumbs with softened cream cheese
- Add your softened cream cheese directly to the bowl with the cookie crumbs, either leaving it in the food processor or transferring everything to a large mixing bowl if you prefer to mix by hand. Use the food processor to pulse everything together or mix with a sturdy spoon or your hands, working the cream cheese into the crumbs until everything is completely combined and uniform with no dry spots of cookie crumbs or white streaks of cream cheese remaining. The mixture should come together into a cohesive dough that feels slightly moist and holds together when you squeeze it, not crumbly or too wet. If the mixture seems too dry and won't hold together, add another tablespoon of cream cheese; if it's too wet and sticky, add a few more crushed Oreos.
- Scoop and shape into uniform balls
- Use a small cookie scoop or melon baller to portion out the mixture into pieces about one inch in diameter, which ensures all your balls are the same size and will look uniform when finished. Roll each portion between your palms gently but firmly to form smooth, round balls without cracks or rough spots on the surface, taking just a few seconds per ball. Place each finished ball on a parchment-lined baking sheet or plate as you work, spacing them so they're not touching each other. Once all your mixture is shaped into balls, immediately transfer the whole tray to the freezer for thirty minutes to firm up, which makes them much easier to dip in chocolate without falling apart.
- Melt the white chocolate properly
- Pour your white chocolate candy melts or dipping wafers into a microwave-safe bowl, using a bowl that's deep enough to easily dip your balls without scraping the bottom constantly. Microwave on fifty percent power for thirty seconds, then remove and stir thoroughly even though nothing looks melted yet. Continue microwaving in thirty-second intervals at fifty percent power, stirring completely after each interval, until the chocolate is smooth and completely melted with no lumps remaining. Never rush this process by using full power or longer intervals because white chocolate scorches easily and once it's overheated and grainy, there's no fixing it and you'll have to start over with fresh chocolate. The properly melted chocolate should be smooth, glossy, and flow easily off your spoon.
- Dip each frozen ball in melted chocolate
- Remove your chilled Oreo balls from the freezer a few at a time, keeping the rest cold while you work so they stay firm and easy to handle. Place one ball on a fork, balancing it on top of the tines rather than spearing it, then lower it into the melted white chocolate until it's completely submerged. Use a spoon to help cover the top if needed, then lift the fork out of the chocolate and tap it gently against the edge of the bowl several times to let excess chocolate drip off. You want a thin, even coating that covers the ball completely without being so thick that it forms a puddle at the bottom. Carefully slide the coated ball off the fork onto your parchment-lined baking sheet using another utensil to help push it off if necessary, trying not to leave too much of a "foot" of chocolate underneath.
- Create the mummy bandages with drizzled chocolate
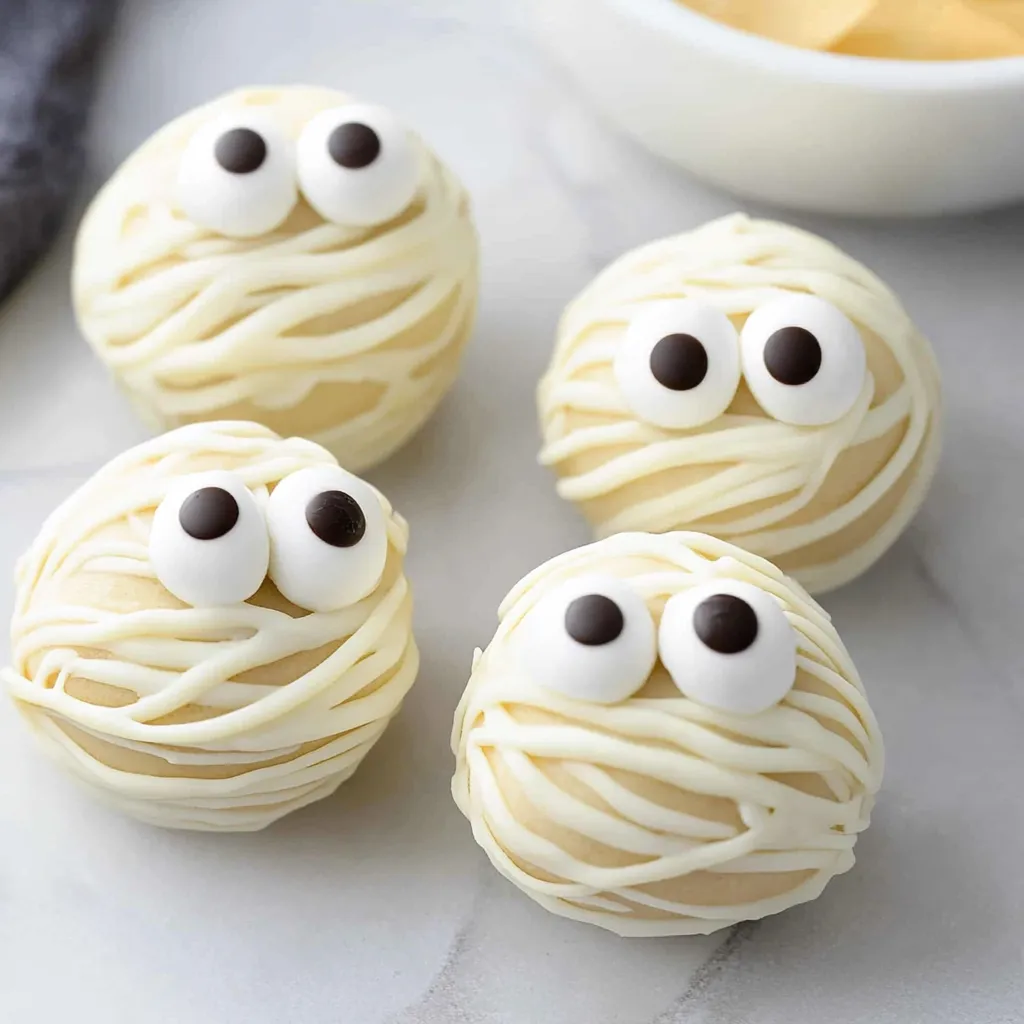
- Once all your balls are dipped and arranged on the baking sheet, take the remaining melted white chocolate and transfer it to a small plastic bag or piping bag, or just use a spoon if that's easier. Drizzle the chocolate back and forth over the tops of the balls in random, messy lines that look like mummy bandages wrapping around them, working quickly before the base coat of chocolate hardens. Don't worry about making them perfect or neat because mummies are supposed to look a bit ragged and wrapped up, so the messier and more random your drizzle, the better they'll look. Leave some gaps between the drizzled lines so you can see the smooth white chocolate underneath, which creates that wrapped appearance.
- Add candy eyes while chocolate is still wet
- Before the drizzled chocolate hardens completely, quickly press two candy eyes onto each ball, positioning them wherever you think looks cute and mummy-like. You can place them close together for a surprised look, far apart for a silly expression, or at slightly different heights to give each mummy its own personality. If the chocolate hardens before you get the eyes on, just add a tiny dab of melted chocolate to the back of each eye to help them stick. Work relatively quickly during this step because you only have a few minutes before the chocolate sets and the eyes won't adhere anymore.
- Chill until completely set and hardened
- Place your decorated mummy balls in the refrigerator for at least twenty minutes to let the chocolate fully harden and set, which gives them that satisfying snap when you bite into them. The refrigerator works better than the freezer at this stage because you want them to chill gradually so the chocolate sets smoothly without developing condensation. Once they're completely hardened, they're ready to serve immediately or you can keep them refrigerated until you need them.
 Pin it
I've made these with both regular and golden Oreos, and while the dark ones taste equally delicious, the filling does show through the white chocolate slightly and makes them look a bit gray rather than pure white. It doesn't affect the taste at all, but if you're going for that perfect mummy look, the golden ones are definitely worth seeking out.
Working with White Chocolate Successfully
White chocolate can be tricky to melt properly because it scorches more easily than dark or milk chocolate, and once it's burned, there's absolutely no saving it. The key is patience and low heat, using fifty percent power in the microwave and stirring thoroughly after every thirty-second interval even when nothing looks melted yet. You'll know it's overheated if it suddenly looks grainy or curdled with what appears to be cookie crumbs mixed through, even though you haven't added any crumbs. This happens when the chocolate gets too hot and the cocoa butter separates from the milk solids, and unfortunately, you'll need to throw it out and start fresh. Adding a teaspoon of coconut oil helps thin chocolate that's too thick, making it easier to achieve that smooth coating.
Achieving the Perfect Coating
Getting a thin, even coating of chocolate that covers the ball completely without being too thick takes a bit of practice, but the technique makes all the difference. Balancing the ball on top of the fork tines rather than spearing it prevents the ball from breaking apart and gives you better control when dipping. Tapping the fork firmly against the edge of the bowl after dipping lets gravity pull off the excess chocolate, preventing that thick puddle of chocolate that forms at the bottom and makes your mummies look like they're sitting in white pools. If you're struggling with excess chocolate, try using a toothpick to gently scrape it off the bottom before setting the ball down. The coating should be just thick enough to be opaque and cover the ball completely, but not so thick that it obscures the shape.
Creating Mummy Bandage Effects
The drizzled chocolate on top is what really makes these look like mummies instead of just plain white chocolate balls, and the messier and more random you make it, the more authentic it looks. Real mummy wrappings are uneven and haphazard, so don't stress about making perfect straight lines or evenly spaced drizzles. Some bandages should be thick, others thin, some should overlap, and there should be gaps where the smooth white chocolate shows through. Using a plastic bag with a tiny corner snipped off gives you good control for drizzling, but honestly, just using a spoon and letting the chocolate fall off in random patterns works great too. The goal is making them look wrapped up, not decorated, so embrace the chaos.
Positioning the Candy Eyes
The candy eyes are what transform these from generic white balls into recognizable mummies, and their placement completely changes the character of each one. Placing them close together in the center makes mummies look surprised or worried, while spacing them farther apart creates a goofier, sillier expression. Positioning one eye slightly higher than the other gives them a confused or skeptical look that's endearing. Some people like putting the eyes right in the center of the ball, while others prefer positioning them more toward the top so they peek out from the bandages. There's no wrong way to do it, and letting kids choose where the eyes go means each mummy has its own unique personality.
Making These with Regular Oreos
If you can only find regular chocolate Oreos or already have them in your pantry, these absolutely still work, though there are a couple of adjustments to consider. The dark cookie crumbs mixed into the cream cheese create a grayish filling that can show through the white chocolate coating slightly, especially if your coating is thin. Double-dipping solves this problem by giving you two layers of white chocolate that completely hide the darker filling, though it does make the chocolate coating thicker overall. Another option is embracing the slightly gray color and just going with it because they still taste identical and most people won't even notice once the eyes are on. Some people actually prefer using regular Oreos because they like the stronger chocolate flavor.
Storage and Make-Ahead Tips
These mummy Oreo balls are fantastic for making ahead because they actually improve slightly after a day in the fridge as the flavors meld together and the texture of the cream cheese filling sets up perfectly. Store them in a single layer in an airtight container in the refrigerator, and if you need to stack them, place parchment paper between each layer to prevent the candy eyes from getting smooshed or the chocolate from sticking together. They'll stay fresh and delicious for up to five days, though the candy eyes might start to weep slightly after a few days from moisture in the fridge. You can freeze them for longer storage, up to two months, just let them thaw in the fridge before serving so they don't develop condensation on the chocolate coating.
 Pin it
These mummy Oreo balls have become such a staple of our Halloween celebrations that my kids start asking about them in September, and I love how something so simple and quick to make brings them so much joy. The combination of being genuinely delicious while also being adorable and fun means adults enjoy eating them just as much as kids do, and watching someone bite into one for the first time and discover that creamy center never gets old.
Frequently Asked Questions
- → Can I use regular Oreos instead of Golden Oreos?
- Yes, regular Oreos work fine, but your mummy balls will be darker in color. Golden Oreos give a lighter base that looks better under the white chocolate.
- → How long do these Oreo balls stay fresh?
- Store them in an airtight container in the fridge for up to 5 days. They taste best within the first 3 days though.
- → Can I freeze Mummy Oreo Balls?
- Absolutely! Freeze them in a single layer, then transfer to a freezer bag. They'll keep for up to 2 months. Thaw in the fridge before serving.
- → What if I don't have a food processor?
- Put the Oreos in a sealed bag and crush them with a rolling pin. It takes a bit more effort but works just as well.
- → Why are my Oreo balls falling apart when I dip them?
- They probably weren't chilled long enough. Make sure they're firm from the freezer before dipping. If they're still soft, freeze them another 15 minutes.
- → Can I make these ahead of time for a party?
- Yes! Make them 1-2 days before your party. Keep them refrigerated in a covered container until you're ready to serve.