
 Pin it
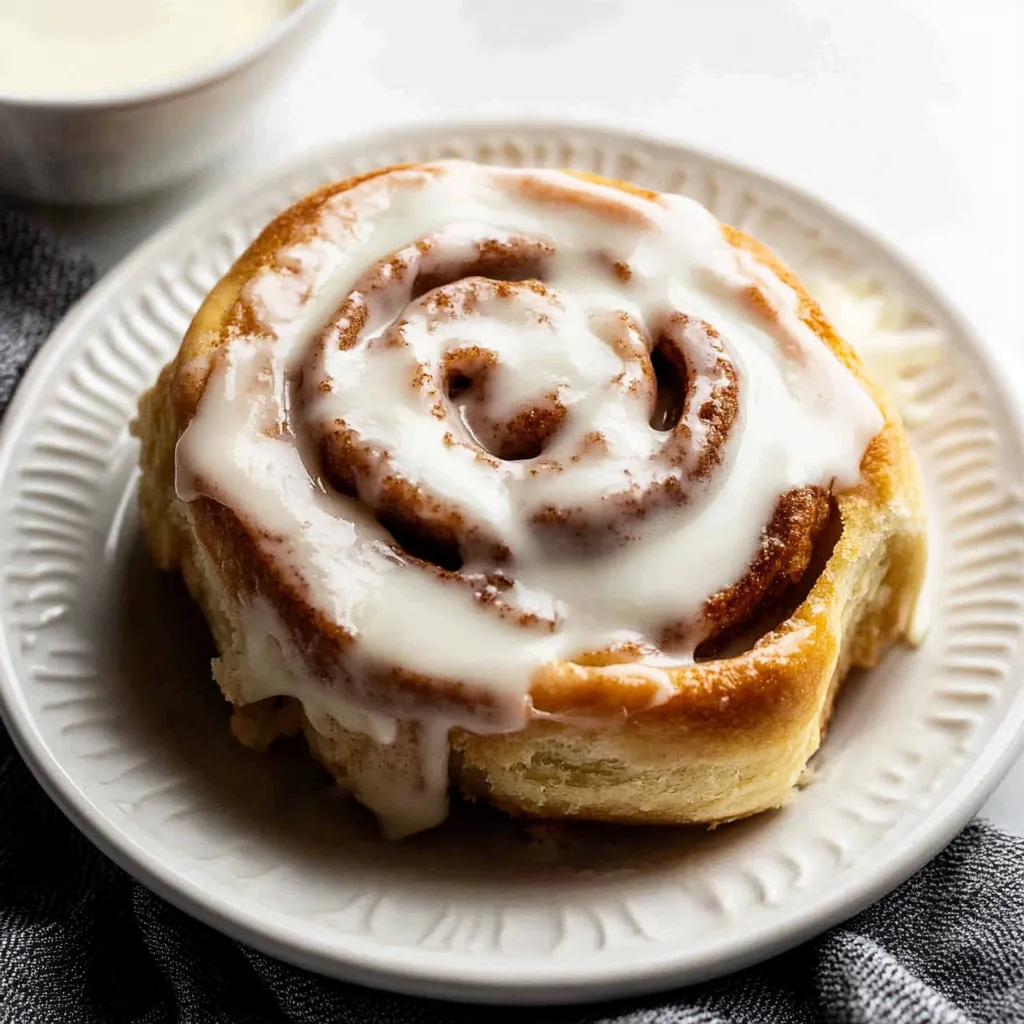
These overnight cinnamon rolls deliver everything you want in a perfect breakfast treat - pillowy soft, buttery dough swirled with gooey cinnamon filling and topped with tangy cream cheese frosting that melts into every crevice. The enriched dough creates incredibly fluffy, tender rolls that stay soft for days, while the overnight option means you can wake up to the smell of fresh cinnamon rolls without early morning prep work. With their bakery-quality texture and irresistible aroma that fills your entire kitchen, these homemade cinnamon rolls prove that some weekend mornings are worth the extra effort.
I've been perfecting this cinnamon roll recipe for years, and it's become the one I turn to whenever I want to create something truly special for family and friends. The first time I made the overnight version, I was amazed at how convenient it was to wake up, pop them in the oven, and have fresh cinnamon rolls ready in under an hour. What sets these apart is the incredibly rich dough that creates those pillowy, tender rolls that literally melt in your mouth. Now they're requested for every holiday morning and special occasion, and I love how the aroma brings everyone to the kitchen before they're even finished baking.
Essential Ingredients and Selection Tips:
- Whole milk: Provides richness and tenderness; don't substitute with nonfat milk which lacks the fat needed for soft texture
- Active dry or instant yeast: Both work equally well; always proof to ensure freshness and activity
- Real butter: Use unsalted butter and bring to room temperature for easy mixing; margarine won't provide the same flavor
- Large eggs: Should be at room temperature for better incorporation into the dough
- All-purpose or bread flour: All-purpose creates tender rolls while bread flour adds slight chewiness
- Brown sugar for filling: Adds molasses notes and deeper flavor than white sugar, though both work
Step-by-Step Instructions:
- Proof yeast for guaranteed success:
- Warm whole milk to about 110°F (it should feel slightly warm, not hot) and stir in 2 tablespoons of sugar until dissolved. Sprinkle yeast over the surface and let stand for 5-10 minutes until foamy and bubbly. This step ensures your yeast is active and will provide proper rise. If the mixture doesn't foam, your yeast may be expired and should be replaced.
- Create the enriched dough base:
- In the bowl of a stand mixer fitted with the dough hook, combine the proofed yeast mixture with softened butter (cut into pieces), eggs, remaining sugar, and salt. Mix on low speed until combined, then gradually add flour until a soft, slightly sticky dough forms. The dough should pull away from the sides of the bowl but still be tacky to the touch.
- Knead to perfect texture:
- Knead the dough with the dough hook for 6-8 minutes on medium speed, or by hand on a floured surface for 8-10 minutes, until smooth and elastic. The dough should be soft and slightly sticky but manageable. Add flour gradually if needed, but avoid making it too dry, which would result in dense rolls.
- First rise for flavor development:
- Place the kneaded dough in a greased bowl, turning to coat all sides. Cover with a clean kitchen towel and let rise in a warm, draft-free place for 1-2 hours, until doubled in size. The dough should feel light and airy when properly risen. This first rise develops flavor and creates the structure for fluffy rolls.
- Prepare filling mixture:
- While dough rises, mix together brown sugar and ground cinnamon in a small bowl. Have softened butter ready for spreading. The filling should be well combined and aromatic, with enough cinnamon to create distinct flavor swirls throughout the rolls.
- Roll and shape systematically:
- Punch down the risen dough and turn out onto a lightly floured surface. Roll into a large rectangle, approximately 14x9 inches, keeping the thickness even throughout. Spread softened butter evenly over the entire surface, leaving a small border along one long edge for sealing.
- Add filling and roll tightly:
- Sprinkle the cinnamon-sugar mixture evenly over the buttered dough, pressing gently to help it adhere. Starting from the long side opposite the border, roll the dough tightly into a log, keeping the roll even and compact. Pinch the seam to seal and position seam-side down.
- Cut with precision:
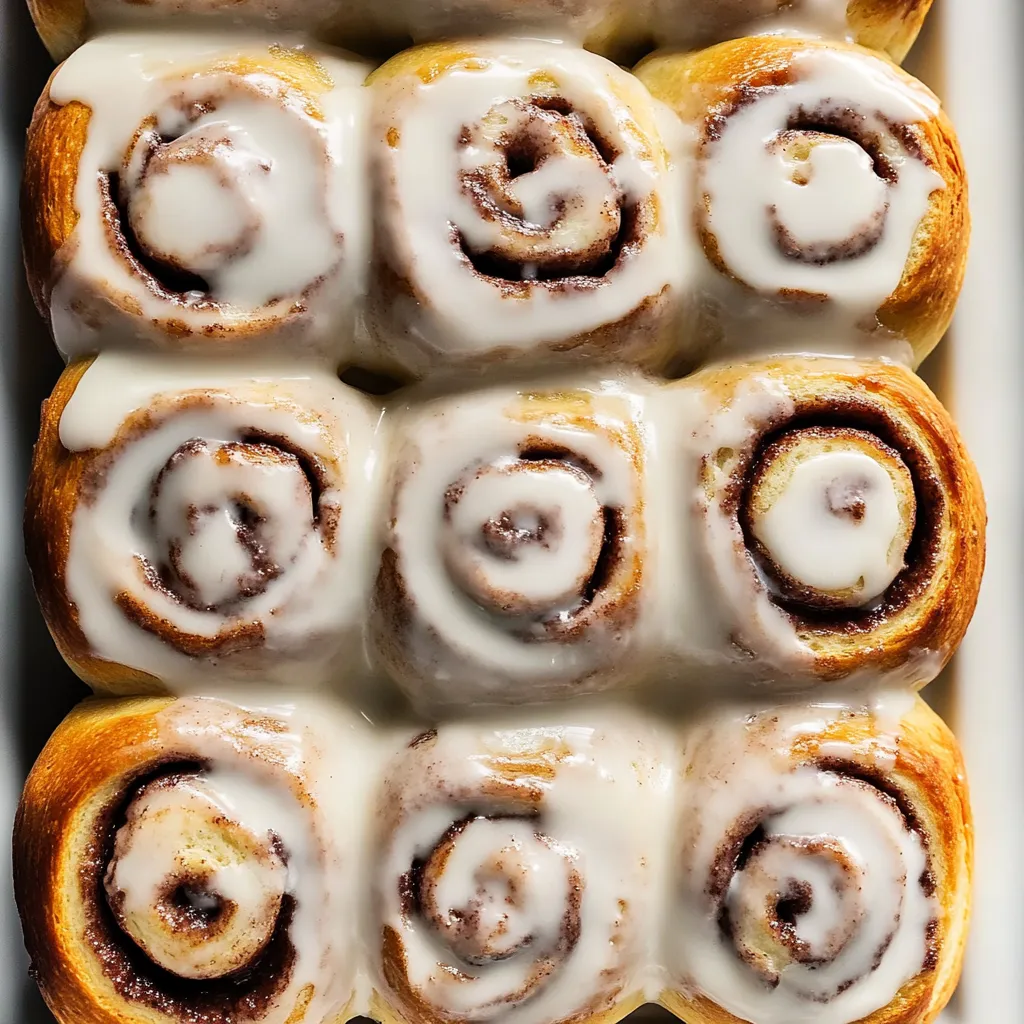
- Using a sharp knife or unflavored dental floss, cut the log into 12 equal pieces, each about 1.5 inches thick. Place cut rolls in a greased 9x13-inch baking pan, spacing them evenly. They should be close but not touching, allowing room for the second rise.
- Second rise for ultimate fluffiness:
- Cover the pan with a clean towel and let rise for 45-60 minutes, until the rolls are puffy and have expanded to nearly touch each other. This second rise is crucial for achieving that characteristic light, fluffy texture. For overnight preparation, cover tightly and refrigerate at this point.
- Bake to golden perfection:
- Preheat oven to 350°F and bake for 25-30 minutes, until golden brown on top and cooked through. If the tops brown too quickly, tent with foil after 15 minutes. The rolls should sound hollow when tapped and spring back when lightly pressed.
- Prepare cream cheese frosting:
- While rolls bake, beat together softened cream cheese, butter, powdered sugar, vanilla, and a pinch of salt until smooth and spreadable. The frosting should be thick enough to hold its shape but soft enough to melt slightly when spread on warm rolls.
- Finish and serve immediately:
- Let rolls cool in the pan for 5-10 minutes, then spread with cream cheese frosting while still warm. The slight heat will help the frosting melt into the crevices, creating the perfect gooey texture that makes these rolls irresistible.
 Pin it
The technique I'm most passionate about in this recipe is the double rise method that creates that incredibly light, fluffy texture. When I first started making cinnamon rolls, I was always tempted to skip the second rise to save time, but I learned that this step is what separates good homemade rolls from extraordinary ones. That second rise after shaping allows the dough to develop even more air pockets and creates rolls that are so tender they practically fall apart in your hands. The overnight option actually enhances this effect because the slow, cold rise develops even more complex flavors while maintaining that perfect texture.
Yeast Activation and Dough Development
Understanding yeast behavior is crucial for consistent cinnamon roll success. The proofing step not only ensures yeast viability but also gives you a head start on fermentation, which develops flavor and creates the foundation for proper rise. The warm milk provides the ideal environment for yeast activation, while the sugar feeds the yeast and helps create that characteristic foamy appearance that indicates healthy, active yeast.
Enriched Dough Chemistry and Texture
This recipe creates what bakers call an enriched dough, meaning it contains fat (butter), eggs, and sugar beyond the basic flour, water, and yeast. These additions create incredibly tender, soft rolls by coating gluten strands and adding moisture. The butter provides flavor and tenderness, while eggs contribute richness and help create the golden color and soft crumb structure.
Kneading Technique and Gluten Development
Proper kneading develops the gluten network that traps gases produced by yeast, creating the structure that allows rolls to rise properly. The dough should be smooth and elastic when properly kneaded, but still slightly tacky to ensure tender results. Over-kneading or adding too much flour creates tough, dense rolls, while under-kneading results in rolls that don't hold their shape.
Rolling and Shaping Mastery
Creating uniform rolls requires understanding how to work with enriched dough. The rolling technique should create an even rectangle with consistent thickness, ensuring all rolls bake at the same rate. The tight rolling motion creates distinct cinnamon swirls while maintaining structural integrity. Proper cutting technique prevents squashing the delicate roll structure.
Rise Time Management and Environmental Factors
Successful rising depends on understanding how temperature and humidity affect yeast activity. Warm environments speed rising while cool temperatures slow it down, which is why the overnight method works so well. The visual cues - doubled size and puffy appearance - are more reliable than specific time requirements since environmental conditions vary.
Overnight Preparation Strategy
The overnight method transforms this recipe from a same-day project into convenient make-ahead preparation. The slow, cold rise actually improves flavor development while fitting busy schedules. Understanding when to refrigerate and how to bring the rolls back to optimal temperature ensures perfect results with flexible timing.
These overnight cinnamon rolls have become the centerpiece of every special morning in our house because they represent everything wonderful about homemade baking - the anticipation, the incredible aroma, and that moment when you bite into something so tender and flavorful that it feels like pure comfort. There's something magical about the way they bring people together, drawing everyone to the kitchen before they're even out of the oven. Every time I make them, whether for holiday mornings, weekend treats, or special occasions, I'm reminded that some recipes are worth the extra time and effort because they create not just delicious food, but lasting memories around the table.
Frequently Asked Questions
- → Can I make these cinnamon rolls the night before?
- Yes! After shaping the rolls, cover and refrigerate for 8-12 hours. Let them rise at room temperature for 1-2 hours before baking.
- → What type of yeast should I use?
- You can use either active dry yeast or instant yeast. Both work the same way in this recipe, though active dry may take slightly longer to rise.
- → How do I know when the dough is ready?
- The dough should feel smooth and elastic. When you poke it with your finger, it should slowly bounce back. It will also pass the windowpane test.
- → Can I freeze these cinnamon rolls?
- Yes! You can freeze them before the second rise, after par-baking, or fully baked. They keep for up to 3 months in the freezer.
- → Why are my cinnamon rolls not fluffy?
- Make sure your yeast is fresh and your milk isn't too hot. Don't add too much flour - the dough should be soft and slightly tacky, not dry.
- → How long do leftover rolls stay fresh?
- Store covered at room temperature for 2 days or in the refrigerator for up to 5 days. Warm them briefly before serving.