
 Pin it
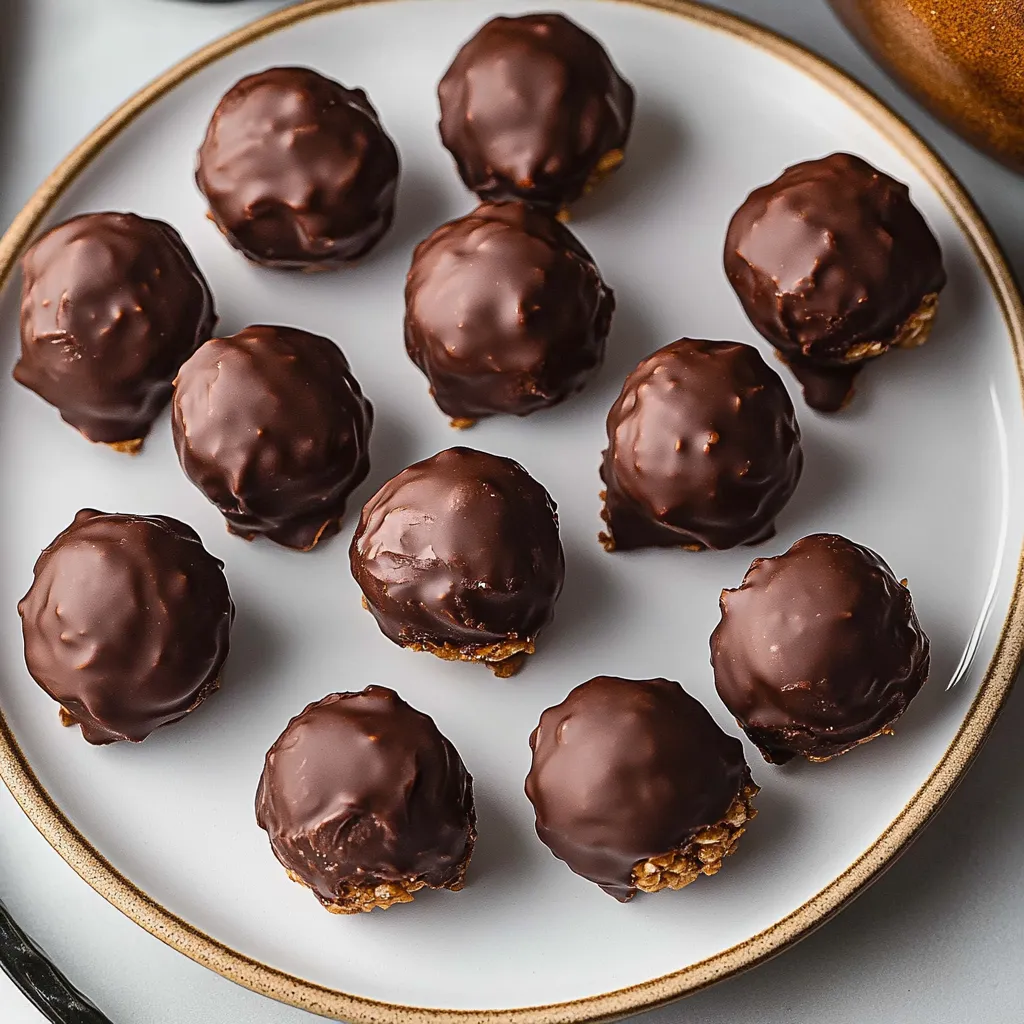
These peanut butter balls with Rice Krispies have become my most-requested Christmas treat because the addition of cereal creates this incredible crunchy texture that regular peanut butter balls just can't match. The combination of creamy peanut butter, sweet chocolate coating, and that satisfying crispy crunch makes them absolutely addictive and impossible to eat just one. I started making these about ten years ago when I wanted to put a twist on traditional peanut butter balls, and now my family refuses to let me make them any other way because these are just that much better.
My kids love helping make these because rolling the balls is fun and easy enough for little hands, and they get so excited watching me dip them in chocolate. The fact that we can make impressive homemade candy together without any complicated techniques makes this one of our favorite holiday traditions.
Ingredients You'll Need
- Salted butter (about half a cup, melted): Adds richness and helps bind everything together; salted works best here for flavor
- Creamy no-stir peanut butter (about 1.5 cups): Must be the regular kind, not natural peanut butter which is too oily and won't work properly
- Rice Krispies cereal (about 3 cups): Creates that signature crunch that makes these special; measure after you've lightly crushed them slightly if desired
- Powdered sugar (about 2 to 2.5 cups): Sweetens and helps the mixture hold together into scoopable balls
- Semi-sweet chocolate chips (about 12 ounces for coating): Creates the outer shell; you can also use chocolate melting wafers for easier dipping
Step-by-Step Instructions
Mix peanut butter and melted butter together
- Step 1:
- Place your creamy peanut butter in a large mixing bowl and pour in your melted butter that's been cooled slightly so it's not hot but still liquid. Use either a stand mixer with the paddle attachment or a hand mixer to beat these together on medium speed for about a minute until they're completely smooth and well combined with no streaks of butter remaining. The mixture should look uniform and creamy, with the butter fully incorporated into the peanut butter.
Add Rice Krispies and mix gently
- Step 2:
- Pour your Rice Krispies cereal into the bowl with the peanut butter mixture and use your mixer on low speed to combine them, being careful not to crush the cereal too much while still distributing it evenly throughout. Mix just until the cereal is coated and incorporated, which takes about thirty seconds. You want the cereal pieces to stay relatively intact because that's what creates the crunchy texture everyone loves, so don't over-mix at this stage.
Incorporate powdered sugar until combined
- Step 3:
- Add your powdered sugar to the bowl, starting with two cups and reserving the rest in case you need it for adjusting consistency. Mix on low speed initially to prevent sugar from flying everywhere, then increase to medium speed as it starts incorporating. Continue mixing until the powdered sugar is mostly combined, but as the mixture gets thicker and harder to mix, switch to finishing by hand with a sturdy rubber spatula. The mixture should be thick enough to hold together when squeezed but not so dry that it's crumbly.
Shape into balls and chill thoroughly
- Step 4:
- Line a large baking sheet with parchment paper and set it aside. Use a cookie scoop or tablespoon to portion out the peanut butter mixture into equal-sized amounts, dropping them onto the prepared baking sheet. Once all the mixture is portioned, roll each piece between your palms to form smooth, round balls, working relatively quickly so the warmth from your hands doesn't make them too sticky. Place the shaped balls in the refrigerator for at least thirty minutes, or up to an hour, which firms them up and makes them much easier to dip in chocolate without falling apart.
Melt chocolate for dipping
- Step 5:
- While your peanut butter balls chill, place your chocolate chips in a microwave-safe bowl and microwave on fifty percent power for thirty seconds, then stir thoroughly. Continue microwaving in twenty to thirty-second intervals at fifty percent power, stirring completely after each one, until the chocolate is smooth and melted with no lumps remaining. Don't rush this process or use full power because chocolate burns easily and becomes unusable if overheated. The chocolate should be fluid enough to coat smoothly but not so hot that it melts the peanut butter balls.
Dip balls in chocolate and chill again
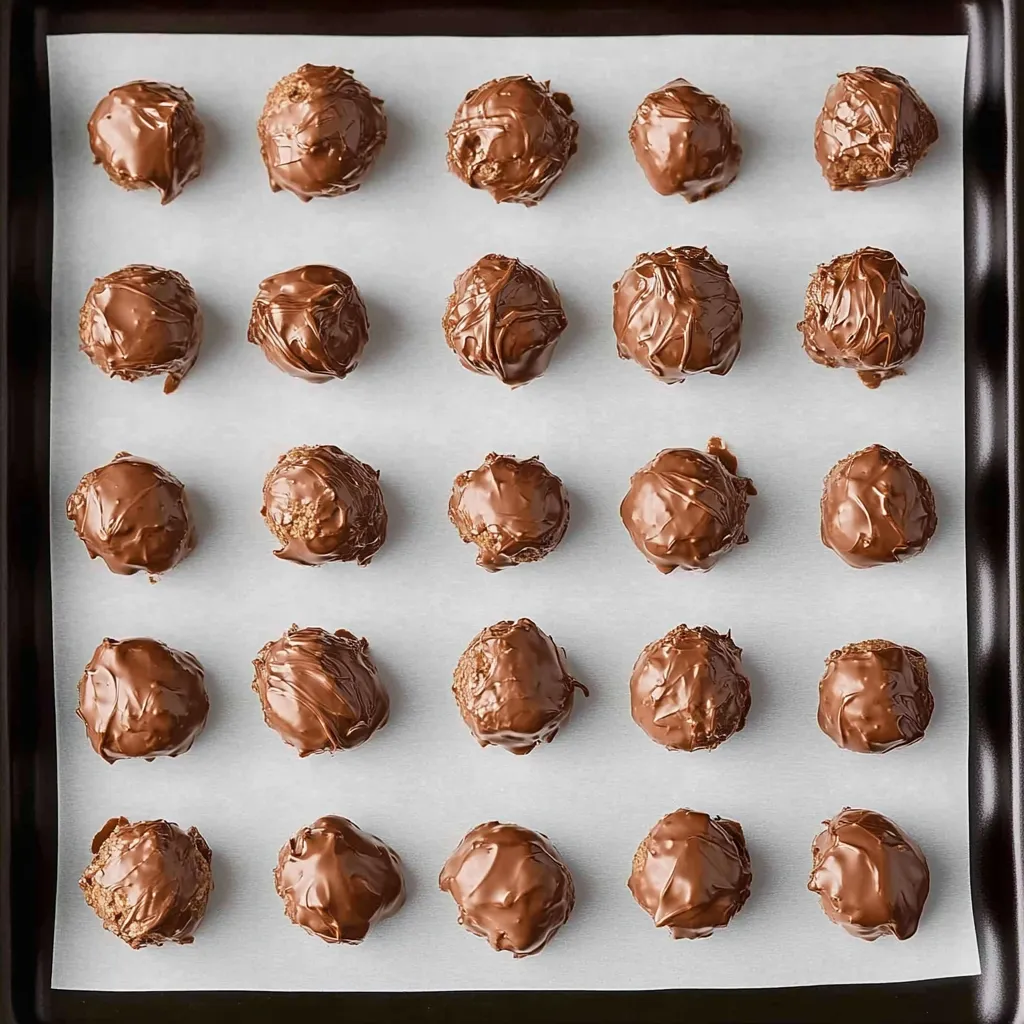
- Step 6:
- Remove your chilled peanut butter balls from the refrigerator and work with just a few at a time, keeping the rest cold. Drop one ball into the melted chocolate and use a fork to roll it around until completely coated, then lift it out with the fork, tapping the fork gently against the edge of the bowl to let excess chocolate drip off. Slide the coated ball back onto the parchment-lined baking sheet using a toothpick or another fork to push it off. Repeat with remaining balls, reheating the chocolate briefly if it starts to thicken. Once all balls are coated, return the baking sheet to the refrigerator for at least twenty minutes until the chocolate coating is completely hardened and firm.
Store and serve
- Step 7:
- Once the chocolate is completely set, transfer your peanut butter balls to an airtight container or zip-top bag and store them in the refrigerator where they'll keep for up to two weeks. They can also be frozen for up to three months, which makes them perfect for making ahead for holiday entertaining. Serve them cold or at room temperature depending on your preference, though they're slightly firmer and less sticky when served cold.
 Pin it
I tried making these once with natural peanut butter because I thought it would be healthier, and the mixture was so oily and loose that I couldn't form balls at all. Now I always use regular Jif or Skippy, and they turn out perfect every single time.
Understanding the Rice Krispies Addition
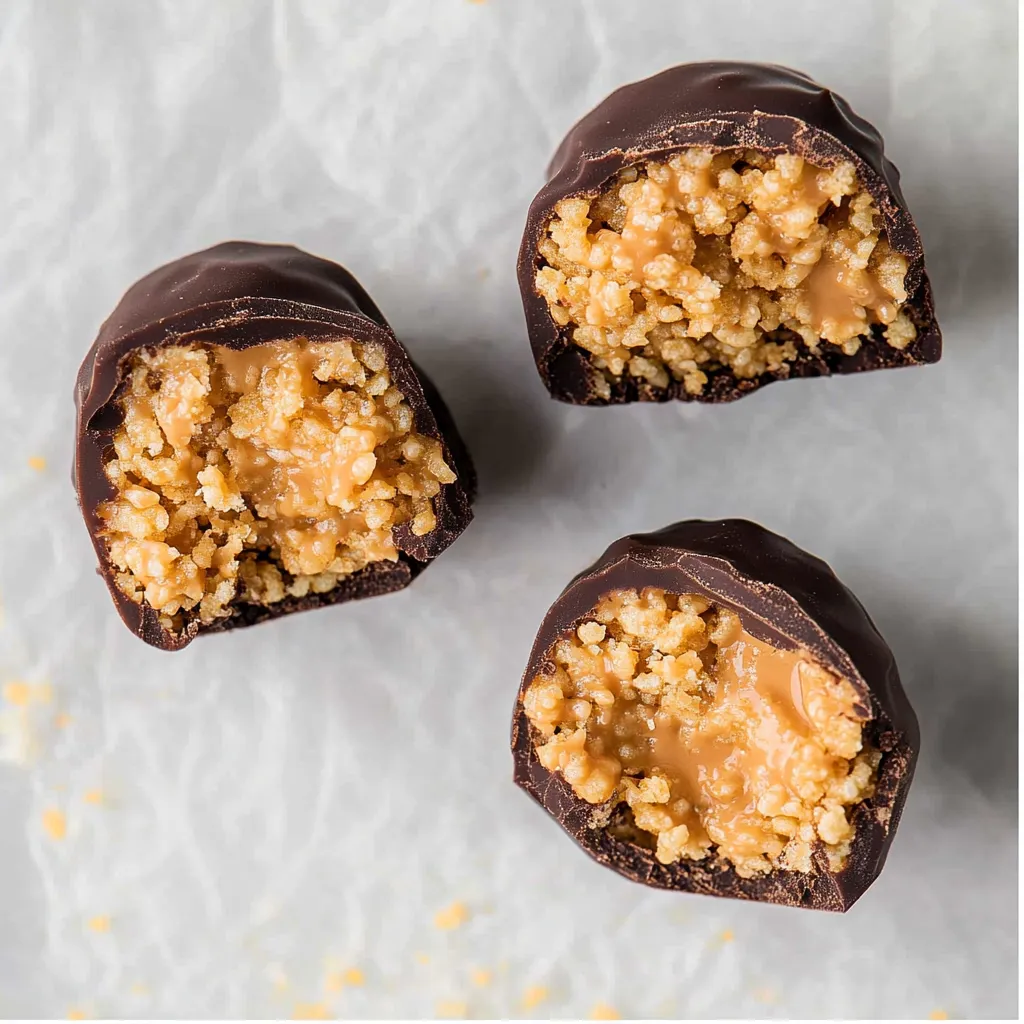
The Rice Krispies in these peanut butter balls aren't just a gimmick; they genuinely transform the texture and eating experience in the best way. Traditional peanut butter balls can be quite dense and smooth, which some people find too rich or heavy. The cereal adds pockets of crispy texture that break up that density and create interesting contrast with every bite. The slight crunch also makes them more fun to eat, especially for kids who might find regular peanut butter balls boring. The cereal doesn't add much flavor beyond a subtle toasted note, but it changes the entire character of the candy.
Achieving Perfect Consistency
Getting the right consistency in your peanut butter mixture is crucial for balls that hold together well but aren't dry or crumbly. The mixture should be firm enough to roll into balls that keep their shape without being so stiff that it cracks when you try to form them. If your mixture seems too soft and sticky after adding all the powdered sugar, add another quarter cup and mix it in thoroughly. If it seems too dry and crumbly, add a tablespoon of melted butter to moisten it slightly. Room temperature affects consistency too, so if your kitchen is very warm, you might need more sugar, while cold kitchens might need less.
Chocolate Dipping Techniques
Dipping peanut butter balls in chocolate cleanly without creating a mess takes practice, but understanding a few key techniques helps dramatically. Make sure your balls are thoroughly chilled before dipping because warm balls will start melting as soon as they hit the chocolate. Use a fork with long tines to lower the ball into the chocolate and roll it around to coat, then lift it out and tap the fork handle against the edge of the bowl to remove excess chocolate. If too much chocolate pools at the bottom of your coated balls, you're not tapping enough. Working quickly but carefully prevents the warmth from your hands from softening the balls through the fork.
Chocolate Choices and Alternatives
While semi-sweet chocolate chips are classic and what most people use, you have options that can make dipping easier or create different flavors. Chocolate melting wafers or candy melts are formulated specifically for dipping and coating, melting more smoothly and setting up with better shine than regular chips. They also don't require tempering to stay firm at room temperature. Dark chocolate creates a more sophisticated, less sweet coating that adults especially appreciate. Milk chocolate is sweeter and milder, perfect for kids or those who prefer gentler chocolate flavor. You could even do half the batch in dark and half in milk for variety.
Make-Ahead and Freezing Strategy
These peanut butter balls are genuinely one of the best make-ahead holiday treats because they freeze perfectly and actually taste great straight from the freezer. Make them up to three months ahead, let the chocolate set completely, then pack them in airtight containers or freezer bags with parchment paper between layers to prevent sticking. They thaw quickly at room temperature in about twenty minutes, or you can serve them frozen when they're firmer and the peanut butter has an almost fudge-like texture. Making multiple batches and freezing them means you always have homemade treats ready for unexpected guests or last-minute gift needs.
Customization Ideas
While the classic version is fantastic, small variations create different flavors and textures that keep things interesting. Using crunchy peanut butter instead of creamy adds even more texture with peanut pieces throughout. Stirring in mini chocolate chips to the peanut butter mixture before forming balls creates chocolate throughout, not just on the outside. Adding a teaspoon of vanilla extract enhances all the flavors. Using crushed pretzels instead of some of the Rice Krispies adds salty crunch that balances the sweetness. Drizzling white chocolate over the set dark chocolate coating creates a fancy, bakery-style appearance.
Gifting and Presentation
These peanut butter balls make wonderful homemade gifts during the holidays because they look professional and taste better than anything store-bought. Pack them in decorative tins lined with parchment paper, or arrange them in clear cellophane bags tied with festive ribbon. Small paper candy cups placed in boxes create an elegant presentation that looks like they came from a fancy chocolate shop. Include a note specifying they should be kept refrigerated so recipients know how to store them properly. Making several batches and giving them as teacher gifts, neighbor presents, or hostess offerings spreads holiday cheer without breaking your budget.
 Pin it
These peanut butter balls with Rice Krispies have become such an essential part of our Christmas that I've made literally hundreds of them over the years, and they never fail to get compliments from everyone who tries them. The combination of being genuinely delicious with that addictive peanut butter-chocolate-crunch combination, incredibly easy to make with no special equipment, perfect for making ahead and freezing, and universally loved by both kids and adults means they've earned their permanent spot at every holiday gathering, and I can't imagine the season without them.
Frequently Asked Questions
- → Can I use crunchy peanut butter instead of creamy?
- Yes, but the texture will be different. Creamy peanut butter works best because it helps bind everything together smoothly, but crunchy will add even more texture.
- → How long do these peanut butter balls last?
- They'll keep in an airtight container in the fridge for several days, or you can freeze them for up to several weeks for longer storage.
- → Can I use dark chocolate or white chocolate instead?
- Absolutely! Any type of chocolate works great. Dark chocolate gives a less sweet coating, while white chocolate makes them extra sweet and creamy.
- → Do I need to use salted butter?
- Salted butter adds nice flavor, but unsalted butter works too. If you use unsalted, you might want to add a tiny pinch of salt to the mixture.
- → Why do the balls need to chill before dipping?
- Chilling makes them firm so they hold their shape when you dip them in warm chocolate. Without chilling, they might fall apart or get too soft.
- → Can I make these ahead of time for a party?
- Yes, these are great make-ahead treats. You can prepare them a few days in advance and keep them refrigerated, or make them weeks ahead and freeze them.