
 Pin it
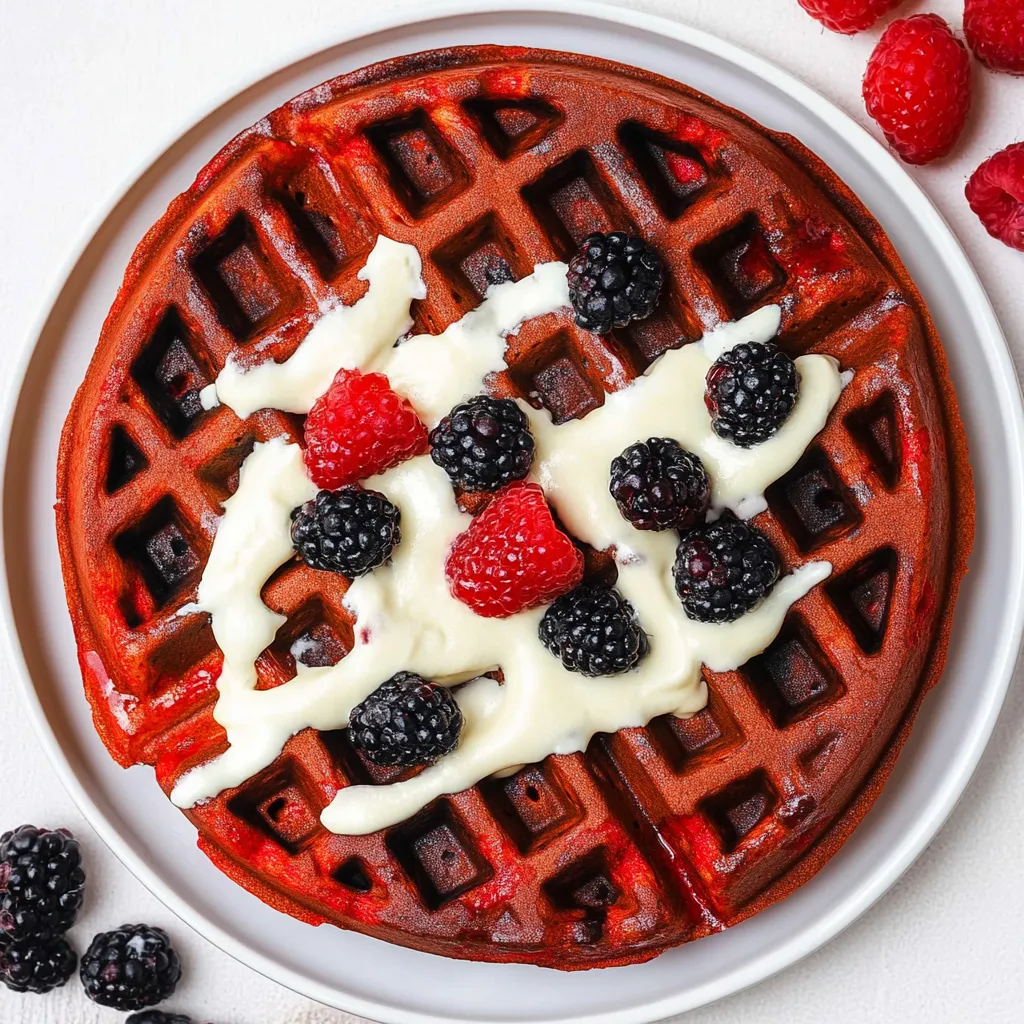
These red velvet waffles transform the beloved cake flavor into a breakfast treat that feels like a special occasion on an ordinary morning. The subtle cocoa flavor combined with that signature red color creates something visually stunning, while the tangy buttermilk keeps them light and fluffy. When you drizzle that cream cheese glaze over the warm waffles, it melts slightly and creates the perfect balance of sweet and tangy that makes red velvet so irresistible.
I developed this recipe when I wanted to surprise my family with something special for a weekend breakfast but didn't want to spend hours in the kitchen. The first batch disappeared so quickly that I immediately started a second one. There's something magical about the combination of that vibrant red color and rich flavor that makes everyone smile before they even take a bite. My kids request these for their birthday breakfasts now instead of regular pancakes.
Essential Ingredients for Success
- All-purpose flour: Provides the perfect structure for fluffy yet sturdy waffles that won't fall apart
- Granulated sugar: Balances the cocoa bitterness and helps create those crispy edges we love
- Unsweetened cocoa powder: Creates the chocolate depth without overpowering the delicate red velvet flavor
- Fresh buttermilk: The acidity creates tender waffles and provides that signature tangy flavor
- Large eggs at room temperature: Incorporate better into the batter and create lighter, fluffier waffles
- Red gel food coloring: Gel works better than liquid for achieving vibrant color without thinning the batter
- Baking powder and baking soda: The combination creates maximum lift and that perfect fluffy texture
- Pure vanilla extract: Enhances all the other flavors and adds warmth to the overall taste
Detailed Step-by-Step Instructions
- Prepare your equipment and glaze:
- Preheat your waffle iron according to manufacturer directions, usually about 5 minutes. While it heats, make the cream cheese glaze by beating 4 ounces softened cream cheese and 2 tablespoons softened butter until completely smooth. Gradually add 1 cup powdered sugar, 1/2 teaspoon vanilla, and 2-3 tablespoons milk, beating until smooth and drizzle-able. Refrigerate until ready to use.
- Combine all dry ingredients properly:
- In a large mixing bowl, whisk together 2 cups all-purpose flour, 1/4 cup granulated sugar, 2 tablespoons unsweetened cocoa powder, 2 teaspoons baking powder, 1/2 teaspoon baking soda, and 1/2 teaspoon salt. Whisk thoroughly to ensure the cocoa powder is evenly distributed with no lumps - this prevents dark spots in your finished waffles.
- Mix wet ingredients separately:
- In another bowl, whisk together 1 3/4 cups buttermilk, 2 large eggs, 1/4 cup melted butter (cooled slightly), 1 teaspoon vanilla extract, and red gel food coloring. Start with about 1/2 teaspoon of gel coloring and add more until you achieve your desired red shade. The color will be vibrant but not neon - think classic red velvet cake.
- Combine wet and dry ingredients gently:
- Pour the wet ingredients into the dry ingredients and stir just until combined. The batter should still have some small lumps - overmixing will create tough, dense waffles instead of the light, fluffy texture you want. Don't worry if it looks a bit lumpy; this is exactly what you want for perfect waffles.
- Cook waffles to golden perfection:
- Lightly grease your preheated waffle iron with cooking spray or a light brush of oil. Pour about 1/2 to 3/4 cup of batter into the center of the iron (amount depends on your waffle maker size). Cook according to your waffle iron's instructions, usually 3-5 minutes, until the waffles are golden brown on the outside and steam stops emerging from the iron.
- Serve immediately with glaze:
- Remove waffles carefully and place on serving plates. While still warm, drizzle generously with the chilled cream cheese glaze - the contrast between warm waffles and cool glaze is part of what makes these special. Serve immediately while the waffles are still crispy on the outside and fluffy inside.
 Pin it
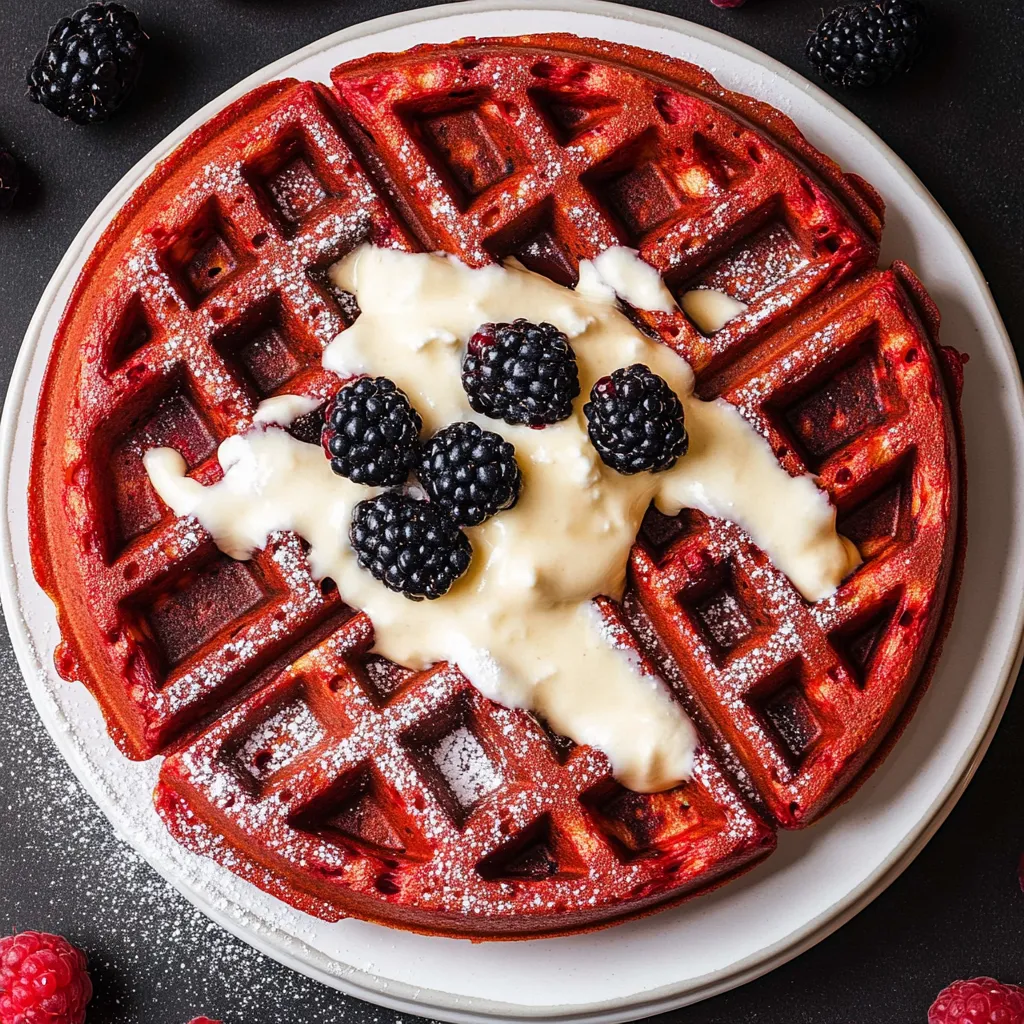
The magic of these waffles happens in that perfect balance between the subtle chocolate flavor and the tangy buttermilk, all brought together with that gorgeous red color that makes them feel special. I love how they look impressive enough for company but are simple enough to make on a regular weekend morning when you want to treat your family to something special.
Mastering the Perfect Waffle Texture
Getting the ideal waffle texture requires understanding the balance between ingredients and technique. The buttermilk provides acidity that reacts with the baking soda to create lift, while the eggs add richness and structure. The key is not overmixing - those lumps in the batter are actually your friend because they indicate you haven't developed the gluten too much, which would create tough waffles.
Achieving the Perfect Red Velvet Color
Red velvet's signature color comes from the right amount of food coloring combined with the chemical reaction between cocoa and buttermilk. Start with less coloring than you think you need - you can always add more, but you can't take it away. Gel coloring is superior to liquid because it provides intense color without adding extra liquid that could throw off your batter consistency.
Creating the Ideal Cream Cheese Glaze
The glaze should be smooth and pourable but not so thin that it disappears into the waffle crevices. Room temperature cream cheese and butter are essential for a smooth mixture. If your glaze seems too thick, add milk one teaspoon at a time. If it's too thin, add more powdered sugar gradually until you reach the perfect consistency.
Temperature and Timing Considerations
Waffle iron temperature varies significantly between models, so pay attention to visual cues rather than just timing. The waffles are done when they're golden brown and steam stops emerging from the iron. If you lift the lid too early, you might split the waffle, so wait for the steam to subside before checking.
Storage and Reheating Tips
These waffles freeze beautifully, making them perfect for busy mornings. Cool completely before freezing, and wrap individually to prevent sticking. When reheating, use a toaster or oven rather than the microwave to maintain that crispy exterior. The glaze is best made fresh, but the waffles themselves can be made ahead and reheated successfully.
 Pin it
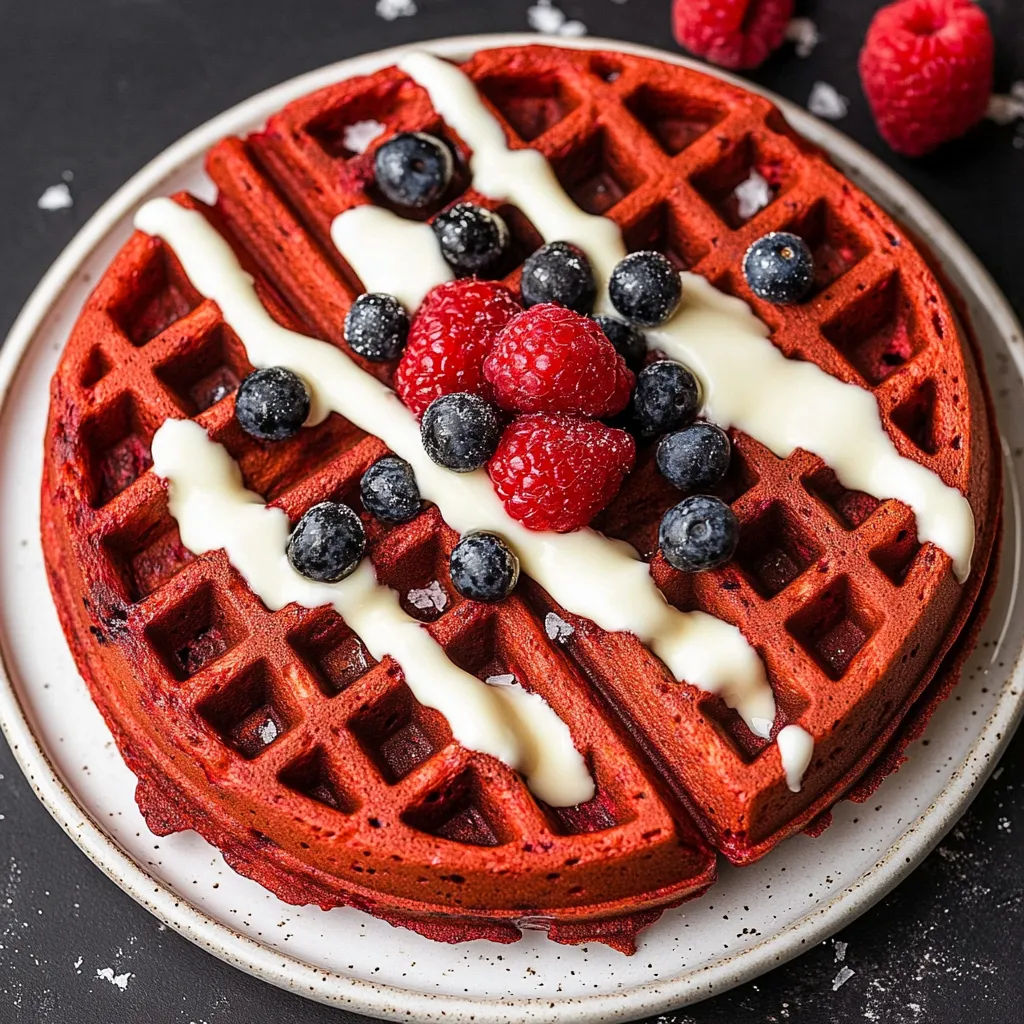
This recipe represents the perfect marriage of comfort food and special occasion indulgence. The familiar flavors of red velvet cake in waffle form create something that feels both nostalgic and exciting. It's proof that sometimes the best recipes come from taking beloved flavors and presenting them in new, unexpected ways that bring joy to ordinary moments.
Frequently Asked Questions
- → Can I make the batter ahead of time?
- Yes, you can make the batter up to 4 hours ahead and store it in the fridge. Just give it a gentle stir before cooking.
- → What if I don't have buttermilk?
- Add 1 tablespoon of lemon juice to regular milk and let it sit for 5 minutes. This makes a great buttermilk substitute.
- → How do I keep waffles warm while cooking batches?
- Place finished waffles on a baking sheet in a 200°F oven to keep them warm and crispy until ready to serve.
- → Can I freeze leftover waffles?
- Yes, cool completely then freeze in a single layer. Toast them straight from frozen for a quick breakfast later.
- → How much red food coloring should I use?
- Start with 1/4 teaspoon gel food coloring and add more until you get the red color you want. Gel works better than liquid.