
 Pin it
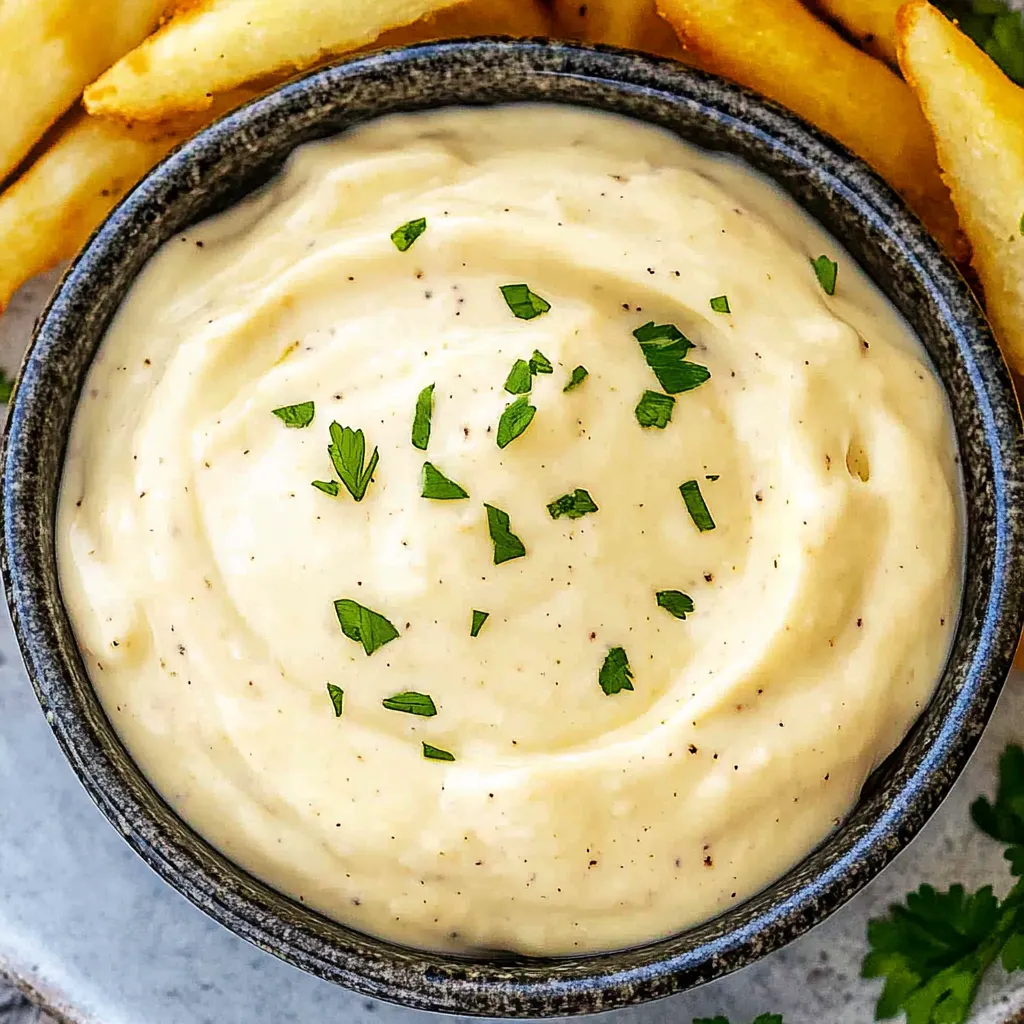
The alluring aroma of slow-roasted garlic transforms into a luxurious, creamy spread in this restaurant-quality roasted garlic aioli. The sweet, mellow notes of caramelized garlic blend harmoniously with tangy lemon juice and the subtle bite of Dijon mustard, creating a condiment that elevates everything it touches. Whether slathered on sandwiches, used as a dipping sauce, or dolloped onto grilled meats, this versatile aioli adds a sophisticated touch that belies its simple preparation.
I discovered the magic of roasted garlic aioli years ago when looking to elevate a simple grilled fish dinner. That first batch completely transformed the meal, and since then, I've found myself making it regularly—not just for special occasions but as a staple that makes even weeknight meals feel special. The difference between this homemade version and store-bought alternatives is truly remarkable.
Ingredients That Make All The Difference
- Fresh garlic bulb: The star ingredient that undergoes a magical transformation during roasting. Choose a plump, firm bulb with tight skin for the best result.
- Quality mayonnaise: Provides the creamy base that carries all the flavors. While homemade mayo takes this aioli to another level, a good-quality store-bought version (like Hellmann's or Duke's) works beautifully too.
- Fresh lemon juice: Brightens the aioli with essential acidity that balances the rich, caramelized garlic. Always use freshly squeezed for the most vibrant flavor.
- Dijon mustard: Adds subtle depth and complexity that rounds out the sauce. The slight tanginess complements the sweet garlic perfectly.
- Extra virgin olive oil: Used for roasting the garlic, it infuses additional flavor notes into the final aioli. Choose a good quality oil with flavor you enjoy.
Step-by-Step Instructions
- Begin by preparing your garlic for roasting:
- Preheat your oven to 400°F (200°C). Take a whole head of garlic and gently remove the papery outer layers while keeping the head intact. Using a sharp knife, cut about ¼ inch off the top of the garlic head to expose the individual cloves. This trimming step is crucial as it allows the olive oil to penetrate each clove during roasting.
- Place the trimmed garlic head:
- on a piece of aluminum foil large enough to wrap it completely. Drizzle 1-2 teaspoons of olive oil directly over the exposed clove tops, allowing it to seep down between the cloves. The oil helps conduct heat evenly and prevents the garlic from drying out. Season with a pinch of salt if desired.
- Wrap the garlic head tightly:
- in the foil, creating a sealed packet. Place the foil-wrapped garlic directly on the oven rack or on a small baking sheet. Roast for 30-40 minutes, until the cloves are soft and golden brown. You can check doneness by carefully opening the foil and piercing a clove with a knife—it should be completely tender, like butter.
- Remove from the oven:
- and allow the garlic to cool until it's comfortable to handle, about 10-15 minutes. The cooling period makes the next step easier and allows the flavors to settle. While it's cooling, gather your remaining ingredients and prepare a mixing bowl for the aioli.
- Once cooled:
- hold the garlic head with the cut side down over your mixing bowl and gently squeeze from the bottom. The roasted cloves should easily slide out of their skins as soft, caramelized paste. If some cloves are stubborn, use a small fork or the tip of a knife to extract them. You should have approximately 2-3 tablespoons of roasted garlic paste.
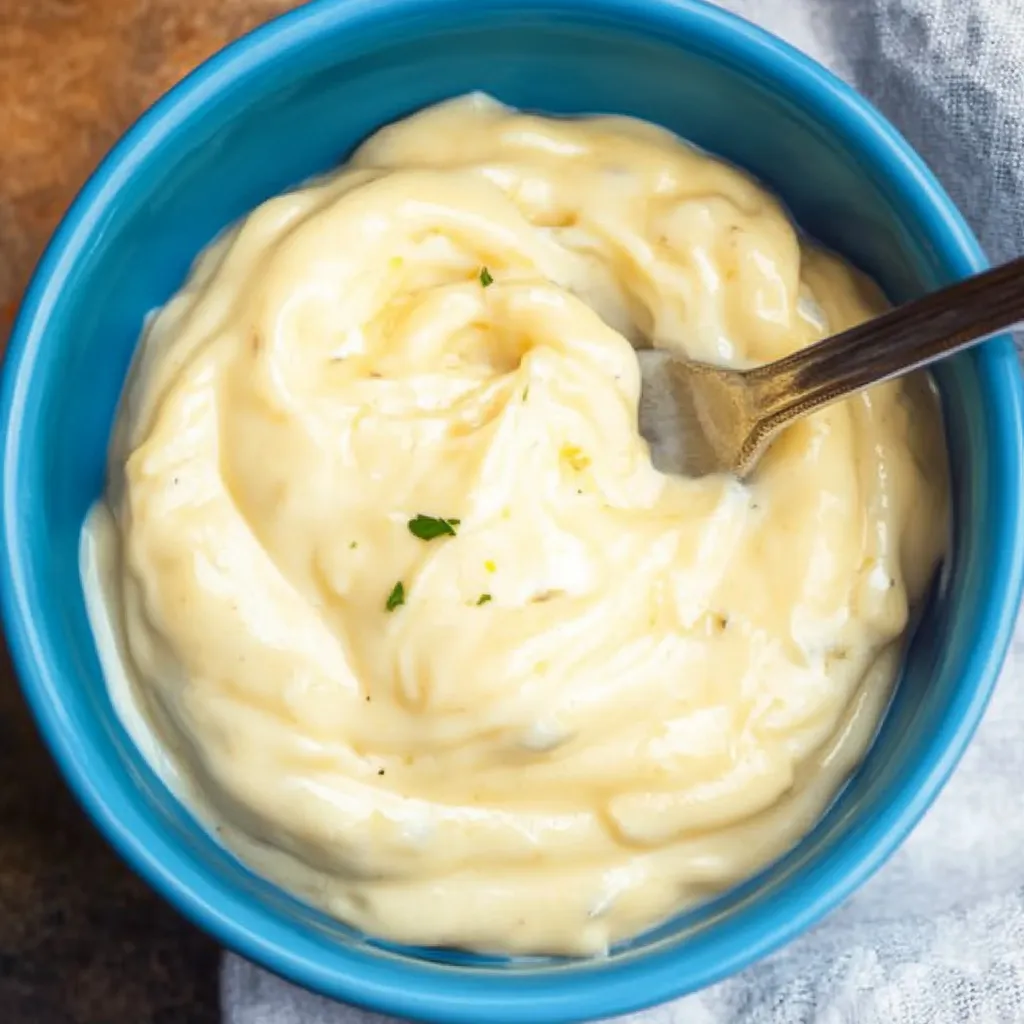
- Add ½ cup of mayonnaise:
- to the roasted garlic paste. Using a fork or small whisk, mash and stir the garlic into the mayonnaise until well incorporated. For an ultra-smooth aioli, you can process this mixture in a small food processor or blender, but the slight texture from hand-mixing is often preferable.
- Stir in 1 tablespoon of fresh lemon juice:
- and 1 teaspoon of Dijon mustard. Mix thoroughly until all ingredients are completely incorporated and the aioli has a uniform appearance. The mustard not only adds flavor but also helps emulsify the sauce for a perfect consistency.
- Season your aioli:
- with salt and freshly ground black pepper to taste. Start with just a pinch of each, stir, taste, and adjust as needed. Remember that mayonnaise already contains some salt, so add gradually. For the best flavor development, transfer the aioli to a covered container and refrigerate for at least 30 minutes before serving, though it can be used immediately if needed.
 Pin it
I learned the importance of proper garlic roasting through an early kitchen disaster where I got distracted and left my garlic in too long. The bitter, burnt result was unusable! Now I set a timer for 30 minutes as a checkpoint and watch it carefully from that point, sometimes adding an additional 5-10 minutes depending on the size of the garlic head and my oven's quirks.
Beyond Basic Dipping
This versatile aioli elevates countless dishes beyond the obvious sandwich spread or fry-dipping sauce. Toss it with warm pasta and grilled vegetables for an instant creamy pasta salad. Dollop it onto a bowl of tomato soup for a gourmet twist. Use it as a marinade for chicken, spread it under the skin before roasting, or serve it alongside seafood as a sophisticated accompaniment. It also makes an incredible base for a quick flatbread or pizza.
Creative Variations
The basic recipe provides a perfect foundation for endless customization. Add finely chopped fresh herbs like basil, thyme, or dill for a garden-fresh version. Incorporate a pinch of smoked paprika for a Spanish-inspired twist. For heat lovers, a dash of cayenne or a few drops of your favorite hot sauce transforms it into a spicy aioli. Grate in some lemon zest along with the juice for an intensified citrus version.
Storage and Make-Ahead Tips
This aioli actually improves with time as the flavors meld, making it perfect for advance preparation. Store in an airtight container in the refrigerator for up to 4 days. If the aioli thickens too much during storage, simply stir in a few drops of water or lemon juice to restore the desired consistency. For the freshest flavor, avoid freezing as it can affect the texture and taste.
I've come to treasure this roasted garlic aioli recipe not just for its incredible flavor, but for how it transforms ordinary ingredients into something special. There's a certain satisfaction in creating a condiment that makes people ask "What's in this?" with wide eyes after their first taste. Whether you're a seasoned home cook or just beginning your culinary adventures, this aioli is one of those recipes that delivers remarkable results with relatively little effort—the best kind of kitchen magic.
Frequently Asked Questions
- → How long does homemade garlic aioli last?
- Homemade garlic aioli will keep for up to 5 days when stored in an airtight container in the refrigerator.
- → Can I use minced garlic instead of roasted?
- Fresh minced garlic can be used, but roasting gives the aioli a sweeter, more mellow flavor that raw garlic doesn't have.
- → What can I serve with garlic aioli?
- Garlic aioli is great with french fries, roasted vegetables, grilled meats, fish tacos, sandwiches, burgers, or as a veggie dip.
- → Can I make this without mayonnaise?
- Traditional aioli is made with olive oil and egg yolks. You can substitute Greek yogurt for a lighter version, though the flavor will be tangier.
- → Why is my aioli too thin?
- If your aioli is too thin, you may have added too much liquid. Try adding a bit more mayonnaise to thicken it up.
- → Can I make garlic aioli ahead of time?
- Yes! In fact, making it a day ahead allows the flavors to develop even more fully.