
 Pin it
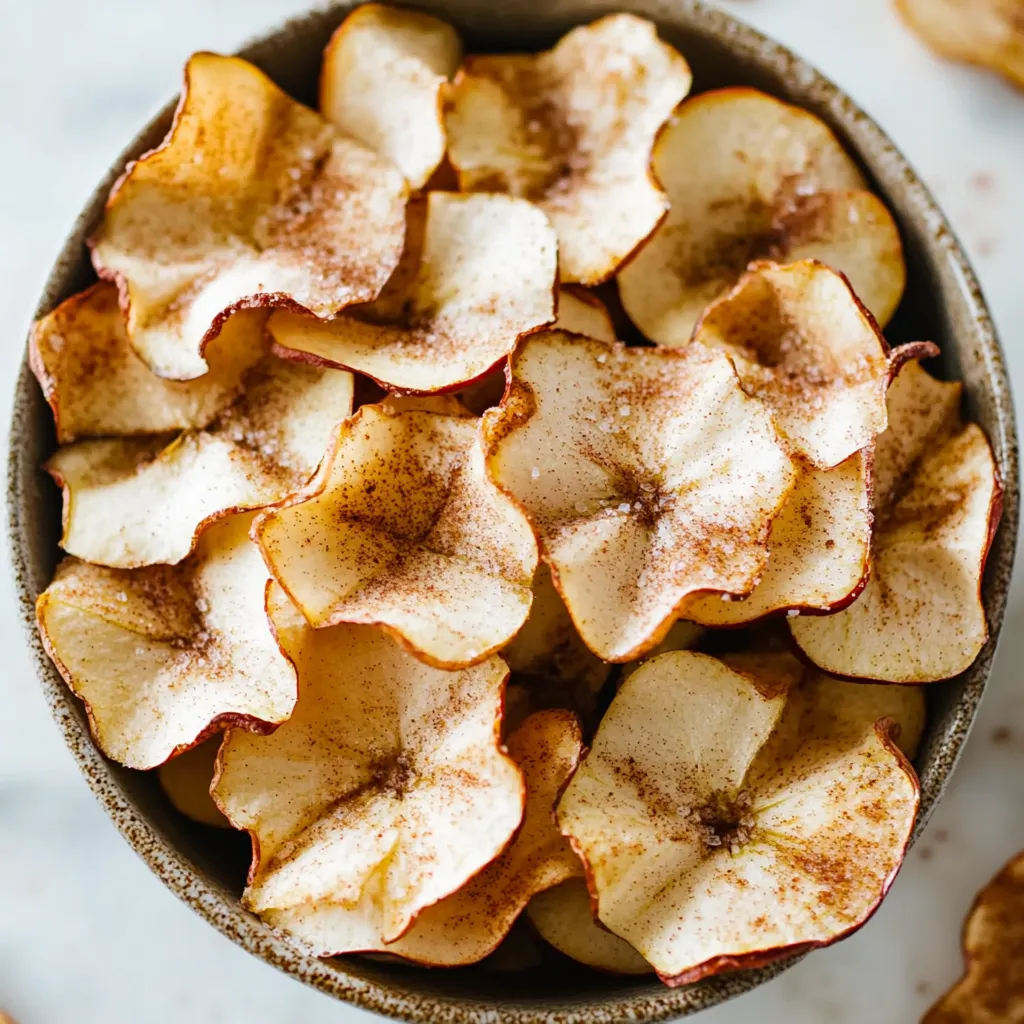
These baked apple chips transform ordinary apples into crispy, sweet treats that satisfy snack cravings without the guilt of processed foods. With just a hint of warming spices and natural sweetness from the fruit itself, these delicate chips provide the perfect balance of flavor and crunch. Best of all, while they bake, your home fills with the irresistible aroma of cinnamon and apples – like autumn in edible form.
I first started making these apple chips after bringing home an ambitious haul from our local orchard's pick-your-own day. With more apples than we could possibly eat fresh, I needed creative solutions that would preserve their flavor without taking up freezer space. After some experimenting, these chips became our family favorite. My eight-year-old now requests them regularly, proudly bringing them to school and announcing to her friends that she helped make them. Even my husband, who typically reaches for saltier snacks, finds himself grabbing a handful whenever he passes the container.
Ingredients
- 3-4 medium apples: Choose firm, crisp varieties like Honeycrisp, Granny Smith, or Pink Lady for the best results
- 2 tablespoons granulated sugar: Enhances the natural sweetness and helps create that perfect crisp texture
- 1 teaspoon ground cinnamon: Adds warming flavor that perfectly complements the apple's natural taste
- ¼ teaspoon ground nutmeg: Provides a subtle depth that rounds out the flavor profile
Step-by-Step Cooking Instructions
- Step 1:
- Prepare your oven and equipment: Preheat your oven to 225°F (107°C). This low temperature is crucial – it allows the apples to dry out and become crisp without burning. Line two large baking sheets with parchment paper or silicone baking mats. The lining prevents sticking and makes cleanup much easier. Position your oven racks in the upper and lower thirds of the oven to allow for even air circulation.
- Step 2:
- Slice the apples: Wash and dry the apples thoroughly. Using a sharp knife or mandoline slicer, cut the apples into very thin, uniform slices, approximately 1/8-inch thick or thinner. The mandoline makes this job much easier and creates consistently thin slices, which is key to achieving crispy chips. If using a knife, take your time to keep the slices as even as possible. You can core the apples first if you prefer, but I often leave the core intact for a more rustic look – the seeds and tough center bits are easy to remove after slicing.
- Step 3:
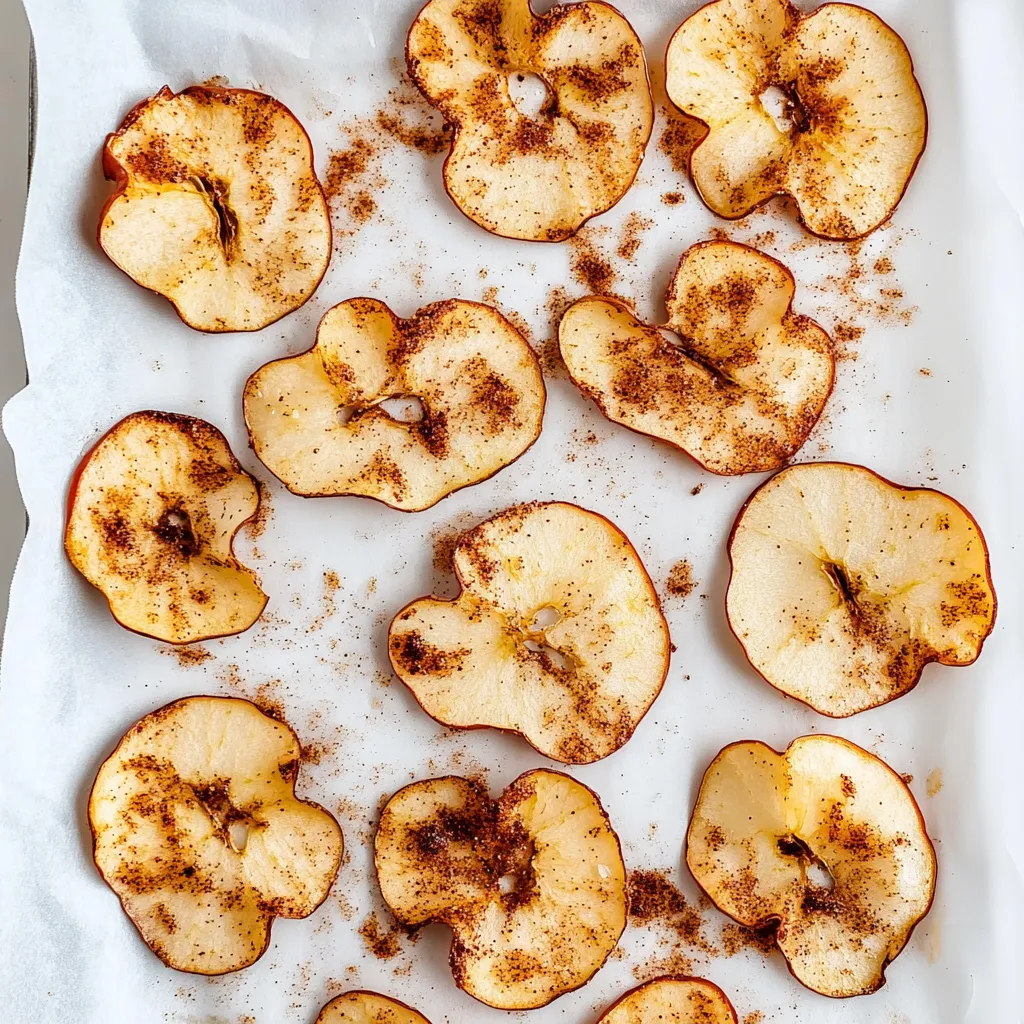
- Arrange on baking sheets: Place the apple slices on the prepared baking sheets in a single layer, making sure they don't overlap. Overcrowding prevents proper air circulation and results in uneven drying. You may need to work in batches depending on the number of apples you're using. Leave a small space between each slice to allow for proper air flow around each piece.
- Step 4:
- Season the apple slices: In a small bowl, mix together the sugar, cinnamon, and nutmeg until well combined. The nutmeg adds a subtle complexity that elevates these chips beyond basic cinnamon-sugar treats. Using your fingers or a small fine-mesh sieve, lightly sprinkle the spice mixture evenly over the apple slices. You don't need to flip the slices to season both sides – the flavor will infuse throughout during the long baking process.
- Step 5:
- Bake until crisp: Place the baking sheets in the preheated oven and bake for approximately 1½ to 2 hours, rotating the pans and switching their positions halfway through baking time. The exact timing will depend on the thickness of your slices and the water content of your particular apples. You'll know they're done when the edges curl slightly and the slices feel dry to the touch. Some may still be slightly pliable in the center – they'll crisp up further as they cool.
- Step 6:
- Cool completely: Once baked, turn off the oven but leave the baking sheets inside with the door slightly ajar for about 10-15 minutes. This gradual cooling helps the chips crisp up perfectly without becoming too brittle. After this initial cooling, remove the baking sheets from the oven and let the chips cool completely at room temperature. As they cool, they'll continue to become crispier.
- Step 7:
- Store properly: Once completely cooled, transfer the apple chips to an airtight container. If properly dried and stored, they can last for up to 1 week at room temperature. However, in humid environments, they may begin to soften after a few days. If this happens, you can crisp them up again with a few minutes in a 200°F oven.
 Pin it
The Secret to Perfectly Crisp Apple Chips
The key to truly crispy apple chips lies in three critical factors: slice thickness, oven temperature, and patience. Through years of making these chips, I've learned that each element plays a crucial role in the final texture.
First, the thickness of your apple slices directly impacts how crispy they'll become. After much trial and error, I've found that 1/8-inch thickness is the sweet spot – any thicker and they remain chewy rather than crisp; any thinner and they can burn before properly drying. A mandoline slicer set to this thickness creates perfect, consistent slices every time.
The low oven temperature might seem unnecessarily time-consuming, but it's absolutely essential. Higher temperatures cause the apples to cook and soften rather than dehydrate, resulting in a chewy rather than crispy texture. The slow, gentle heat of 225°F gradually removes moisture without affecting the natural structure of the apple, preserving its shape while creating that satisfying crunch.
Finally, patience during the cooling process makes a significant difference. The first time I made these chips, I rushed the cooling and was disappointed by the slightly leathery texture. Now I know that the chips continue to crisp as they cool, and allowing them to cool gradually in the turned-off oven creates the perfect environment for this final stage of crisping.
Last fall, I brought a container of these apple chips to a neighborhood potluck. Placed among the usual suspects of brownies and cookies, I wasn't sure how they'd be received. To my surprise, they disappeared faster than anything else on the dessert table! When a neighbor's child asked her mom if they could "get the recipe for the apple cookies," I knew I had a winner. The mother later told me she'd been trying to find healthier snacks her kids would actually eat, and these chips had become a regular weekend project in their house.
Creative Serving Ideas
While these apple chips are perfect for snacking right out of the container, their versatility extends far beyond simple finger food. Here are some of my favorite ways to incorporate them into meals and treats:
Crumble them over your morning yogurt or oatmeal for a crunchy contrast to the creamy base. The hint of cinnamon and nutmeg pairs particularly well with vanilla yogurt or plain oatmeal drizzled with a bit of honey. I often prepare individual breakfast parfaits with layers of yogurt, granola, and crumbled apple chips for a special weekend breakfast.
Use them as a garnish for autumn soups, particularly butternut squash or sweet potato varieties. The crisp texture adds a delightful counterpoint to the smooth soup, and the sweet-spice flavor complements the earthiness of fall vegetables beautifully. Just add them at the last minute so they maintain their crunch.
For an elegant dessert, layer them between spiced whipped cream and caramel sauce for a deconstructed apple pie parfait. This impressive-looking dessert comes together in minutes but tastes like you spent hours in the kitchen. It's become my go-to for last-minute dinner guests in the fall season.
I've been perfecting these apple chips for nearly five seasons now, tweaking spice ratios and baking times with each batch. What started as a practical solution to an apple surplus has become a beloved tradition in our home. There's something deeply satisfying about transforming a simple fruit into a special treat through nothing more than careful slicing, a sprinkle of spice, and the patient application of gentle heat.
Frequently Asked Questions
- → What kind of apples work best for apple chips?
- Firm, crisp varieties like Honeycrisp, Granny Smith, or Fuji work best. Avoid softer apples like Red Delicious or McIntosh as they don't crisp up as well.
- → How thin should I slice the apples?
- Aim for about 1/8 inch thick or thinner. The thinner you slice them, the crispier your chips will be.
- → How do I know when the apple chips are done?
- They're done when the edges curl slightly and the chips feel crisp to the touch, usually after 1½ to 2 hours of baking.
- → Do I need to core the apples first?
- It's optional. Keeping the core creates a pretty star pattern in the middle of your chips, but you can remove it if you prefer.
- → How should I store homemade apple chips?
- Store them in an airtight container at room temperature. If they lose their crispness, you can reheat them in the oven for a few minutes.
- → Can I make these without sugar?
- Yes, you can skip the sugar completely or use a natural sweetener like a light drizzle of honey or maple syrup.