
 Pin it
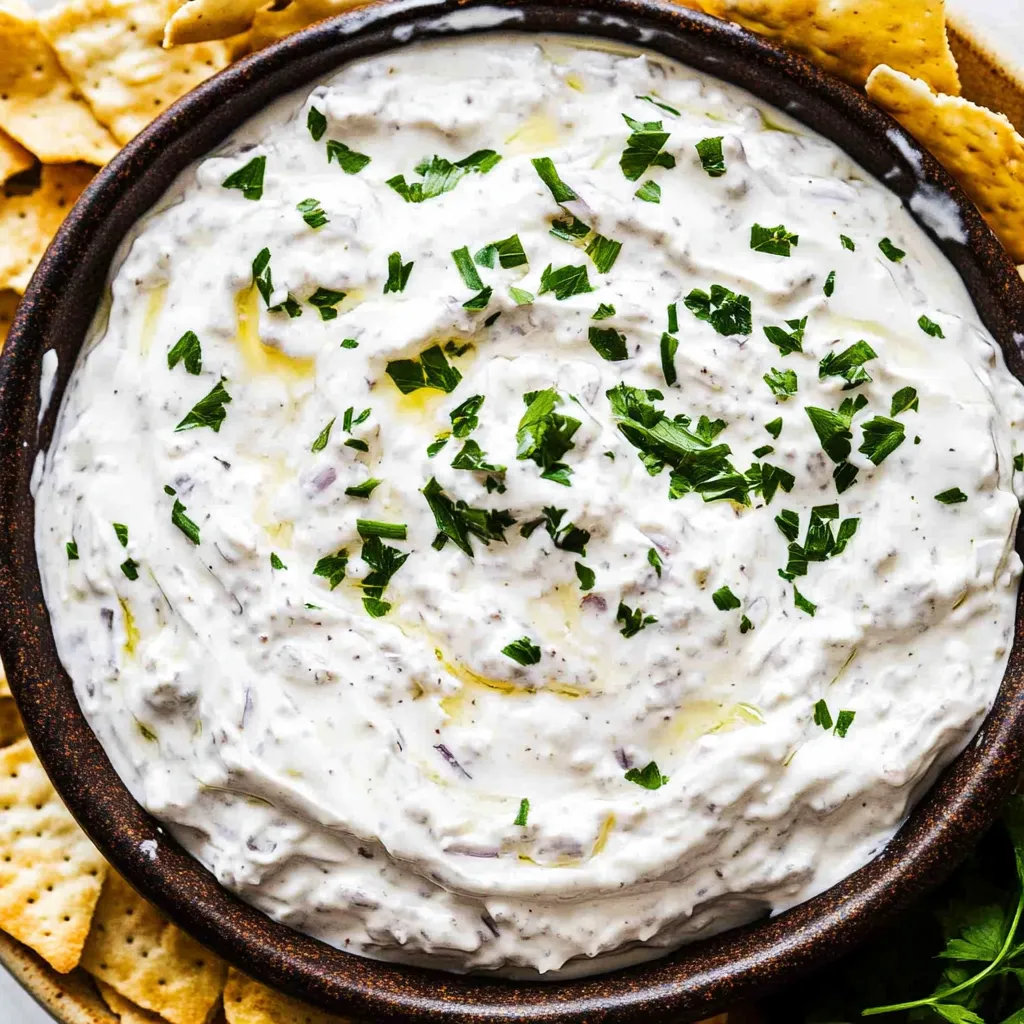
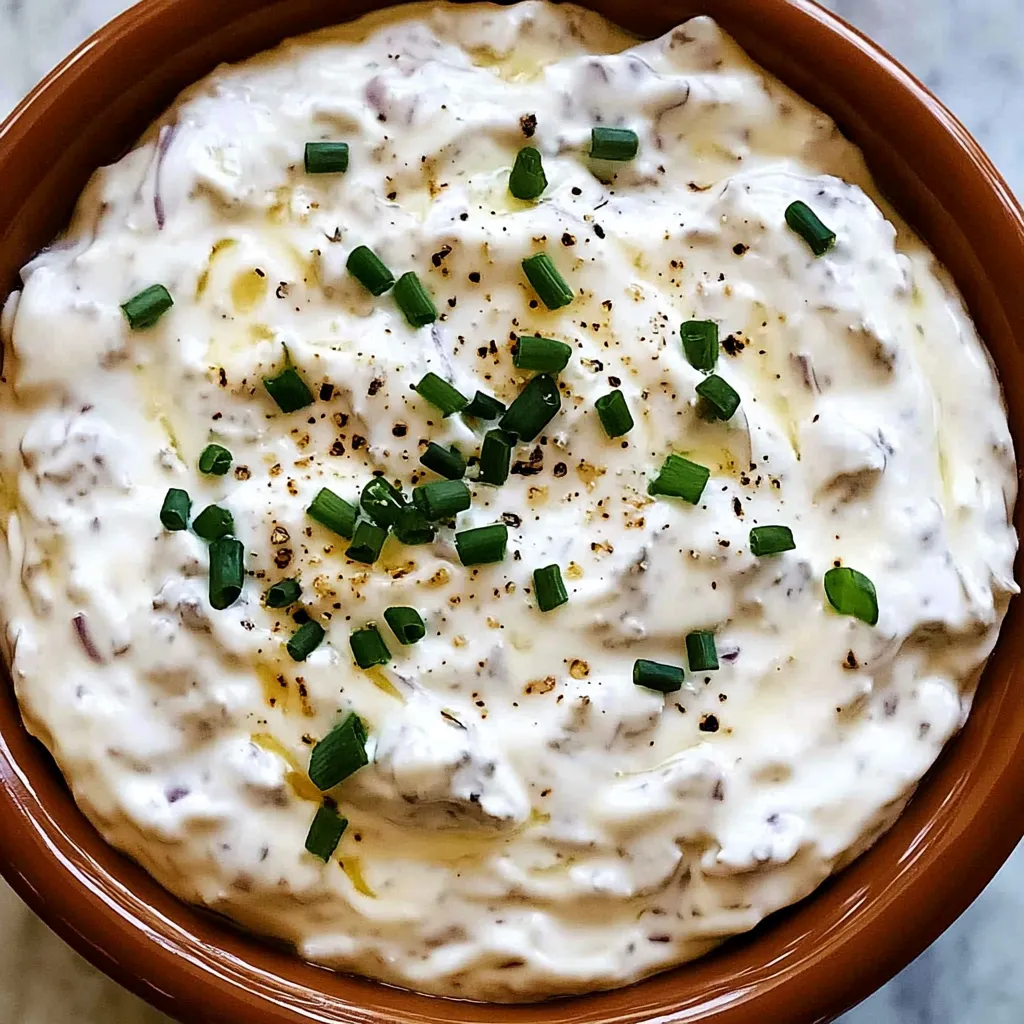
This creamy, crowd-pleasing dip transforms ordinary sour cream into something extraordinary with the magic of slow-cooked caramelized onions. Made with just six simple ingredients, it delivers all the rich, savory flavors you crave without any artificial packets or preservatives. The secret lies in taking time to properly caramelize the onions until they're deep golden brown and sweet, creating a base that makes store-bought versions taste flat and one-dimensional.
I stumbled upon this recipe during a particularly busy week when I forgot to grab dip for a last-minute gathering. Rather than run back to the store, I decided to experiment with what I had in my kitchen. The results were so much better than anything I could have bought that I never went back to the packaged stuff. Now my friends specifically request that I bring "that amazing onion dip" to every gathering.
Essential Ingredients and Selection Tips
- Yellow or white onions (3 large): Yellow onions caramelize beautifully with their higher sugar content, while white onions work well too for a slightly sharper flavor
- Full-fat sour cream (16 ounces): The richness of full-fat creates the perfect creamy base that won't separate or become watery
- Low-sodium soy sauce (2 tablespoons): This unexpected ingredient adds deep, savory richness without making the dip taste Asian-inspired
- Garlic powder (1 teaspoon): Provides mellow garlic flavor that won't overpower the sweet onions like fresh garlic might
- Fine sea salt (1/2 teaspoon): Enhances all the other flavors and balances the sweetness from the caramelized onions
- Fresh black pepper (1/4 teaspoon): Adds just enough gentle heat to round out the flavor profile
The quality of your onions makes the biggest difference in this recipe. Look for firm onions with dry, papery skins and no soft spots or sprouting. I prefer yellow onions because they contain more natural sugars that caramelize into that deep, sweet flavor we're after. The soy sauce might seem strange, but it adds the same umami depth that makes restaurant dips taste so much more complex than homemade versions usually do.
Step-by-Step Instructions
- Step 1: Prepare the onions:
- Peel your onions and slice them into thin, uniform half-moons about 1/4 inch thick.
- Step 2: Start caramelizing:
- Heat two tablespoons of neutral oil or butter in a large, heavy-bottomed pan over medium heat. Add all your sliced onions and a generous pinch of salt. Stir to coat and let cook undisturbed for about 5 minutes.
- Step 3: Continue caramelizing:
- Continue cooking the onions over medium heat, stirring every 5-7 minutes to prevent sticking and ensure even browning. Lower the heat if they start browning too quickly. This takes 30-45 minutes until they are a deep golden brown and taste sweet.
- Step 4: Cool the onions:
- Transfer your caramelized onions to a plate and let them cool to room temperature for at least 15 minutes.
- Step 5: Combine ingredients:
- In a medium mixing bowl, combine the cooled caramelized onions with the sour cream, soy sauce, garlic powder, salt, and black pepper. Stir gently but thoroughly.
- Step 6: Chill the dip:
- Cover the dip tightly with plastic wrap and refrigerate for at least one hour, though overnight is even better, for optimal flavor development.
 Pin it
Making this dip has become one of my favorite weekend prep activities because the house smells incredible while the onions caramelize, and I know I'll have something delicious ready for unexpected guests or my own snack cravings. The slow cooking process is actually quite meditative once you get the hang of it.
Caramelized onions have been a staple in my cooking for years because they transform any dish they touch. My husband used to think he didn't like onions until he tasted my first batch of this dip - now he requests extra onions on everything. There's something magical about how the slow cooking process turns sharp, tear-inducing onions into sweet, golden gems that even picky eaters can't resist.
The Art of Perfect Caramelization
Understanding the caramelization process helps you achieve consistently perfect results every time you make this dip. The key lies in maintaining steady, medium heat that allows the onions' natural sugars to slowly break down and transform into complex, sweet flavors. Rushing this process with high heat will give you burned onions with bitter flavors instead of the sweet, jammy texture you're after.
Different types of onions caramelize at slightly different rates, so pay attention to visual cues rather than relying solely on timing. Yellow onions typically take 35-45 minutes to reach perfect caramelization, while white onions might take a few minutes longer. Sweet onions like Vidalia can actually caramelize more quickly due to their higher natural sugar content, so watch them carefully to prevent burning.
The best caramelized onions have a deep amber color and a jammy, almost spreadable consistency. They should taste intensely sweet with no sharp bite remaining from the raw onion. If you can still taste any harshness, continue cooking for another 5-10 minutes until that sharpness completely disappears.
Make-Ahead Magic and Storage Tips
This dip actually improves with time, making it perfect for entertaining since you can prepare it completely ahead of schedule. The flavors continue developing and mellowing as the dip chills, creating an even more complex taste after 24 hours in the refrigerator. I often make this dip two days before parties, and guests always comment on how much better it tastes than anything store-bought.
Store leftover dip in an airtight container in the refrigerator for up to four days. The texture might thicken slightly after a day or two, but a quick stir will bring it back to the perfect consistency. If you find yourself with extra caramelized onions, they freeze beautifully for up to six months and can be added to soups, sandwiches, or pizza for instant flavor enhancement.
Serving Suggestions and Pairings
While this dip pairs beautifully with classic potato chips, don't limit yourself to just one option. Thick-cut kettle chips provide the perfect sturdy base for scooping, while ridged chips hold extra dip in their grooves. For healthier options, try it with carrot sticks, bell pepper strips, or cucumber rounds for a refreshing contrast to the rich, creamy dip.
Consider serving this dip as part of a larger appetizer spread alongside other homemade favorites. It pairs wonderfully with fresh vegetables, crackers, or even toasted baguette slices for a more elegant presentation. The rich, savory flavors also make it an excellent accompaniment to grilled meats or as a unique burger topping.
Customization and Flavor Variations
Once you master the basic recipe, feel free to experiment with additional flavors that complement the caramelized onions. A tablespoon of fresh chives or green onions stirred in just before serving adds a bright, fresh note that cuts through the richness. For a bit of heat, try adding a pinch of cayenne pepper or a few dashes of hot sauce to taste.
Some of my friends love adding a tablespoon of cream cheese to make the dip even richer and more stable for longer serving periods. Others enjoy stirring in a bit of grated Parmesan cheese for extra savory depth. The beauty of making your own dip is that you can adjust it to match your family's preferences perfectly.
This recipe taught me that the best flavors often come from the simplest techniques executed with patience and care. Every time I make this dip, I'm reminded that homemade doesn't have to mean complicated - sometimes it just means taking the time to do things right. The slow process of caramelizing onions has become almost therapeutic for me, and the incredible results make every minute of stirring worthwhile.
Frequently Asked Questions
- → How long does it take to caramelize onions?
- It takes about 30 minutes to properly caramelize onions over medium heat. Don't rush this step as it creates the dip's rich flavor.
- → Can I make this dip ahead of time?
- Yes, this dip tastes even better when made a day ahead. The flavors blend together nicely when it sits overnight in the fridge.
- → How long does homemade onion dip last?
- Store covered in the refrigerator for up to 3 days. Keep it in an airtight container for best freshness.
- → What type of onions work best?
- White or yellow onions work perfectly for this recipe. They caramelize well and have the right flavor balance for dip.
- → Can I use Greek yogurt instead of sour cream?
- You can substitute Greek yogurt, but the texture and tang will be different. Sour cream gives the classic creamy taste most people expect.